
If you’ve ever tried to tie a tiny loop in fishing line and ended up with a mess of knots, a loop tyer is your new best friend. When it comes to tying pole rigs and hooklengths, a consistent loop isn’t just for show, it plays a crucial part in performance, presentation and reliability of the rig.
That’s where the humble looptyer come in. It’s one of the simplest gadgets in the tackle box, yet once you’ve used one properly, you’ll wonder how you ever managed without it. No more guesswork, no more loops that slip or end up different sizes. Just clean, professional-looking loops, tied in seconds and identical every time.
In this guide, I’ll walk you through exactly how to use a loop tyer because when your rigs start looking sharper, your fishing tends to follow suit.
CHECK OUT OUR PICK OF THE BEST POLES SUB £1000 IN OUR BUYERS GUIDE.
How to use a loop tyer
 1 of 10
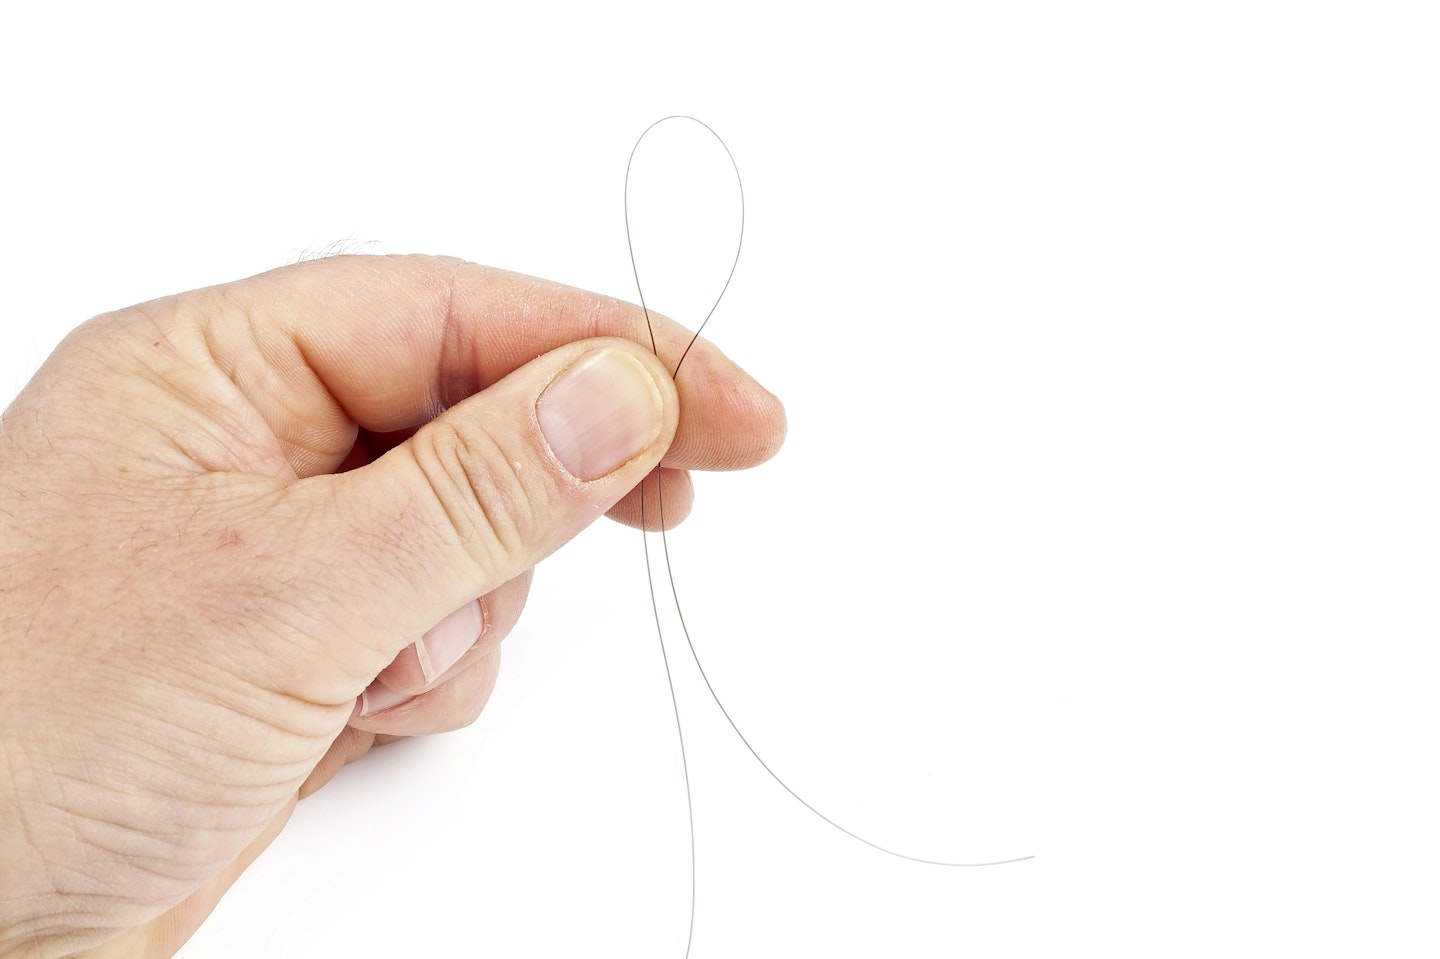
Double up your line
First, double-up six inches of your chosen line. It’s much easier to work with a bigger loop
 2 of 10
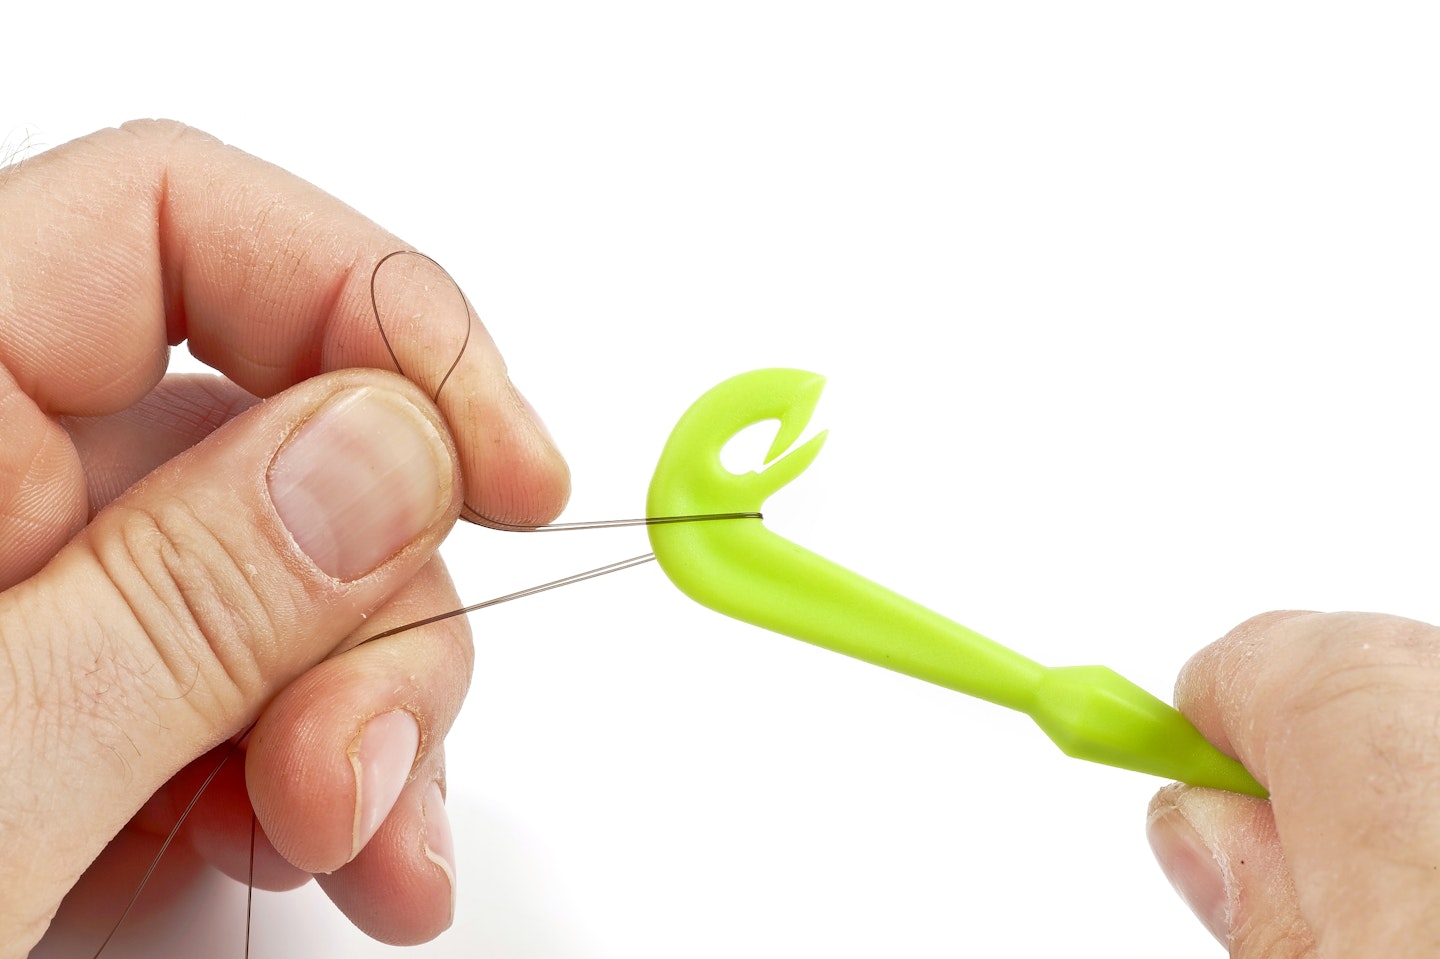
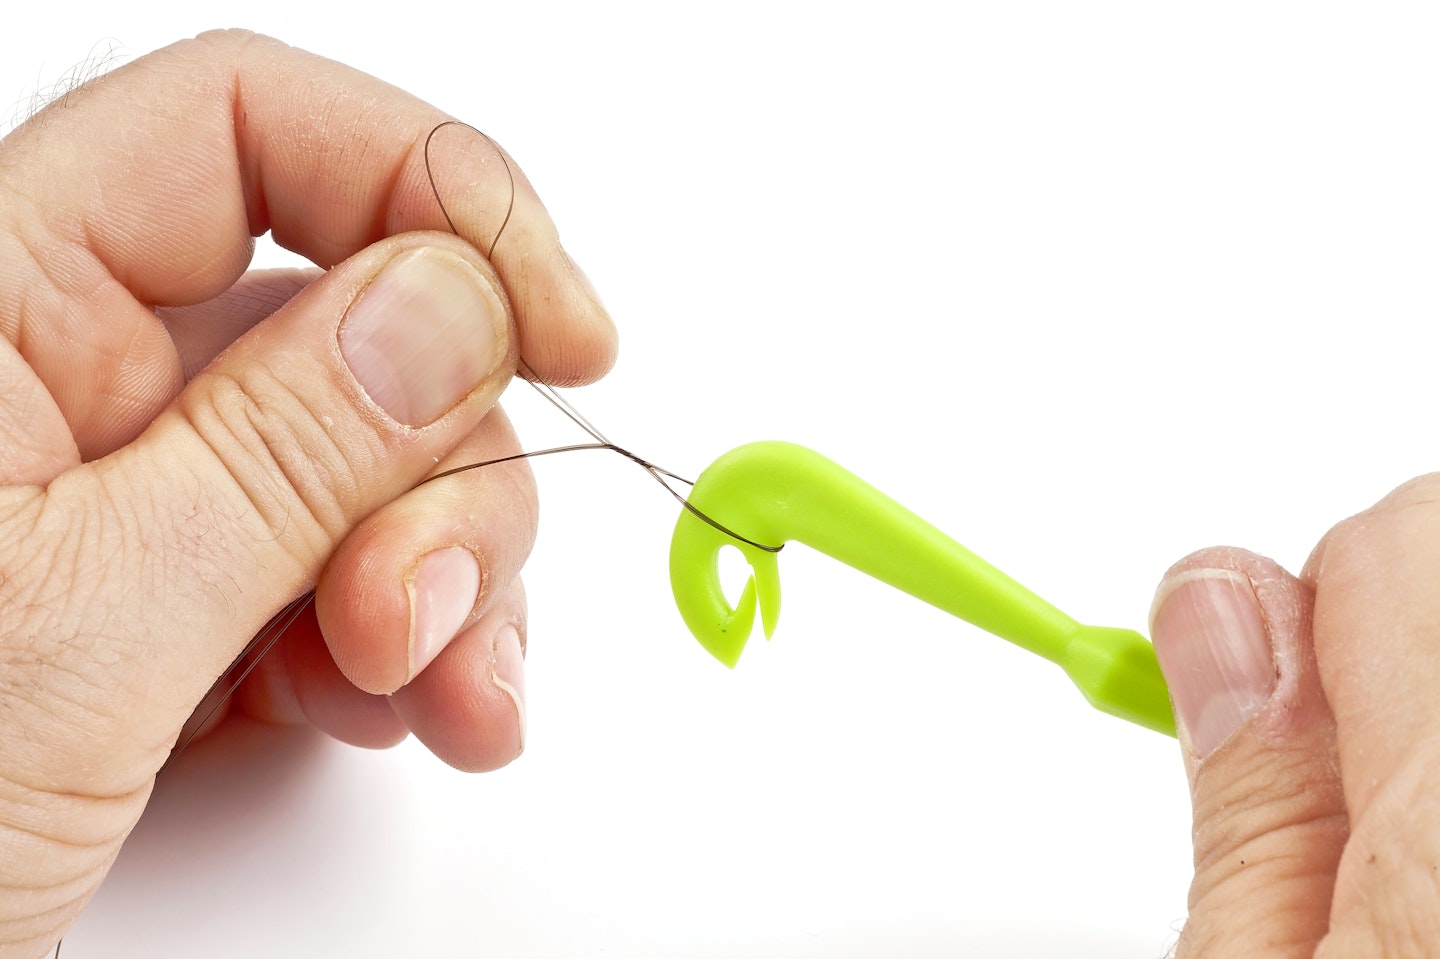
Hook the doubled up line
Hook the neck of the loop tyer into the doubled up section of line that you have created
 3 of 10
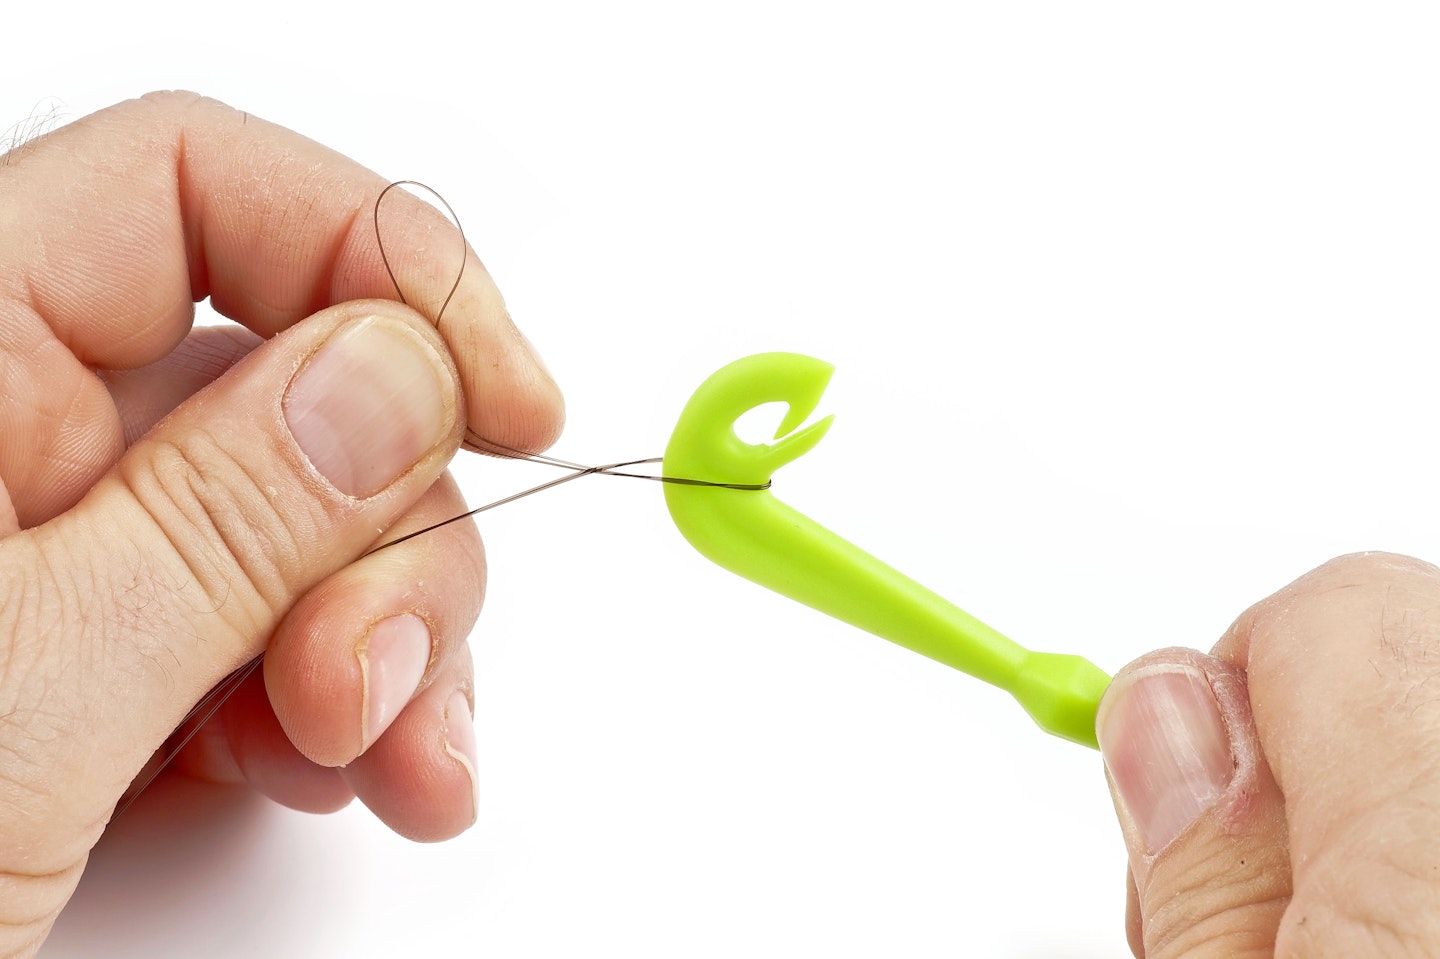
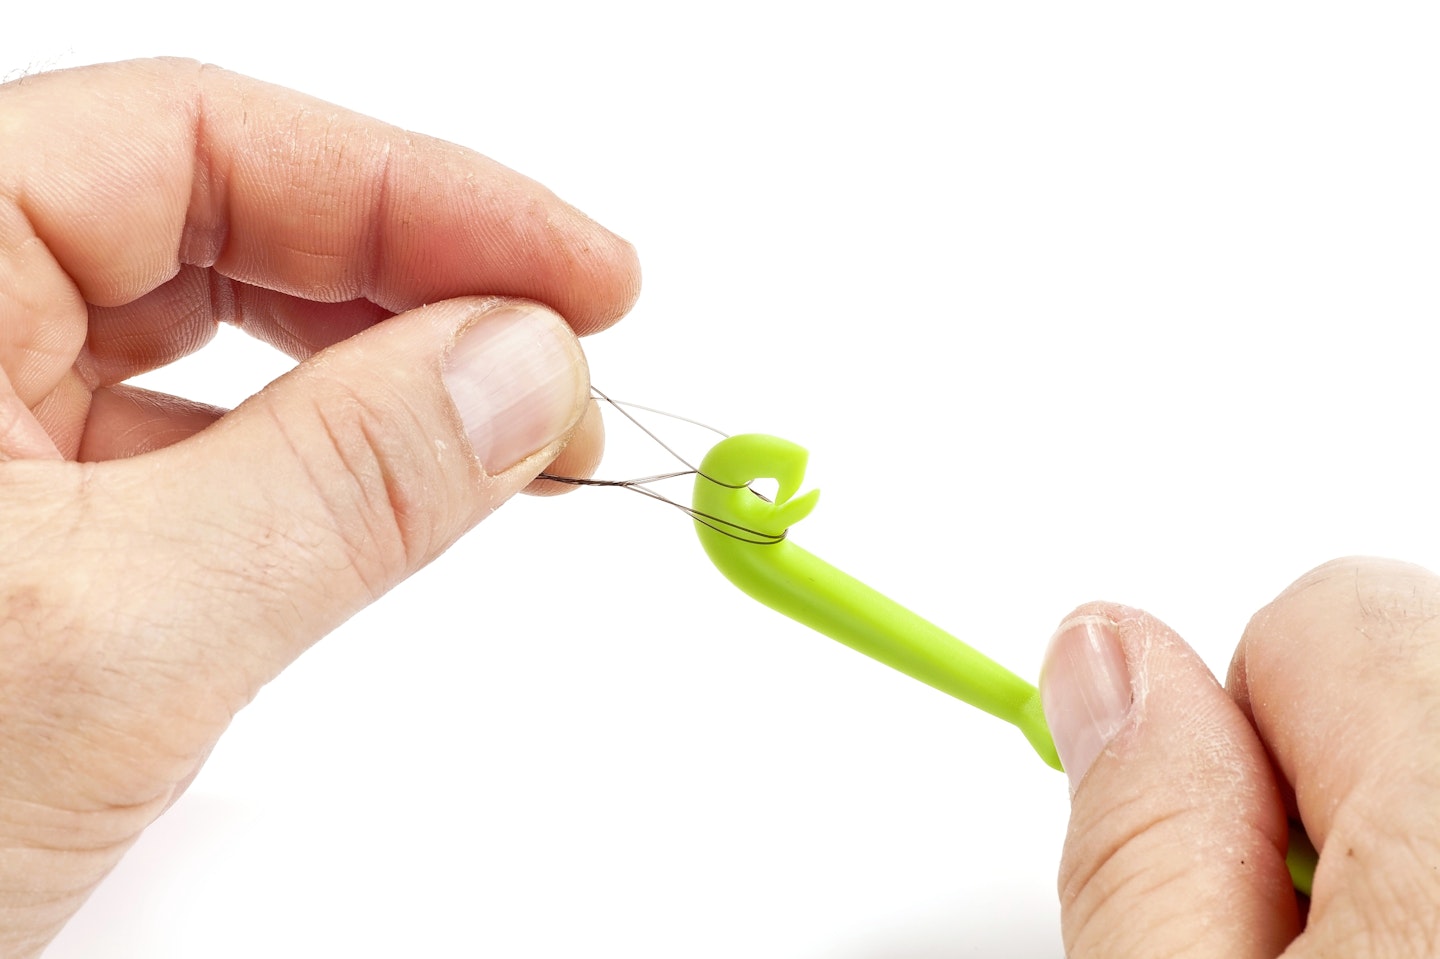
Secure both ends of line
You need to secure both ends of line with fingers and thumb and pull the line tight
 4 of 10
Twizzle the loop tyer
To form the knot correctly twizzle the loop tyer in the direction shown by the arrows above
 5 of 10
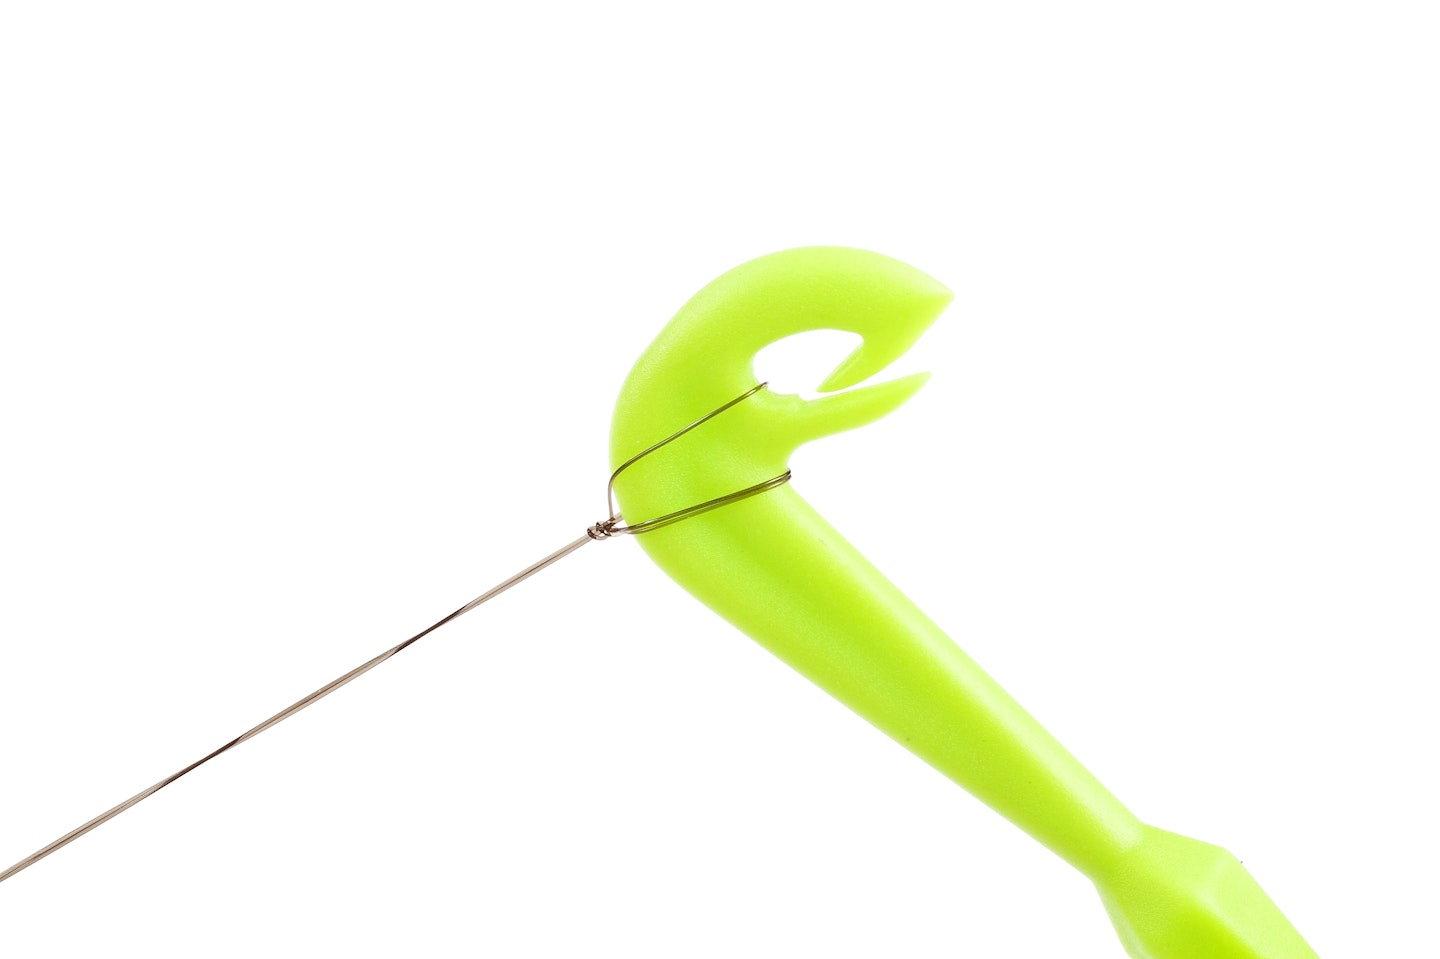
Two twizzles is all you need
Two twizzles is all you need for a secure knot but some anglers prefer to do three or four
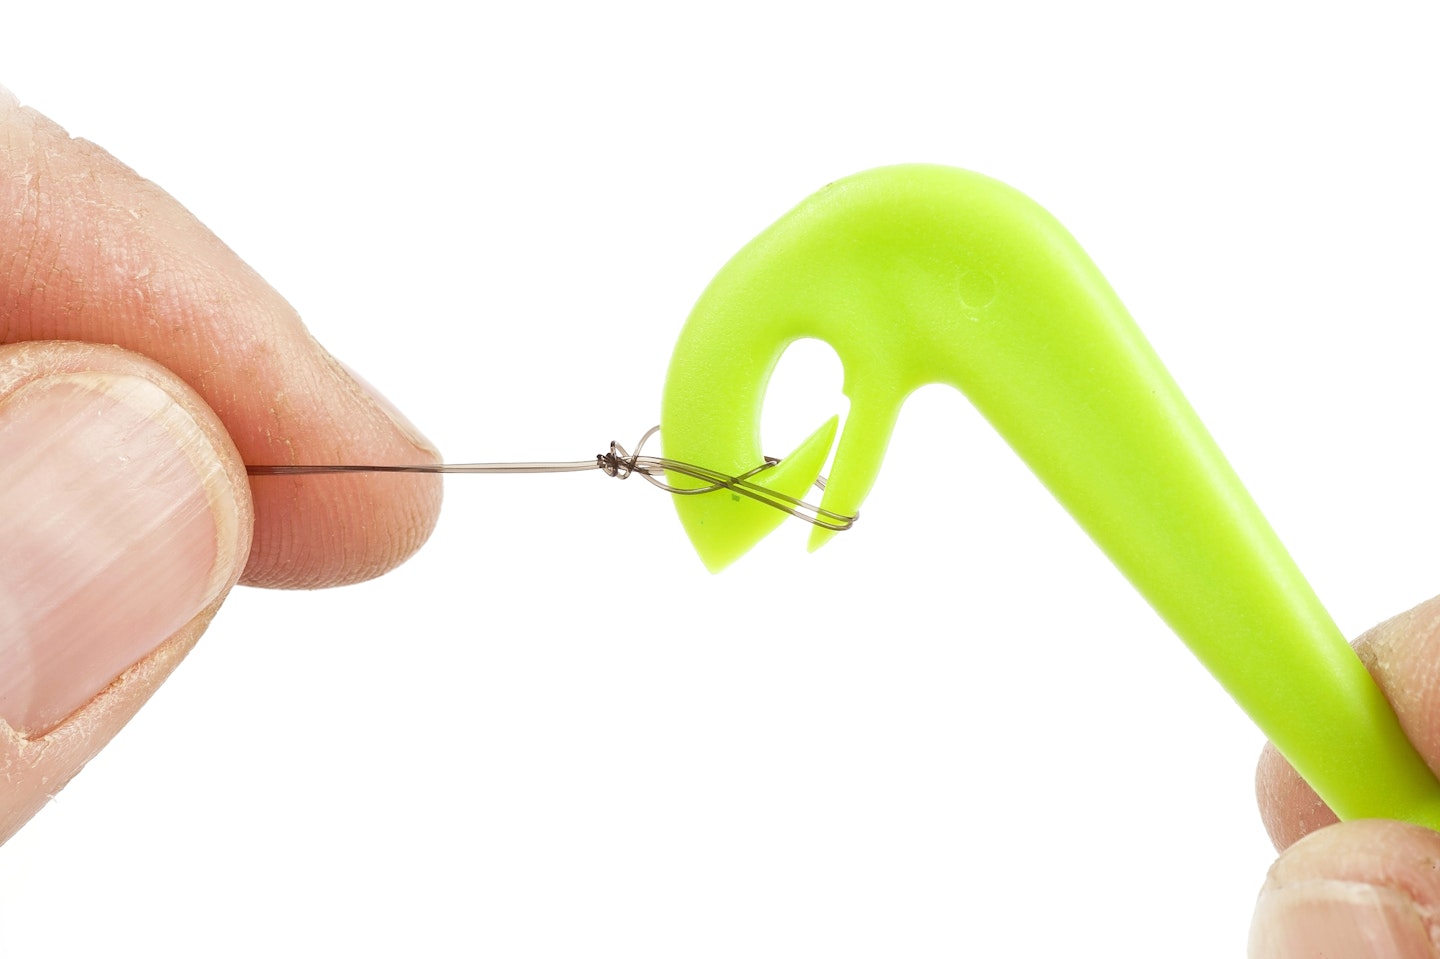
 6 of 10
The tricky bit
The tricky bit - pass the loop in your fingers over the tyer head and into its mouth
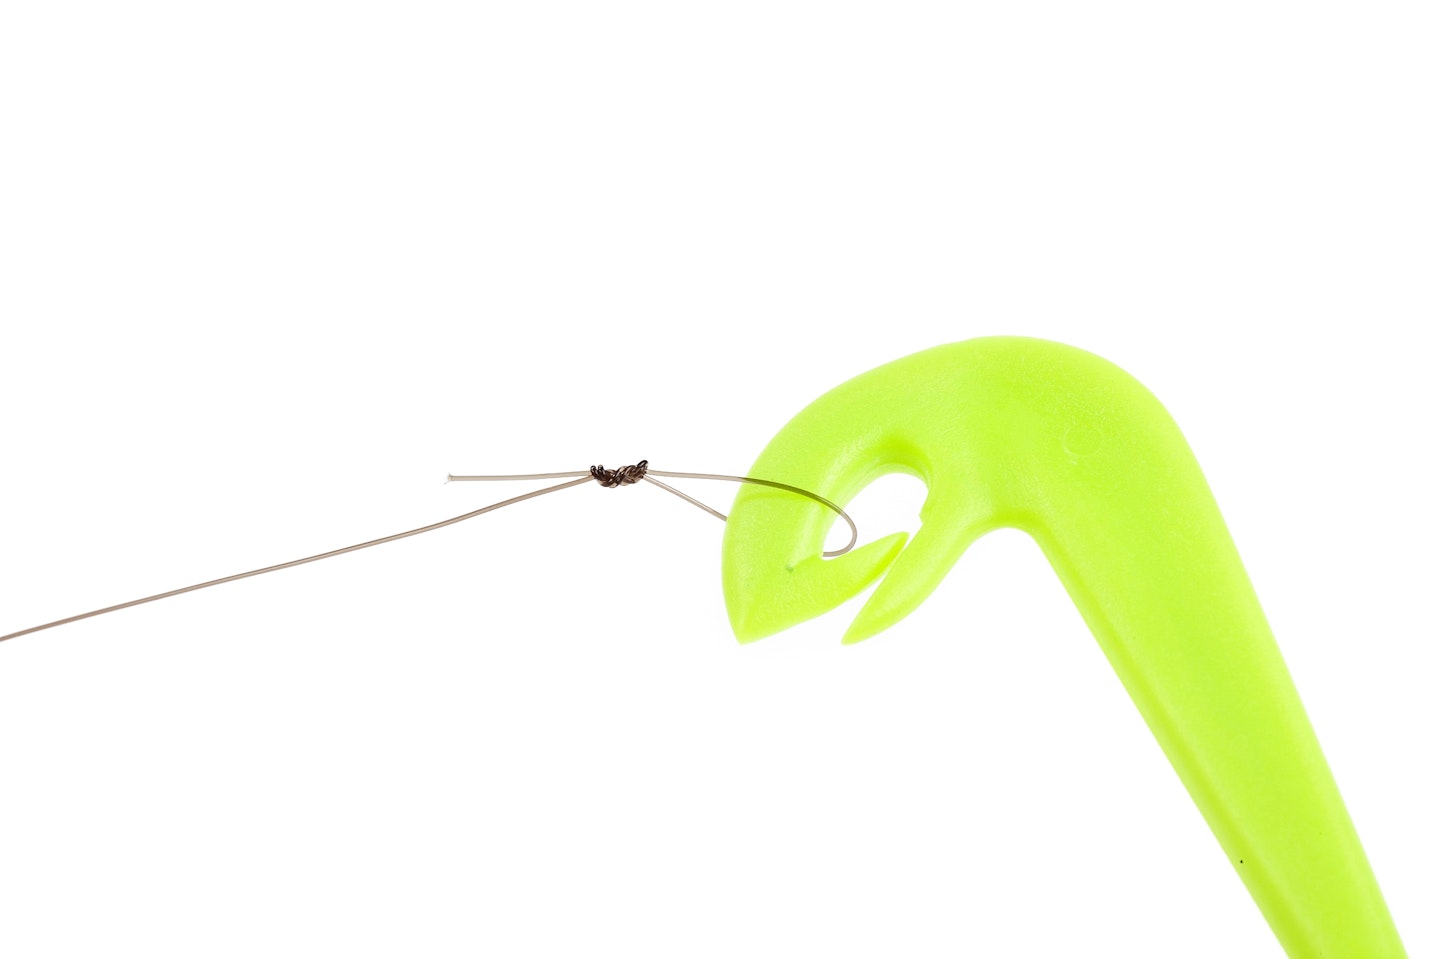
 7 of 10
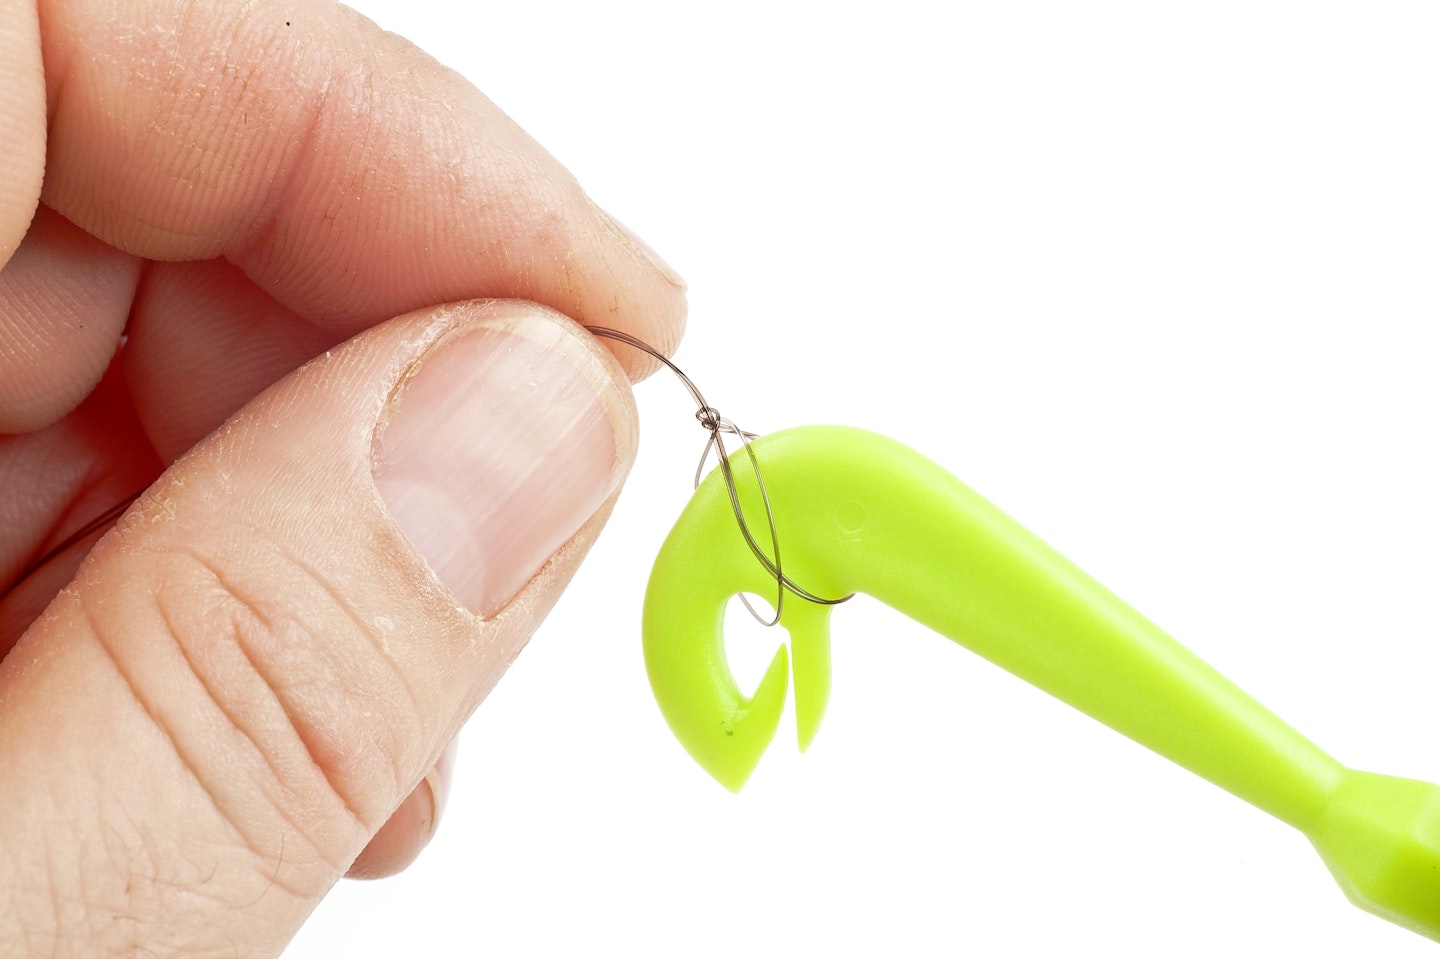
Pull the line tight
Pull the line tight in this direction with the loop tyer head pointed away from the end of the line
 8 of 10
Slide off the head
Another tricky bit. Reverse the loop tyer head and pull the line down in this direction
 9 of 10
Tighten down the knot
To finish, pull the line off the curved nose and the loop springs off the bottom jaw to the nose
 10 of 10
Slide off the completed loop
This is the finished loop. All you need to do now is unhook it