Getting an amazing photo of your best catch is one of the highlights of fishing and helps you capture those awesome memories from the bank.
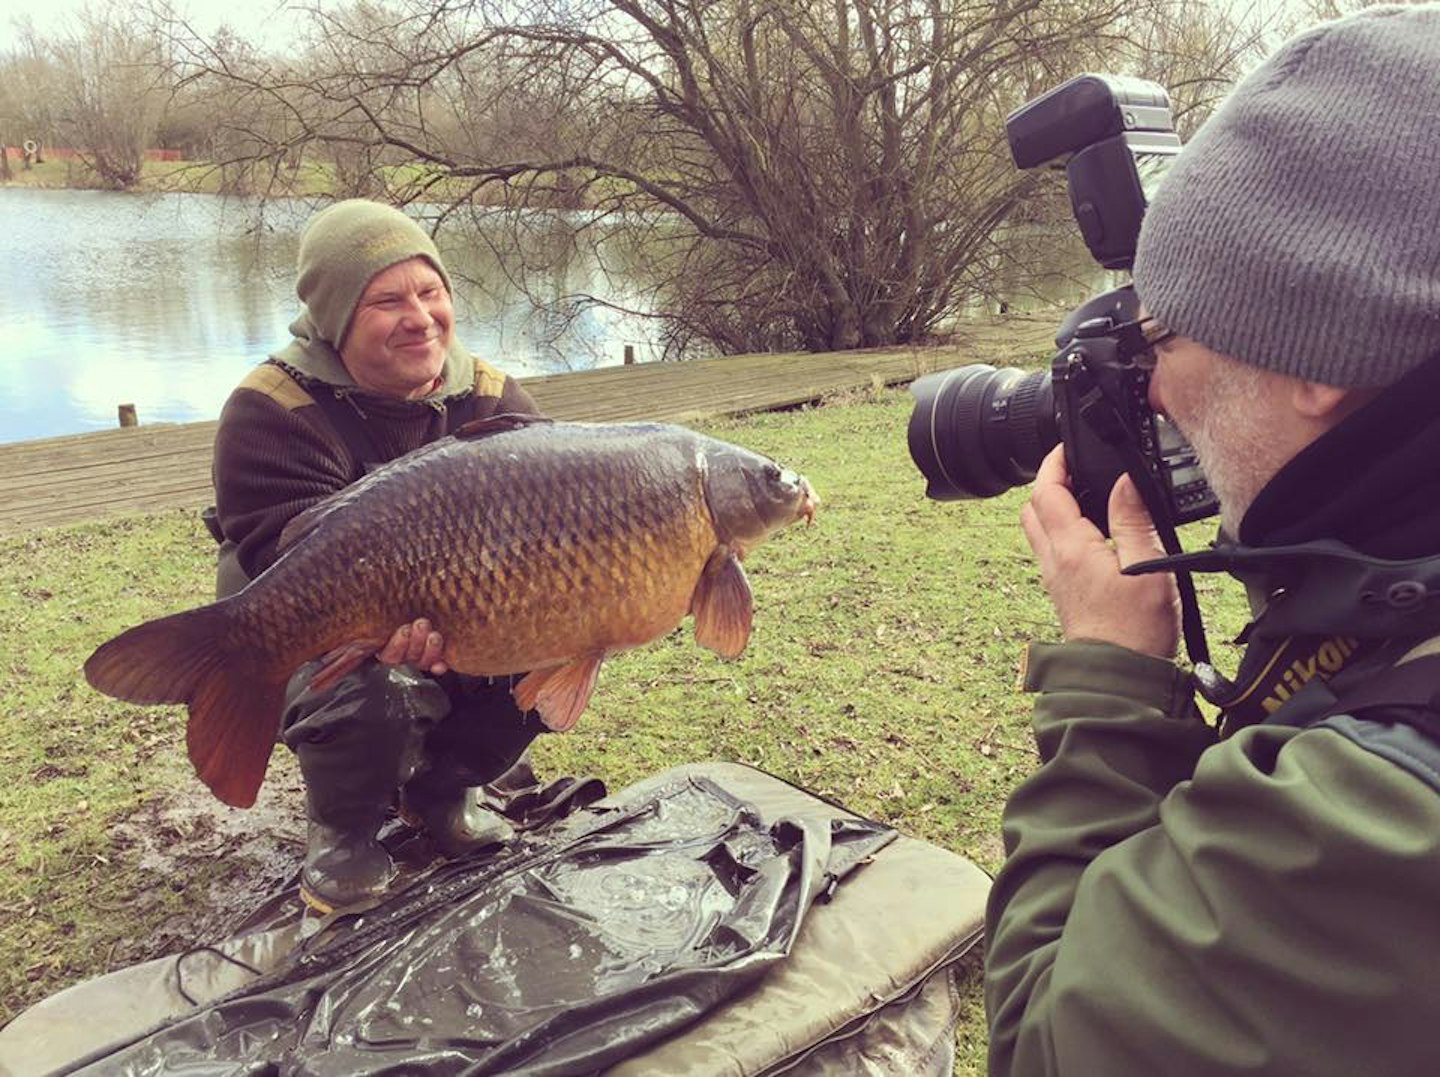
It's easy to get these right if you're with a friend, even better still if they are a trained photographer. But how about getting a shot of your catch when you're on your own, or even at night?
In this in-depth guide we show you how to improve your angling photography, no matter what budget you are on.
The basics of fishing photography
We’ll soon get on to how to get a good image when you’re alone on the bank, but for now let’s cover the basics of composing a catch shot, whether you’re in charge of the camera or you’re directing a mate.
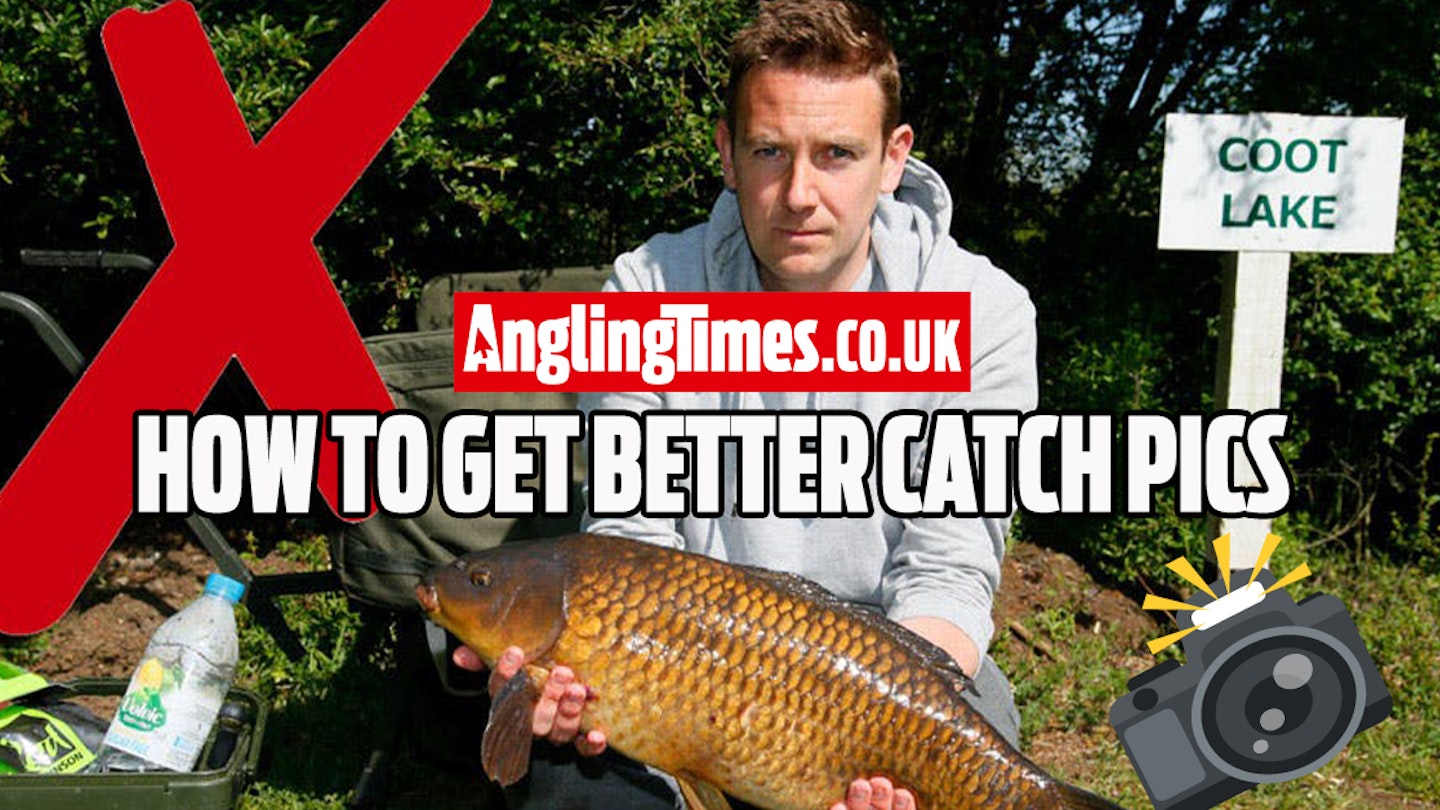
The key objects in the frame should be the fish and the captor. Not the side profile of a car, your kettle or a passing dog.
Clear the clutter from around your unhooking mat and think about what’s behind you. You might have driven to your swim, but posing with a pb in front of your Mondeo estate detracts from the scenic, fresh-air nature of our hobby.
Pick shrubs, grass or the lake as a suitable background. If there are trees, be careful that it doesn’t look like they’re growing out of the top of the angler’s head.
DIGITAL CAMERAS ARE REALLY EASY TO USE. HERE IS A GUIDE TO THE BEST DIGITAL CAMERAS.

Once the background is sorted, think about how the image is cropped.
For a simple, clean catch pic, keep the angler in the dead centre of the image and make sure the fish’s tail and mouth aren’t ‘cut off’ by the camera (it’s amazing how often this happens).
On the other hand, we want to see as much detail as possible, so don’t stand 20m away so that the angler and fish is a small dot in the centre of the pic.
BEFORE YOU CAN TAKE A PHOTO, YOU HAVE TO CATCH A FISH. CHECK OUT THESE SUPERB CARP RUNS WATERS FOR GUARANTEED ACTION.
The way the fish is held is also a massive factor in getting presentable images. Don’t force your arms out to make the fish look bigger, but don’t cuddle it closely to your chest. Take a look at inspirational shots from carp history to see how the pros do it.
Lastly, if you’re the captor then don’t forget to remove that fag from your mouth and smile. And if you’re the photographer take plenty of shots in landscape and portrait orientation.
Getting a self-take with a mobile phone
Most mobiles have a camera these days and, as they’re always with us, they’re the ideal tool for bankside photos.
If you’ve caught a monster and there’s no-one around to help out, then your phone can come to the rescue. We’ll break it down into a few different methods.
Self-timer
Most Apple and Android smartphones have a self-timer function on the camera, or you can download a free self-timer app.
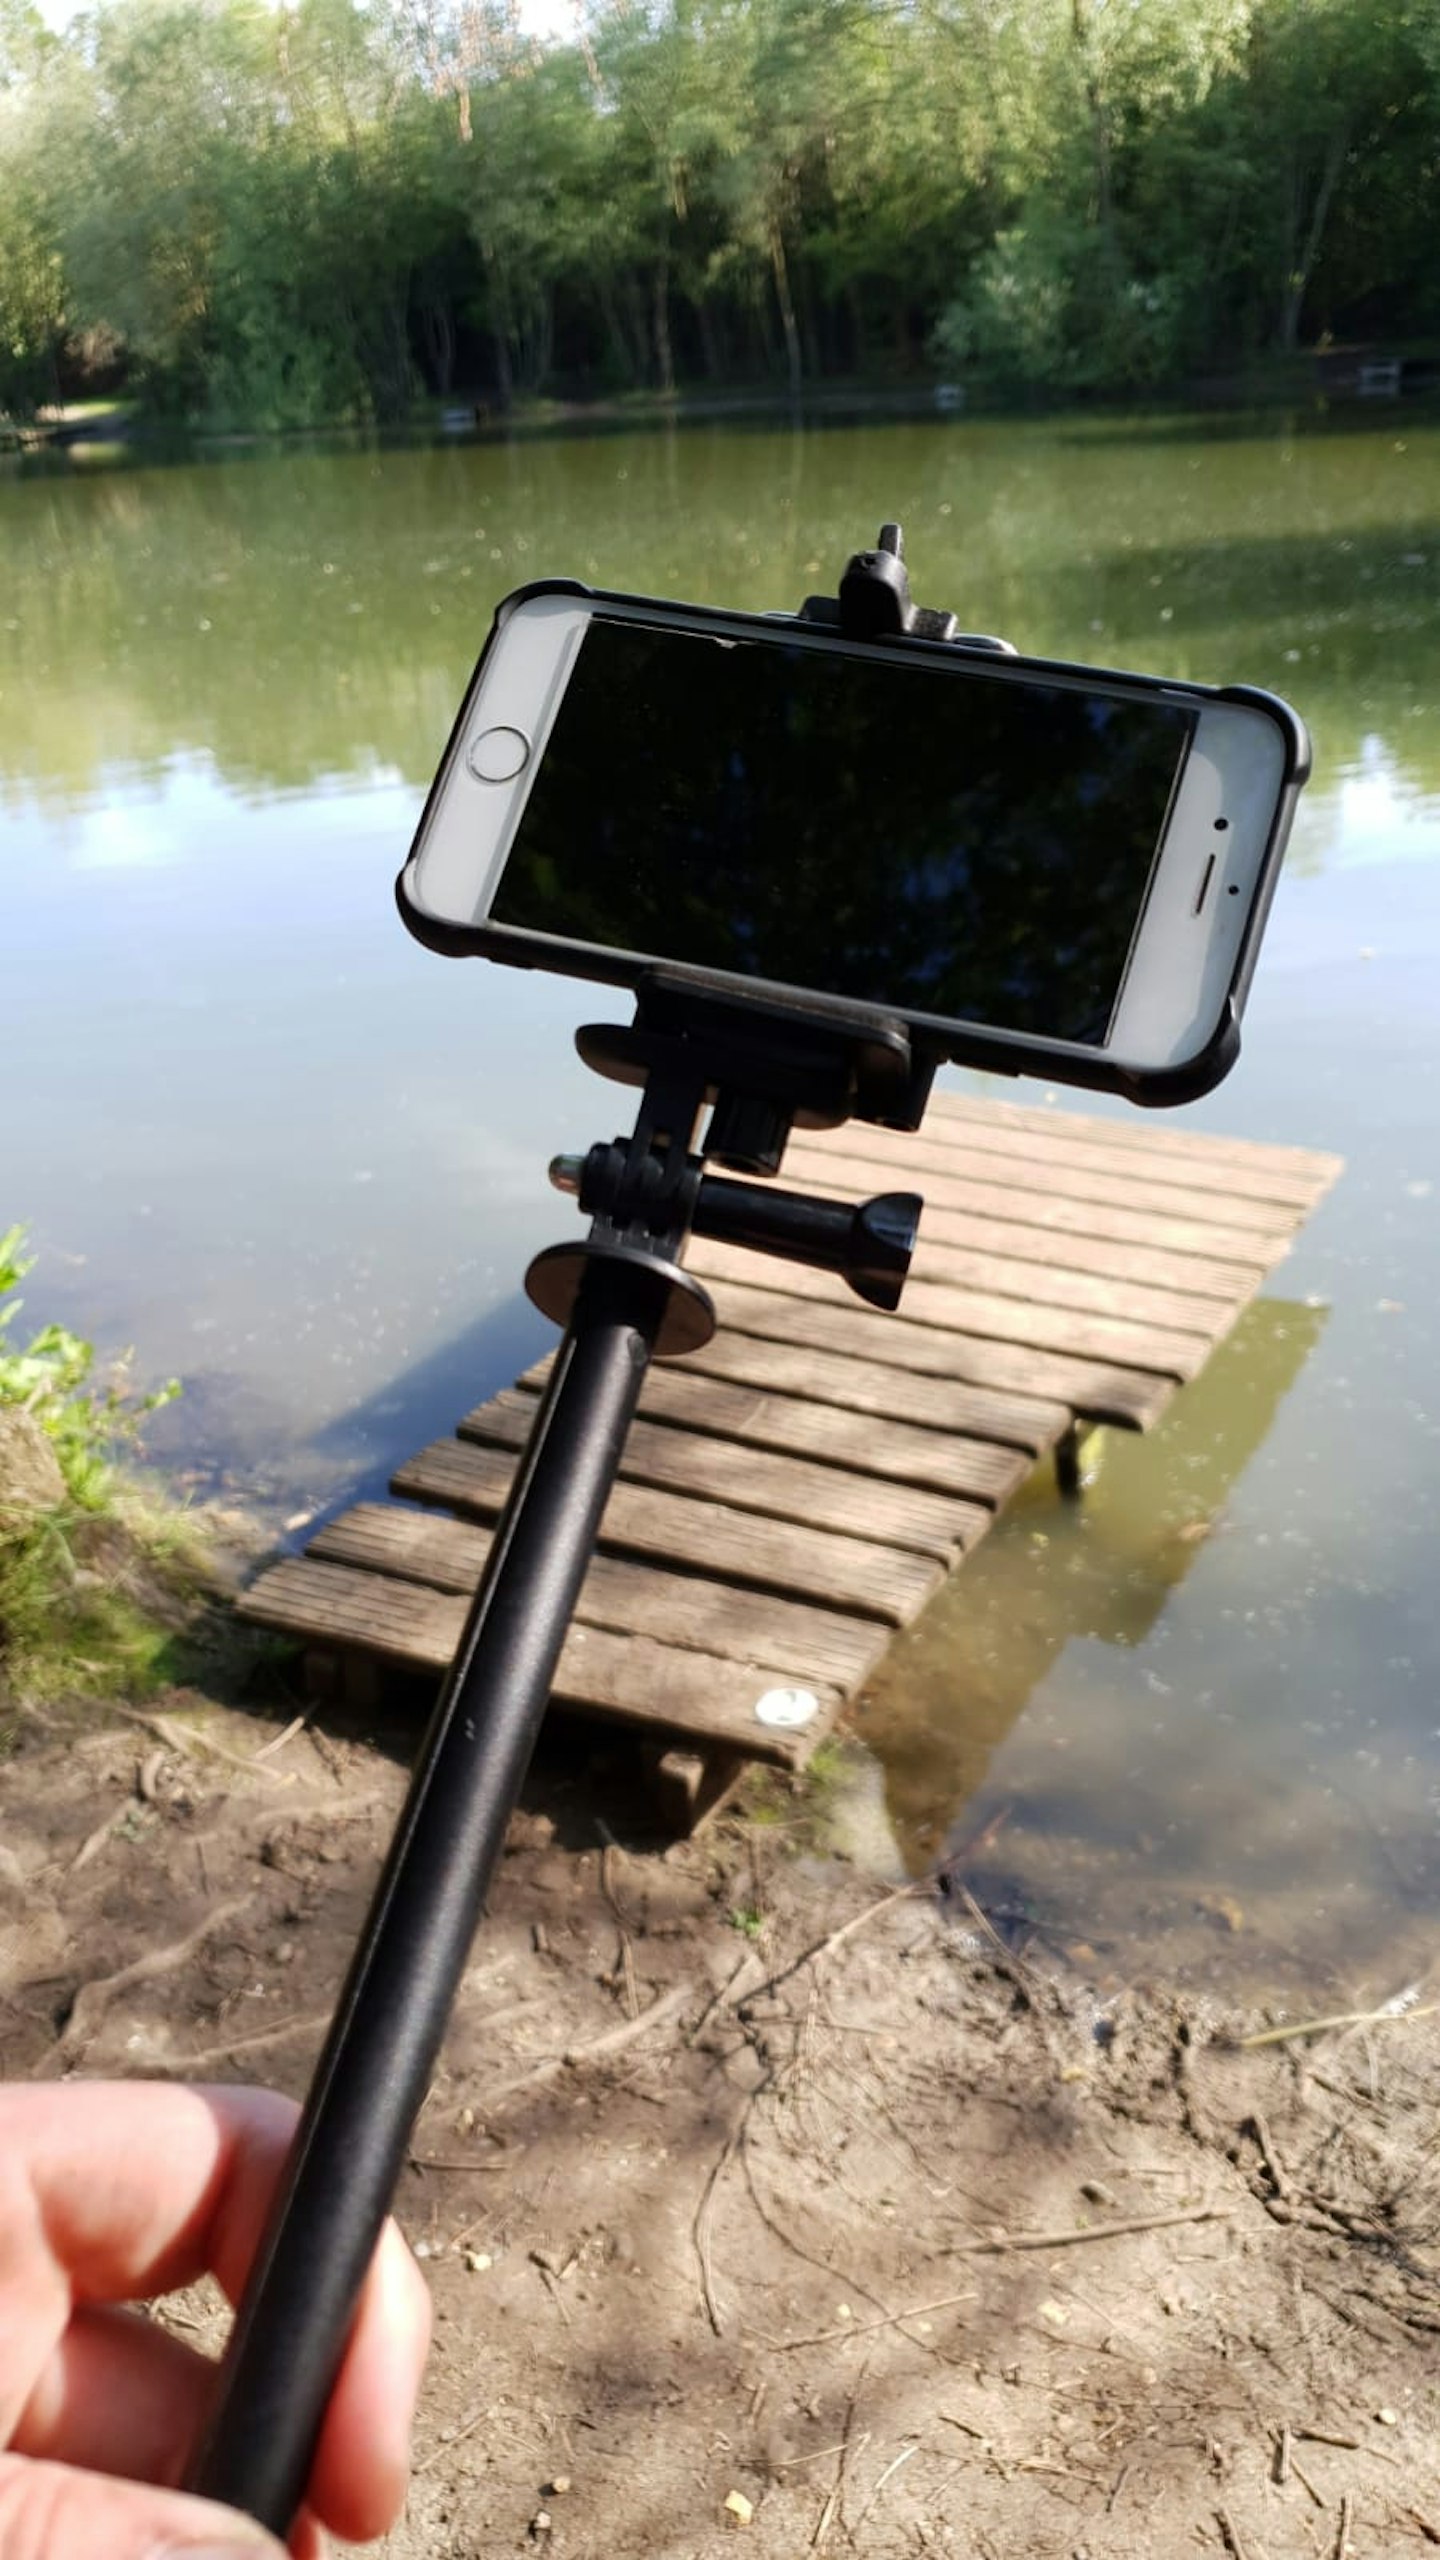
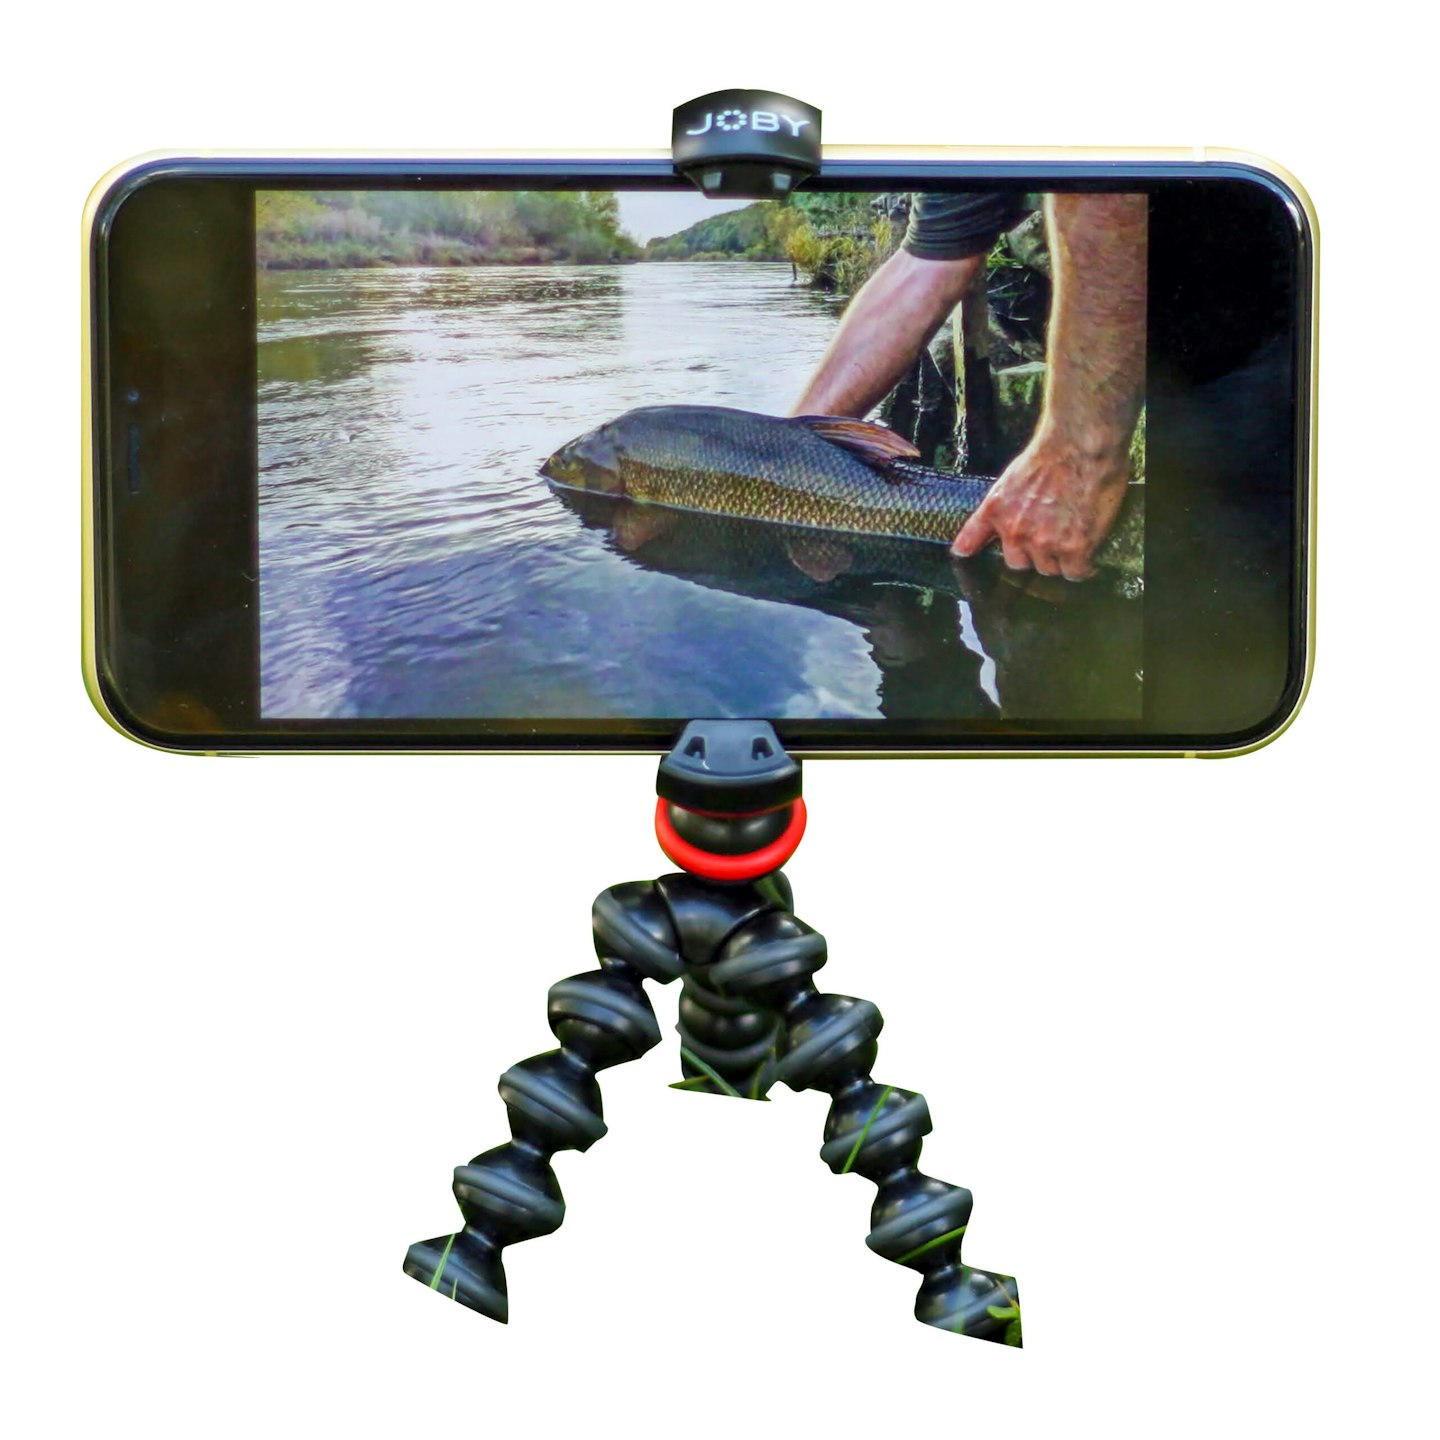
This method relies on a couple of things. Firstly, make sure your phone is securely positioned. You can buy cheap mini tripods that hold the phone in place with a spring-loaded clasp, or buy just the clasp unit and an adaptor to mount it on a proper tripod.
Best fishing selfie kit
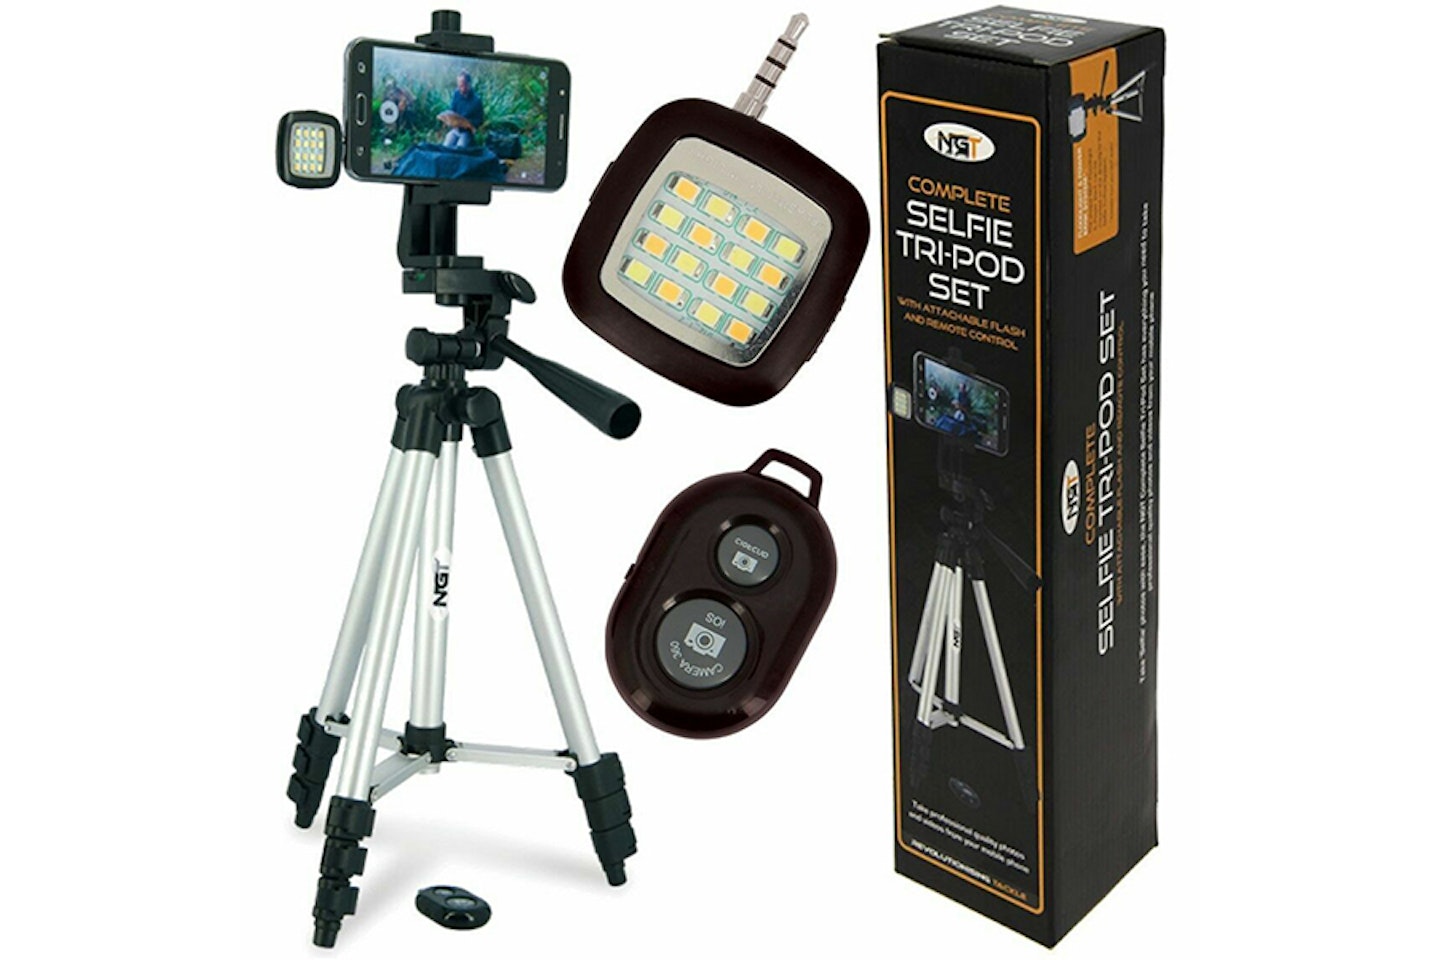
This superb NGT Fishing Selfie Tri-Pod Set has everything you need to photograph your catch with your phone. The package includes a tripod, light and selfie button, which connects to your phone via Bluetooth. This is all supplied in a simple case. The trip-pod also has adjustable legs so you can take pictures on any terrain, and locks your phone in place securely with a clamp.
Pros
- Perfect for taking fish photos on your own.
- Adjustable tripod suits sloping banks.
Cons
- Light isn't the strongest and Bluetooth button is not most reliable.
Alternatively, an old selfie stick can be wedged in an upright position or zip-tied to a bankstick, or you could even balance your camera on a stack of bait buckets.
The next tricky element is to set the self-timer and get back to the mat to hold the fish.
Fish care should always come first, so don’t risk the carp’s life for a photo, but a countdown of 15 or 20 seconds should be ample.
If you’re struggling with single-shot self-timers on either your phone or camera, try using a timelapse app or intervalometer function.
These can be used on either device and take multiple shots at regular intervals (one every second, for example), giving you the chance to show both sides of the fish or smile and pout and pic the best image!
Video mode
If you’re not great with a camera and you’re on your own, this is a great way to ensure you get something usable to show your mates down the pub.
Line up your mobile phone as discussed above and rather than bothering with still images, simply switch to video mode and press record.
Once you’ve finished holding up your prize catch, you can scrub through the footage and pause at a suitable moment.
Most phones will remove all on-screen icons after a second or two in pause, giving you a full-screen image of your fish.
Take a screenshot (on Apple phones you hold the power and the home key together at the same time, and on many Android devices it’s volume down and power) and you’ll have a usable still image.
These won’t be quite as clear as a proper photo, but with modern HD and 4K video it should still be plenty good enough.

Wireless shutter-release buttons used to be reserved for high-end cameras, but you can buy sub-£5 Bluetooth versions for your phone.
These key-fob-sized devices can be used while you’re holding the fish, triggering the camera shutter at the precise moment you’re happy with the shot.
Best fishing camera adaptor
www.ebay.co.uk
This simple one size Gardner Camera Adaptor turns any bankstick or tripod into a mount for any camera. The solid brass design will not rust, includes a safety washer to protect the base of the camera and easily fits into any tackle box, or your pocket. What's not to like? Super cheap too.
Pros
- Quality construction.
- Turns your banksticks into camera mounts.
Cons
- Is pretty small so can get lost easily.
Night shots
Taking photos of a monster fish at night is tricky for numerous reasons, but there are some things you can do to help.
Flash is essential, whether it’s built in to your camera or an external unit, but the captor’s positioning can have a big effect on its efficacy.
At night, sit the angler close to foliage like a bush or shrub, so the light from the flash has something to bounce back off. This will help show up more detail in the fish.
LED panel lights have become popular with anglers in recent times, but they’re generally more suited for video work.
They will certainly help add extra light, but won’t replace a good external flash.
If the captor is wearing a head torch, tell them to take it off or turn it off, as it will only fire light back at the camera (or phone), leading to the under exposure of the fish.
SEE MORE AT NIGHT WITH OUR GUIDE TO THE BEST FISHING HEADTORCHES.
Getting a self-take with a camera
A dedicated camera unit is more capable of producing great images than a phone, but using them can be tricky if you’re a novice.
Firstly, a solid tripod is a must, and make sure the camera is lined up straight (use the far margin or horizon as a guide if shooting towards the lake).
LOOKING FOR A NEW CAMERA? CHECK OUT THIS ARTICLE FROM THE TEAM AT WHAT'S THE BEST?

If you’ve got a flimsy tripod, weighing it down with something like a sack of boilies or your lead bag can really help in windy conditions.
A camera with a flip-round screen can be very handy as it’ll act as a mirror, allowing you to line up your photo even when you’re in front of the lens.
WANT THE BEST TRIPOD FOR YOUR DSLR? CHECK OUT THIS BUYER'S GUIDE.
Once your photo area is framed, your options are similar to those with a phone. You can press a self-timer countdown, use an infra-red remote shutter release or set up a timelapse-style intervalometer to take multiple pics at set intervals.
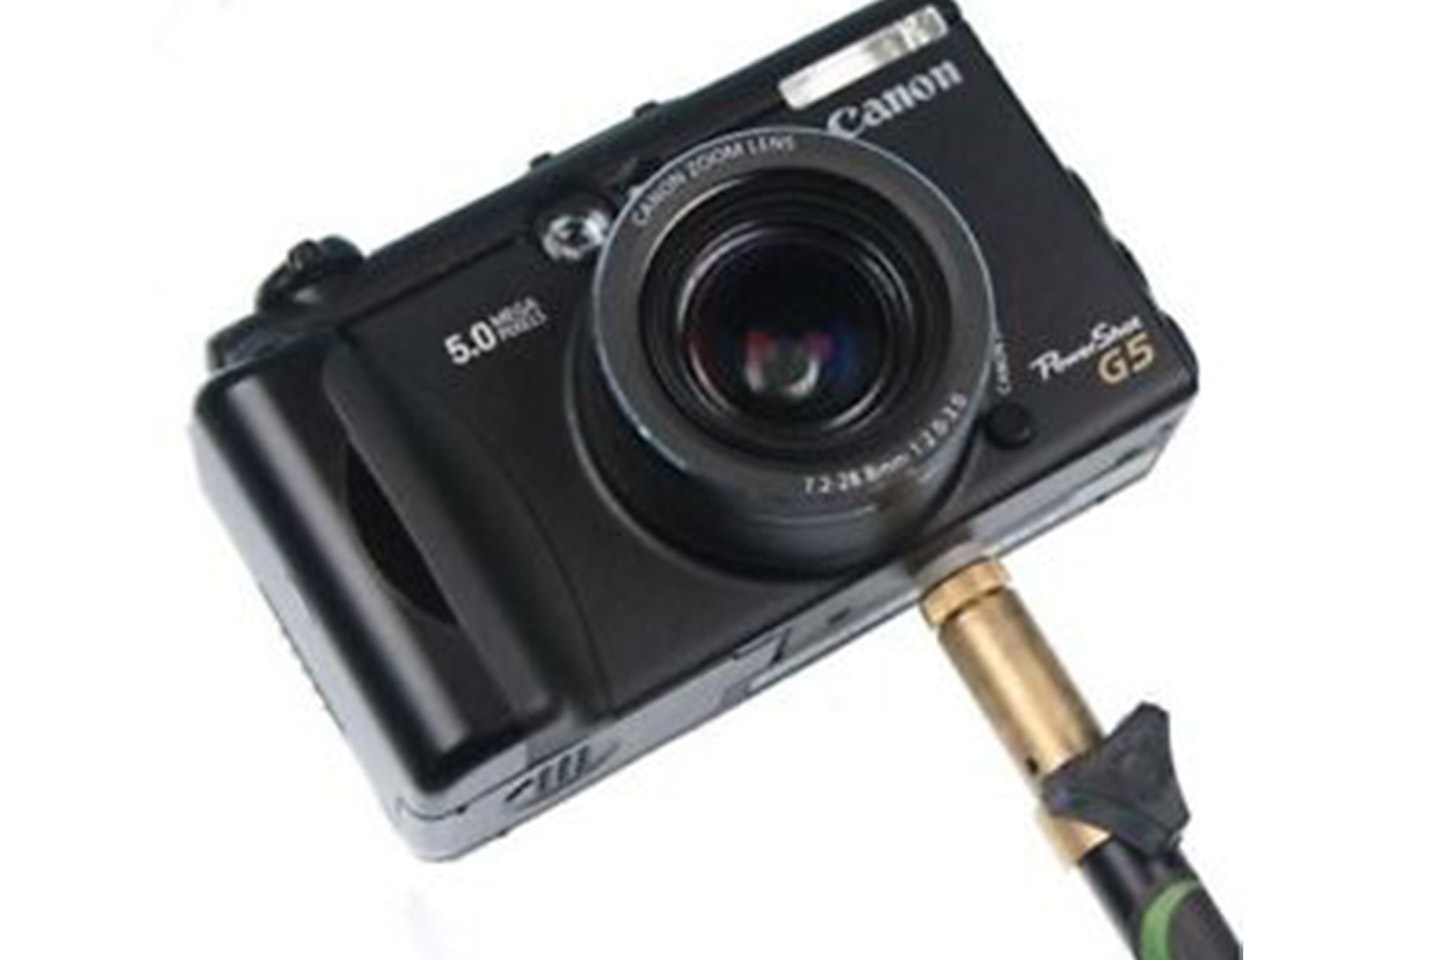
Another option, considered a bit old-school these days, is to use a bulb release on a long cable (typically 20ft).
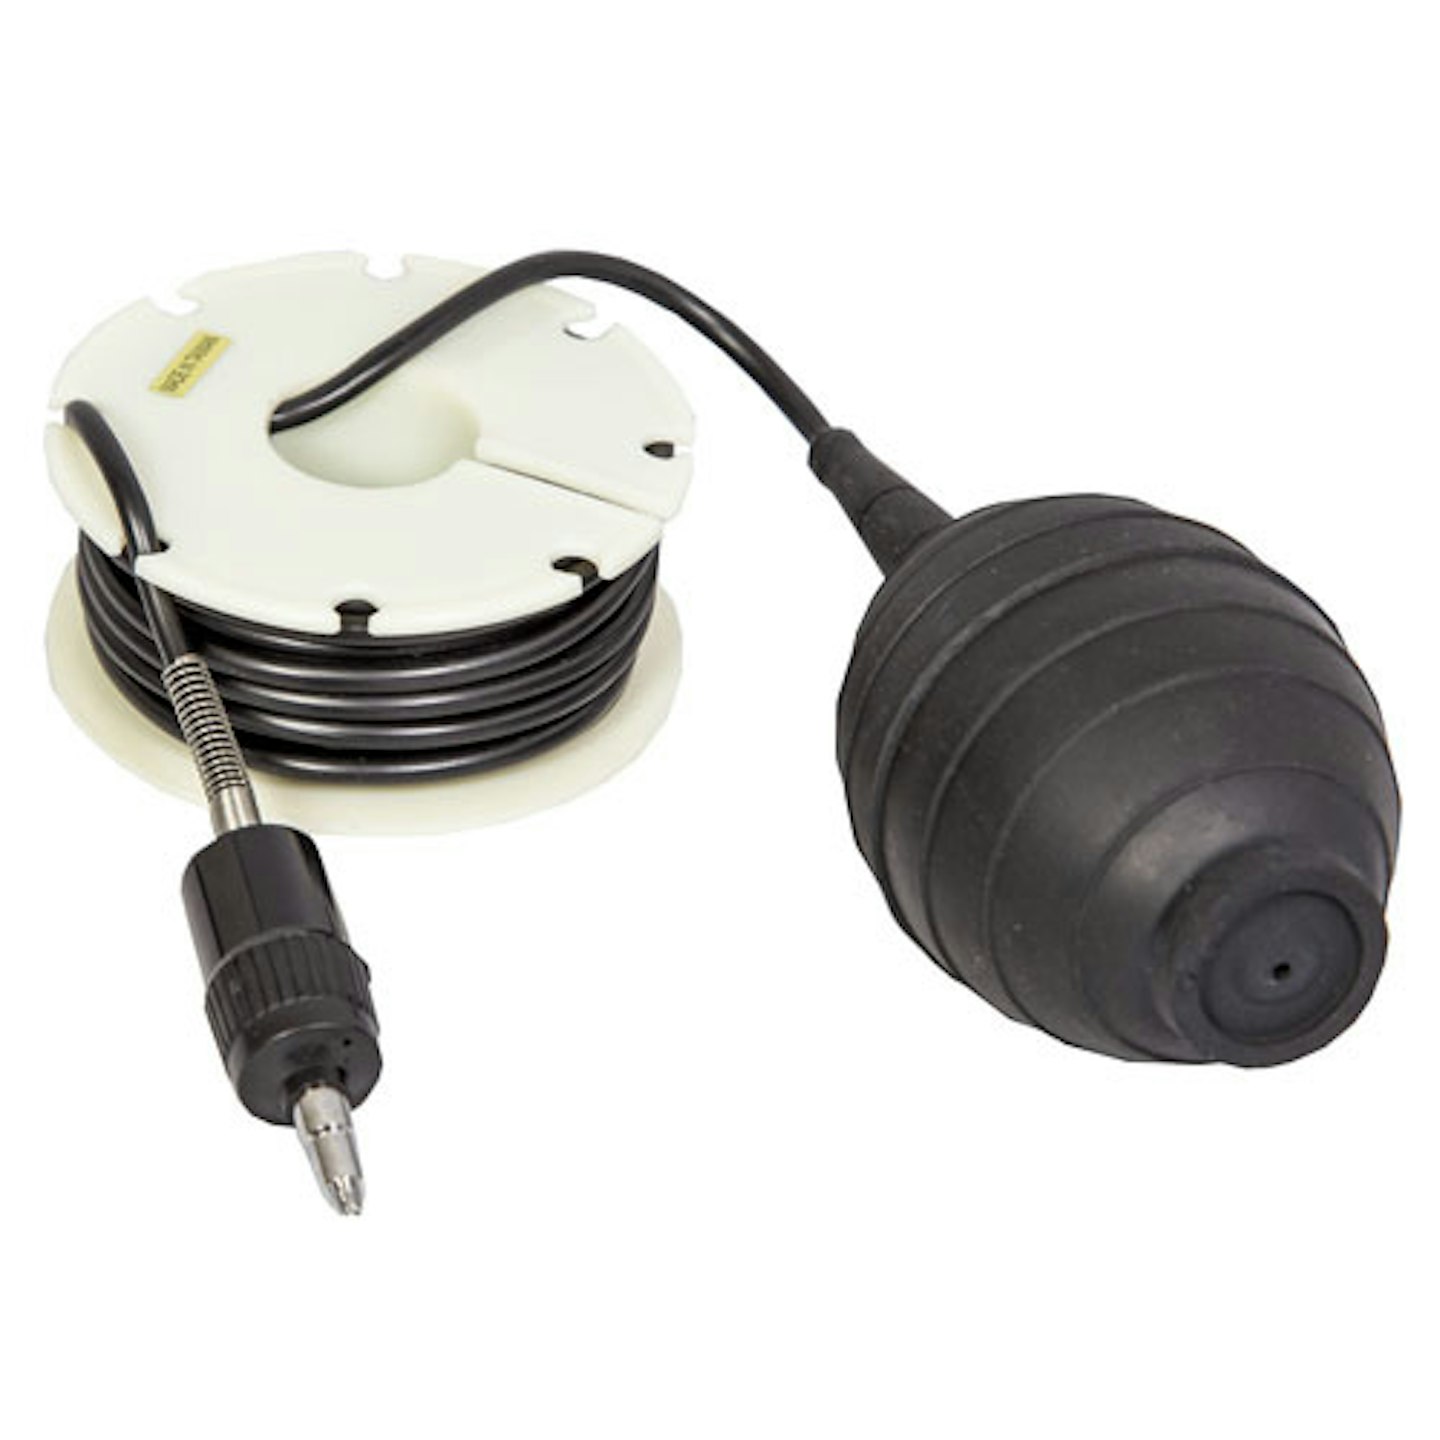
These devices rely on the user squeezing a bulb of air to activate a pushing motion on the shutter button.
They can be fiddly to set up but you can activate them with your knee or foot, so they’re completely out of shot.
Best fishing DSLR Self Take Kit
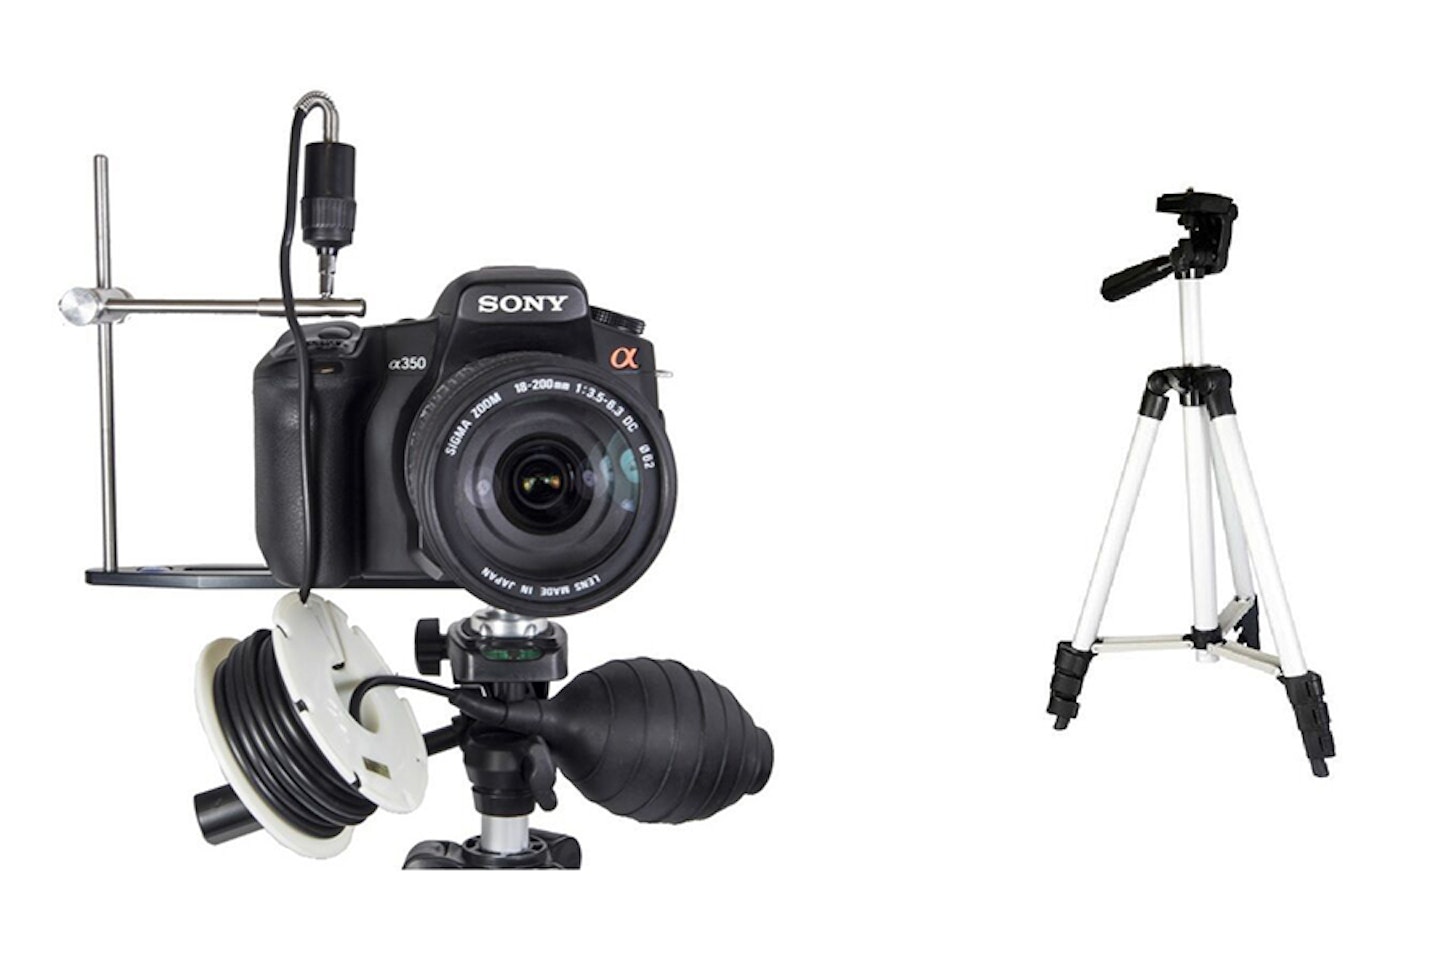
www.total-fishing-tackle.com
The SRB -Self Take DSLR Camera Kit + Travel Tripod has everything you need to take photos of you catch on your own using your DSLR camera. Included in the kit is a large bracket that attaches to the base of the camera which can then be mounted on the supplied tripod.
The 20ft. Air Release in the package can be screwed in to either the 3mm or 4mm insert, so you then have everything you need to keep your hands on the fish and take amazing photos.
The head on the tripod is adjustable in three ways, with a built in spirit level and extendable head. The aluminium legs can also be extended to 1020mm with the quick level lock leg system.
Pros
- Quality DSLR self take kit.
- Strong, reliable and adjustable tripod.
Cons
- Could have come with lights.
Getting better catch shots with a camera
Lens
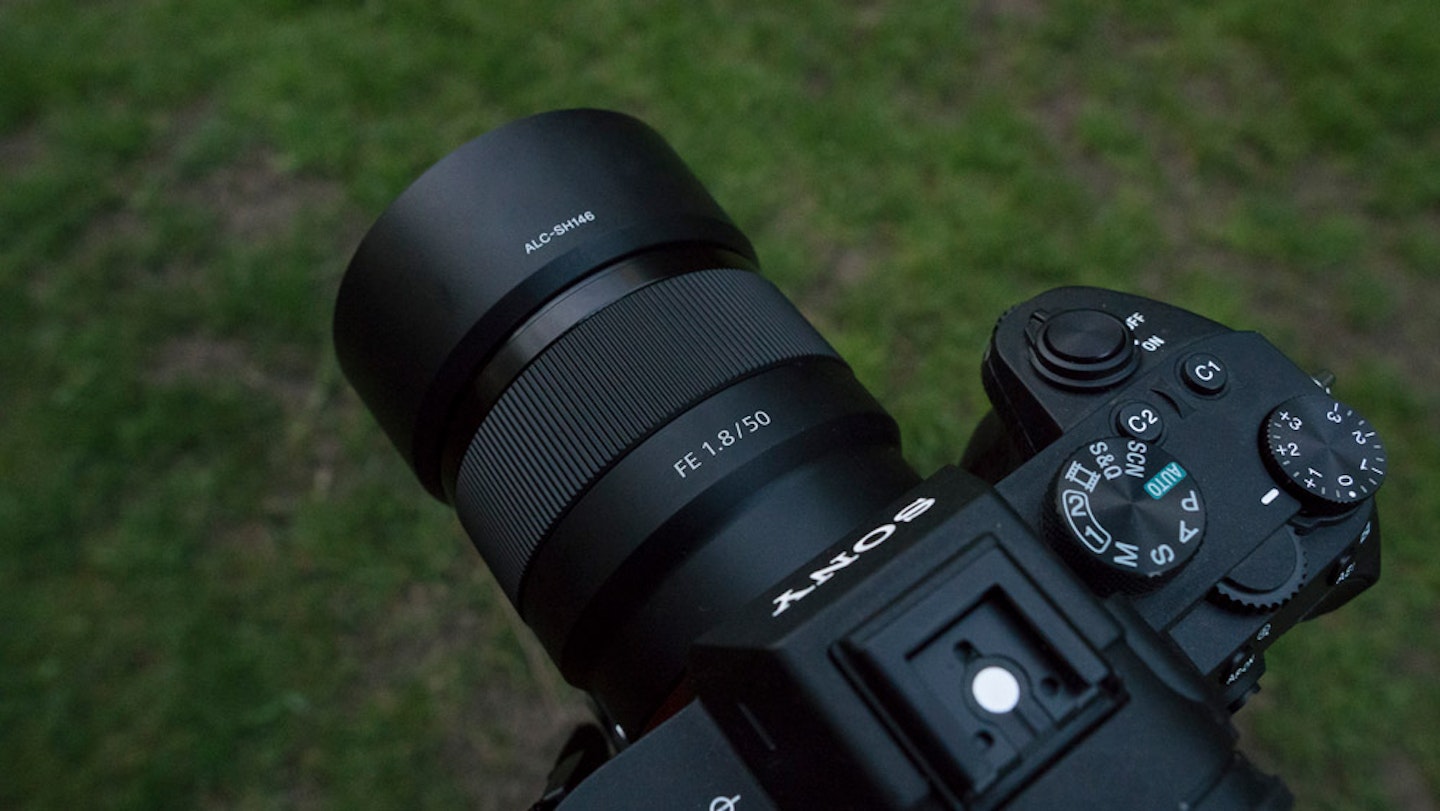
If you’re after those classic carpy shots with a blurred background, then a good place to start is with a 50mm lens.
These ‘prime’ lenses (so called because they do not have a zoom between two different focal lengths) generally have a ‘fast’ aperture, allowing you to create very narrow depths of field for that ‘sharp fish, blurred background’ effect (look for a lens with a low F-stop number for this).
LEARN MORE ABOUT CAMERA LENSES IN THIS ARTICLE.
The 50mm focal length is also great for portraits as it compresses one’s face for a flattering appearance.
You can get similar results with 28mm and 85mm lenses, but as that number gets higher you’ll have to stand further back from the angler to get them in shot, so bear that in mind in tight swims.
Settings
Lots of modern digital cameras have a ‘face detection’ auto-focus system, which is logical as most photos with people in should have sharp faces.
However, with fishing shots, the key element is the fish, and these automatic systems can produce annoying photos that aren’t ‘quite right’.
Catch pics definitely look better if the fish is pin sharp (the angler can also be sharp depending on your depth of field), so either turn off this face-detect function, or be aware that it may try to over-ride you as you capture a friend’s pb.
If you’re comfortable in manual-focus mode, get the fish as sharp as possible as a priority.
Ideally you don’t want the angler blurred out, so don’t go for a tiny depth of field on catch shots, but a bit of ‘softening’ is fine if the fish is absolutely sharp.
An aperture of F4 or F5.6 is a good starting place with catch shots, but you can experiment as you get more confident.
Full manual mode gives you the greatest creative freedom, but it can be daunting for beginners.
All photos are a three-way compromise between ISO, shutter speed and aperture.
There are some great videos on YouTube which demonstrate this relationship, but for anglers looking for that carpy shot, try starting off in aperture-priority mode.
This will allow you to set that shallow depth of field, and the camera will automatically work out your ISO and shutter speed.
Shoot in RAW
If you’re feeling confident with composition and camera settings, then always shoot RAW files if your camera supports them.
Unlike standard Jpegs, these files capture much more light detail, so they can be tweaked in a computer program like Adobe Lightroom or Photoshop.
You will need one of these programs (or a free alternative) to view and edit these images, but you can make your pics pop (or retrieve under or over-exposed mistakes).
This page is a free example of the amazing content Angling Times Members get every single week. Becoming an Angling Times Member gives you access to award-winning magazine content, member rewards, our back issue archives, bonus content and more! Join our fishing community and find out more today!