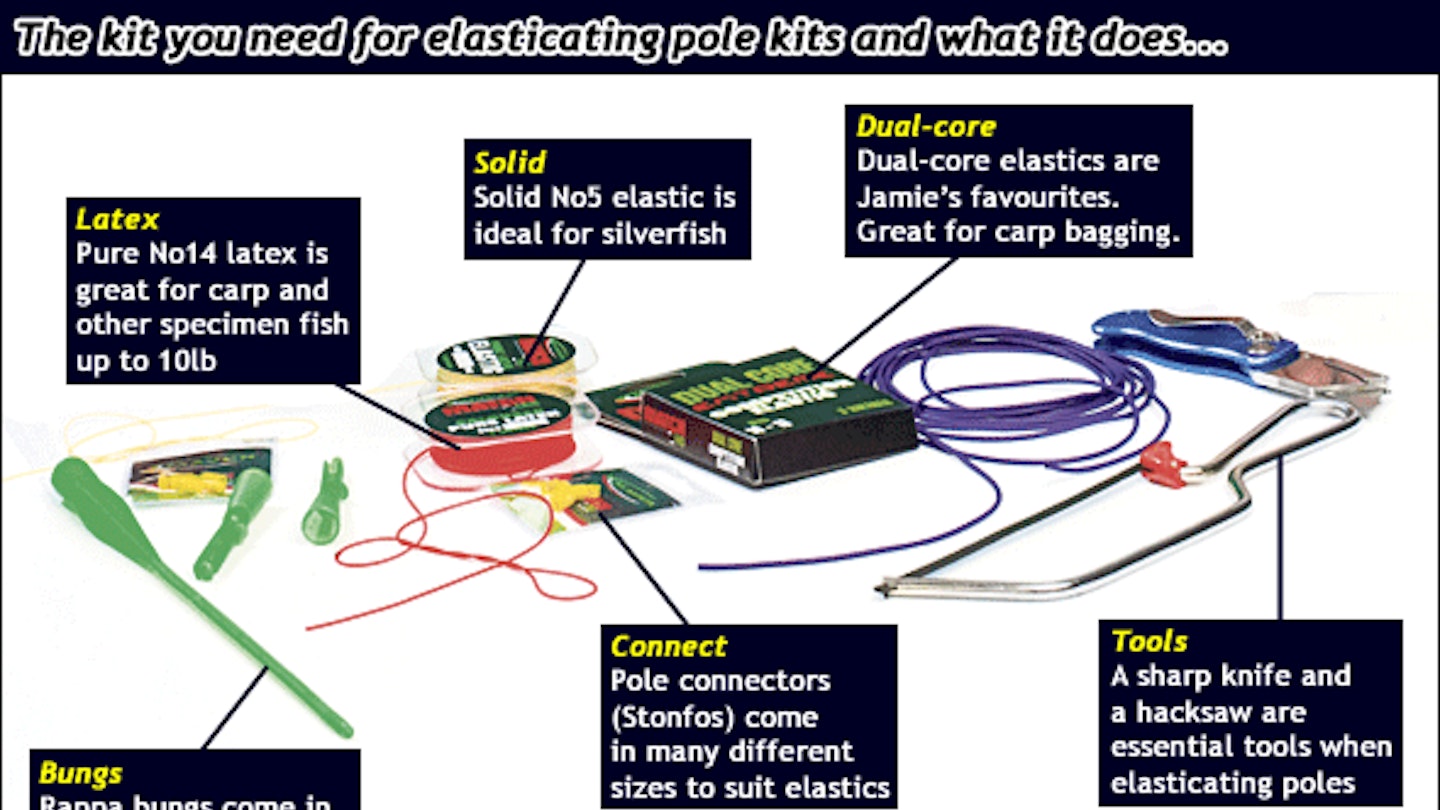
A pole needs elastic to cushion the fight from a battling fish. We’ve teamed up with tackle giants Maver and leading pole angler Jamie Masson to show how to turn the new pole you left the tackle shop with into one you can actually use.
In this article Jamie shows us how to create a silverfish set-up and a heavier carp rig.
How to elasticate a silverfish kit using the No1 and No2 sections from a match 3 kit...
.jpg?auto=format&w=1440&q=80)
.jpg?auto=format&w=1440&q=80)
.jpg?auto=format&w=1440&q=80)
.jpg?auto=format&w=1440&q=80)
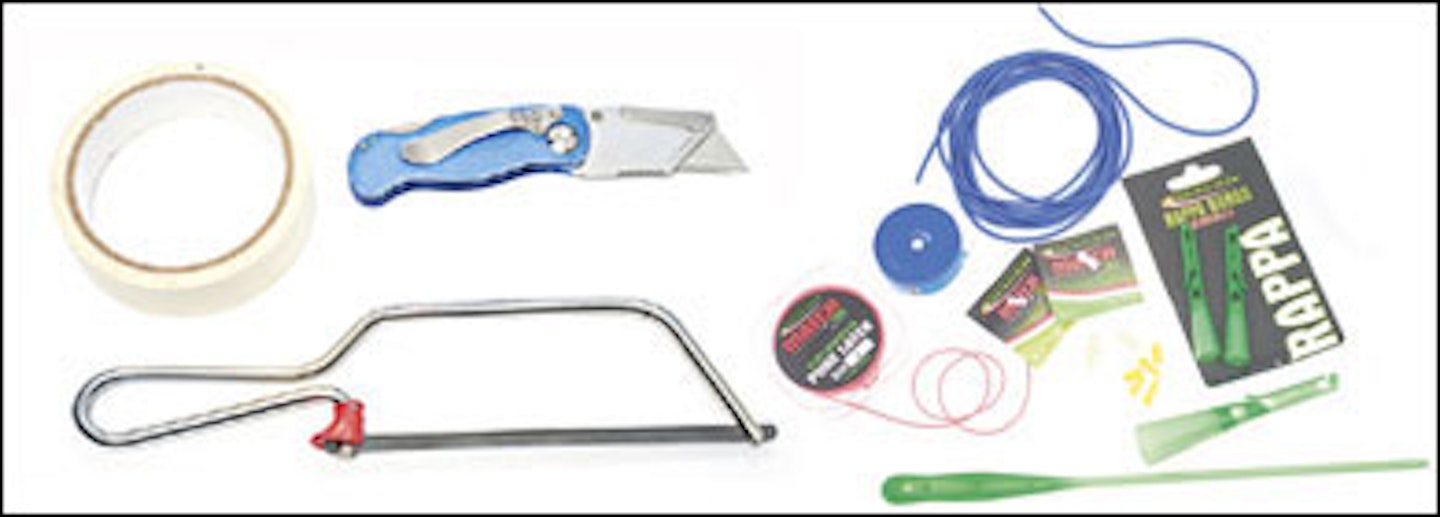
- You’ll need the following tools to do the job – fine hacksaw, sharp craft knife and sticky tape
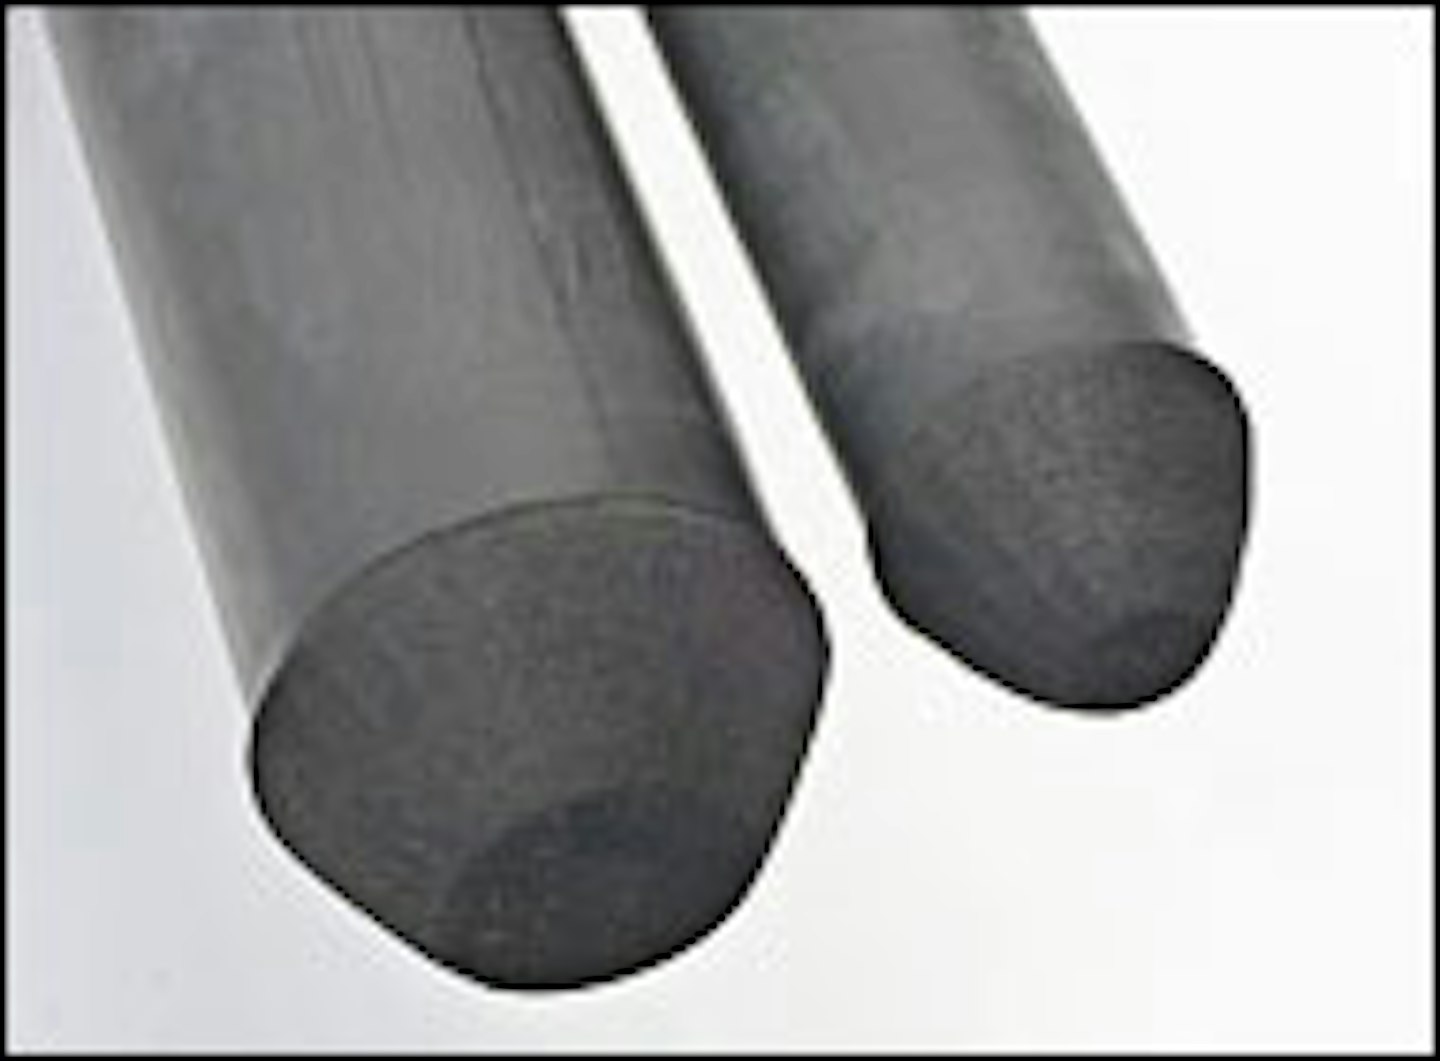
- The narrowest diameter (No.1) section is telescopic and should be pushed into the No2 section
- Pull the thin No1 section right through the No2 until it seats tightly
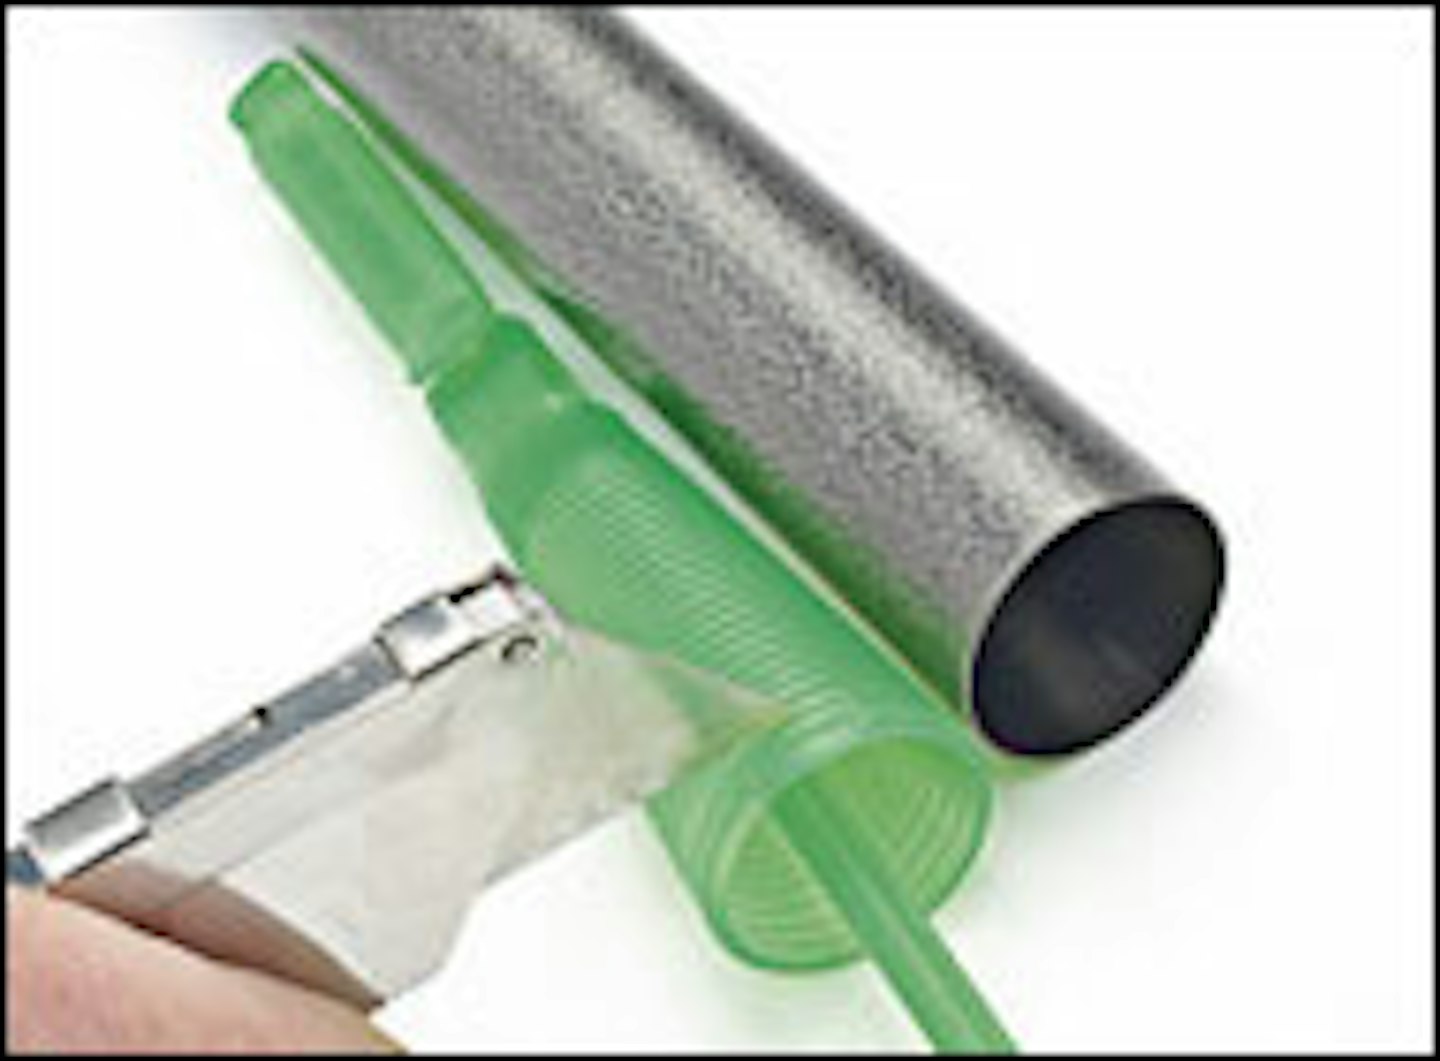
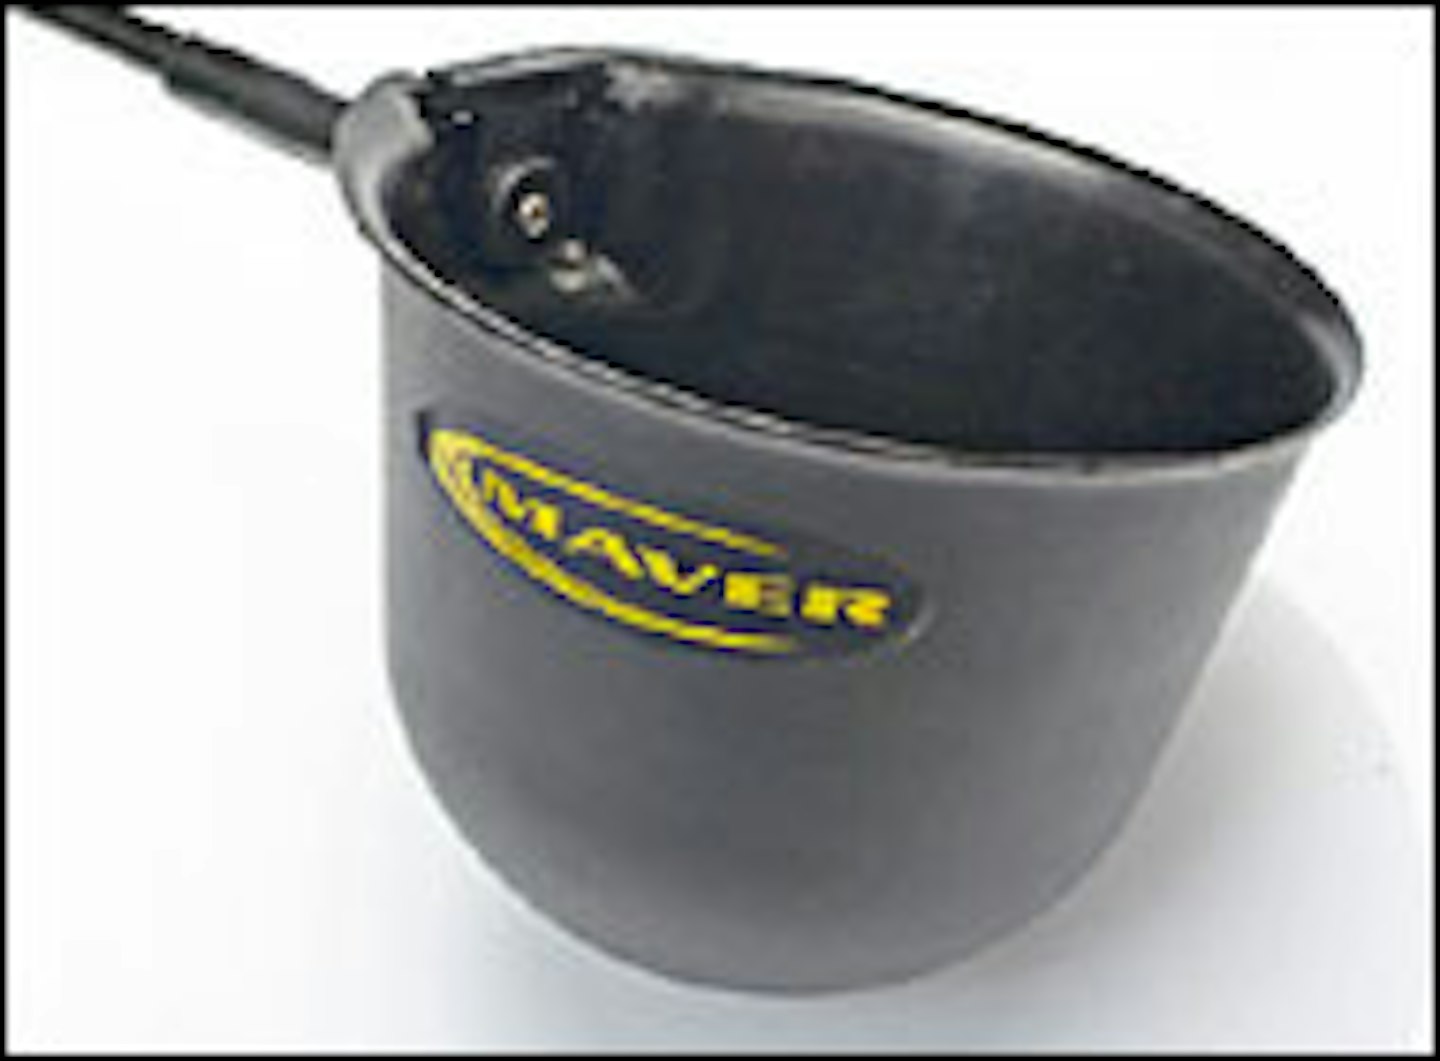
- Take a Maver Rappa Bung (this allows you to adjust tension) and push it tightly into the No2 section
.jpg?auto=format&w=1440&q=80)
.jpg?auto=format&w=1440&q=80)
.jpg?auto=format&w=1440&q=80)
.jpg?auto=format&w=1440&q=80)
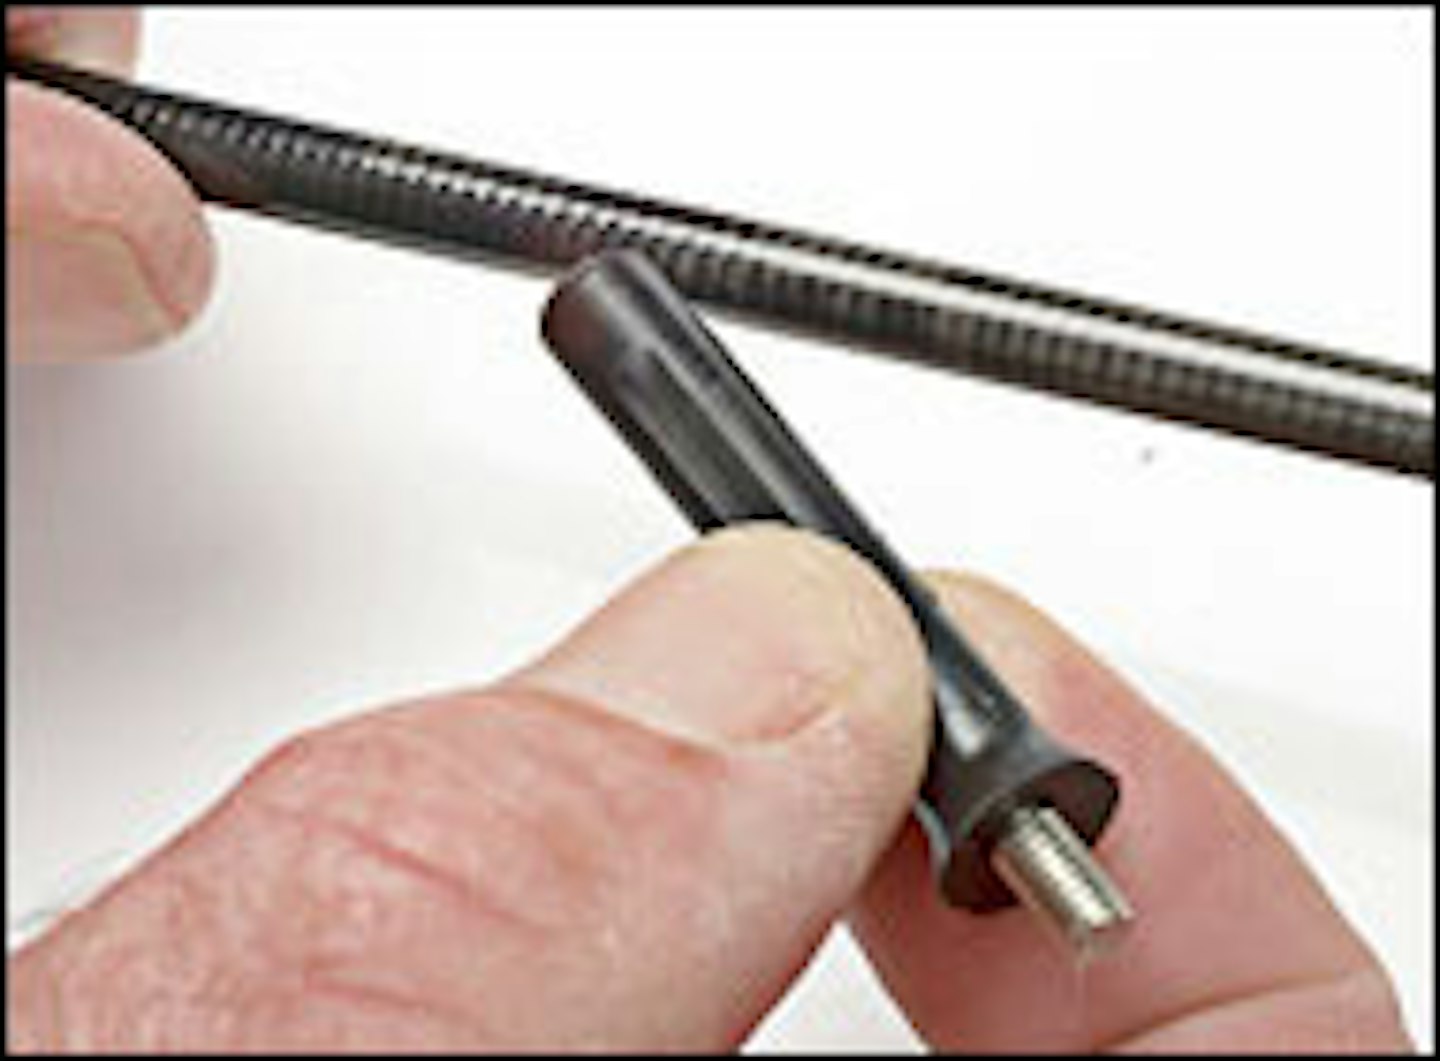
- Add the extractor rod into the bung . Count the number of rings left exposed – in this case its 6
- Withdraw the bung and place the knife a further two rings along the narrowing bung (that’s 8)
- Carefully cut the bung at this point (on the eighth ring)
- The bung will now slide 6 inches into the No2 section. This gives room to connect the No3 section
.jpg?auto=format&w=1440&q=80)
.jpg?auto=format&w=1440&q=80)
.jpg?auto=format&w=1440&q=80)
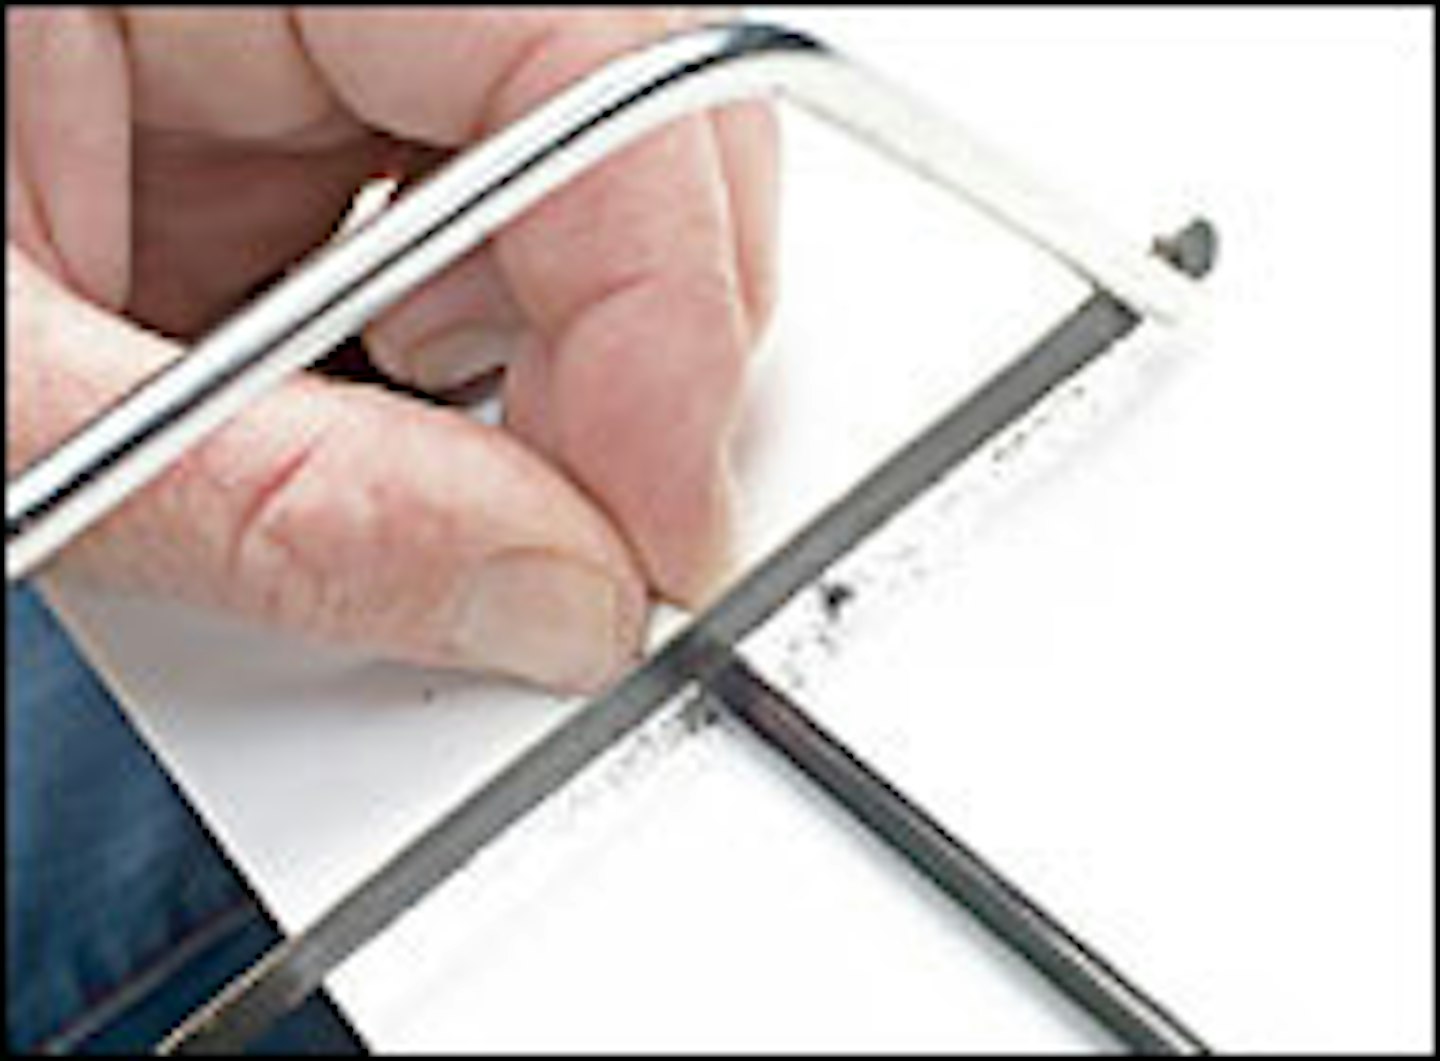
- Match the diameter of an internal PTFE pole bush to the diameter of the No1 section
- Score the pole all the way round at this position and very gently snap off the excess
NOTE: If cutting a larger section Jamie wraps it with tape and cuts with a hacksaw
- If the bush doesn’t fit, keep cutting off very small pieces (2mm-3mm) of No1 until it does
How to elasticate a power 2 kit for larger fish like carp...
- Once again you’ll need exactly the same tools as you used to rig up your silverfish top 2 kit. This time we’ll be using the supplied top 2 power kits which are stronger, to cope with big hard-fighting fish
- Repeat the bung sizing process (above). This bung should fit into the base of the Power 2
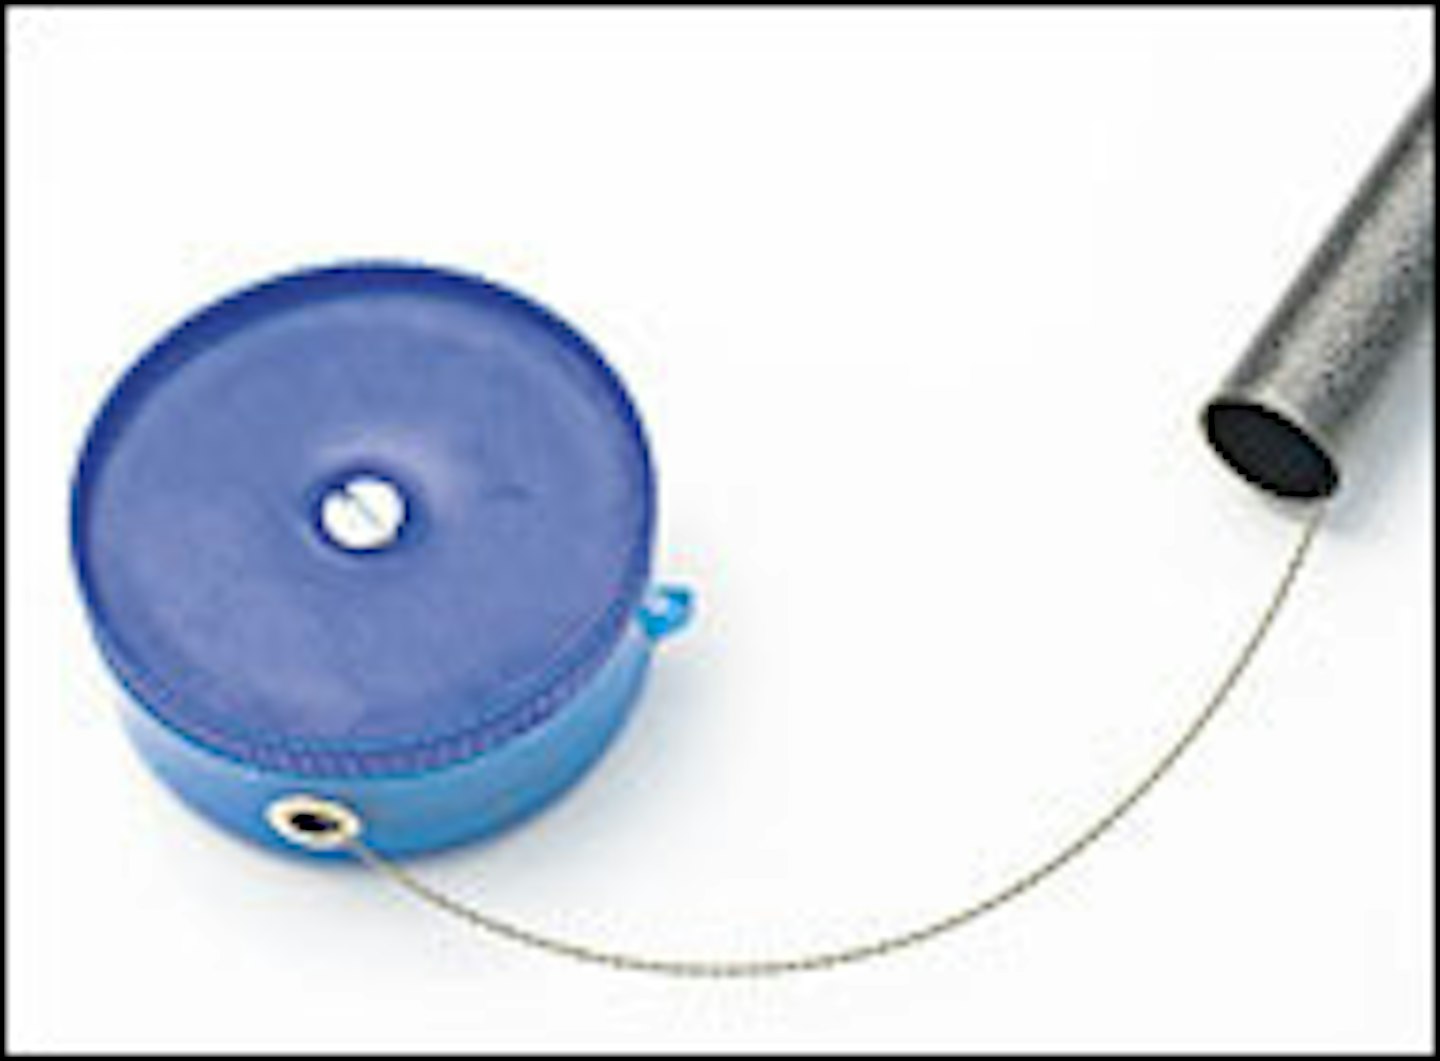

- Push the eye of the wire diamond threader through the base of the Power 2 out of the No1 section
- Now slip the elastic through the diamond eye until it grips firmly in the wire
- Pull the protruding wire from the bottom of the No2 section, dragging the elastic with it
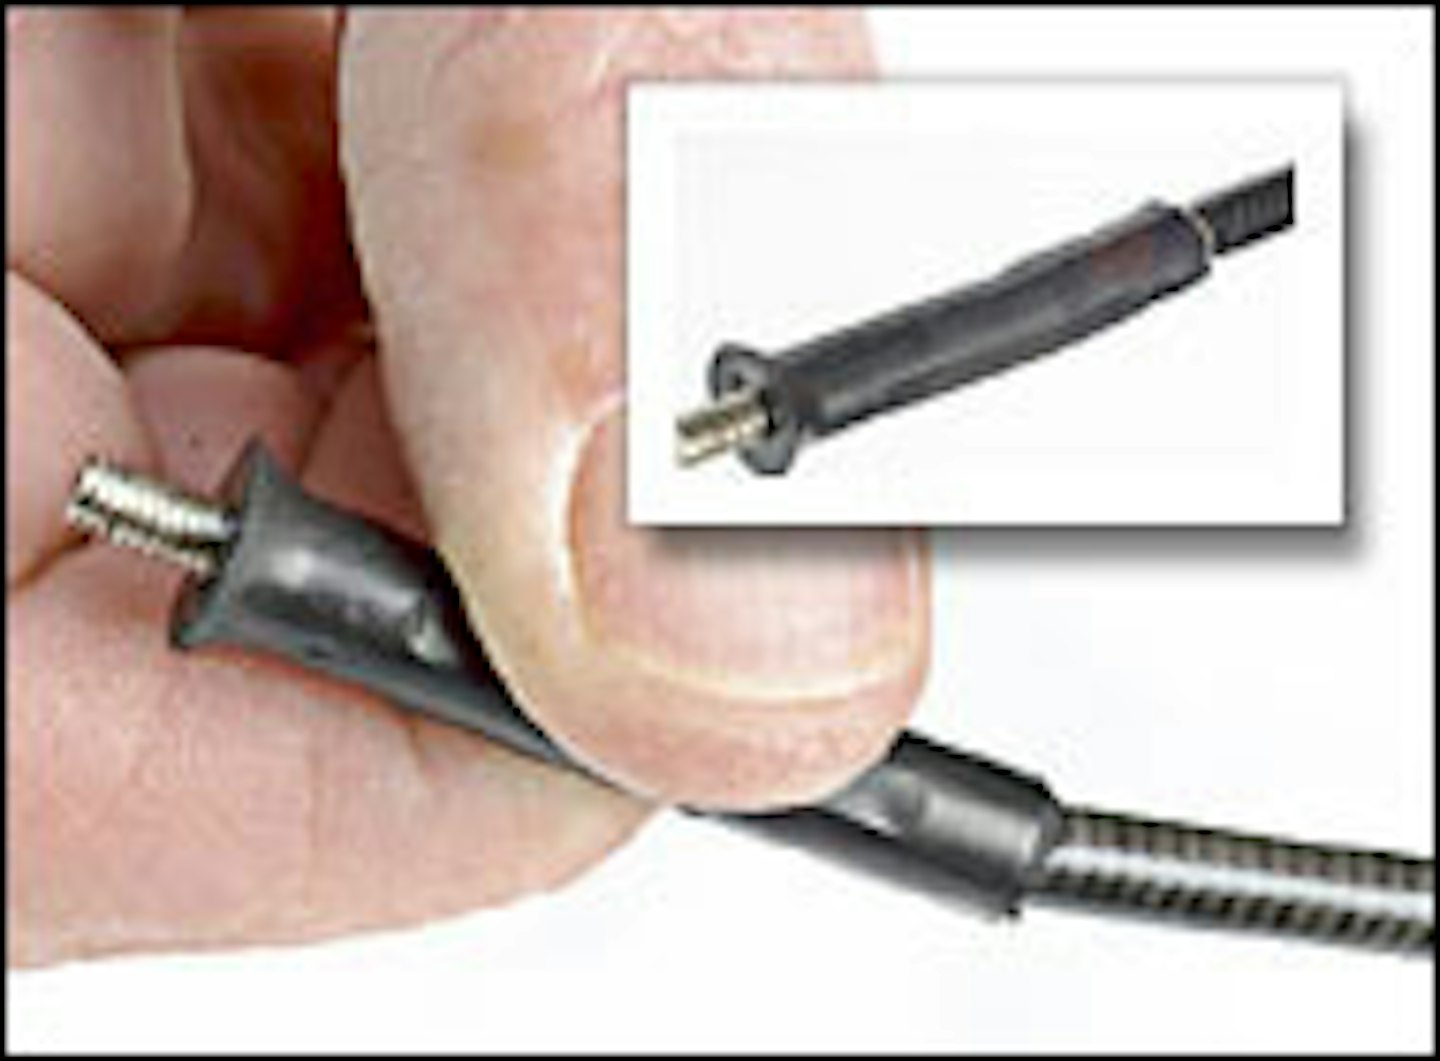
- Now go back to the pole tip end and thread on the ‘cup’ part of the stonfo connector like this
- Thread the elastic through the hole in the ‘peg’ part of the stonfo connector like this
- Tie an ordinary overhand knot in the elastic. Now push the ‘peg’ and the ‘cup’ firmly together
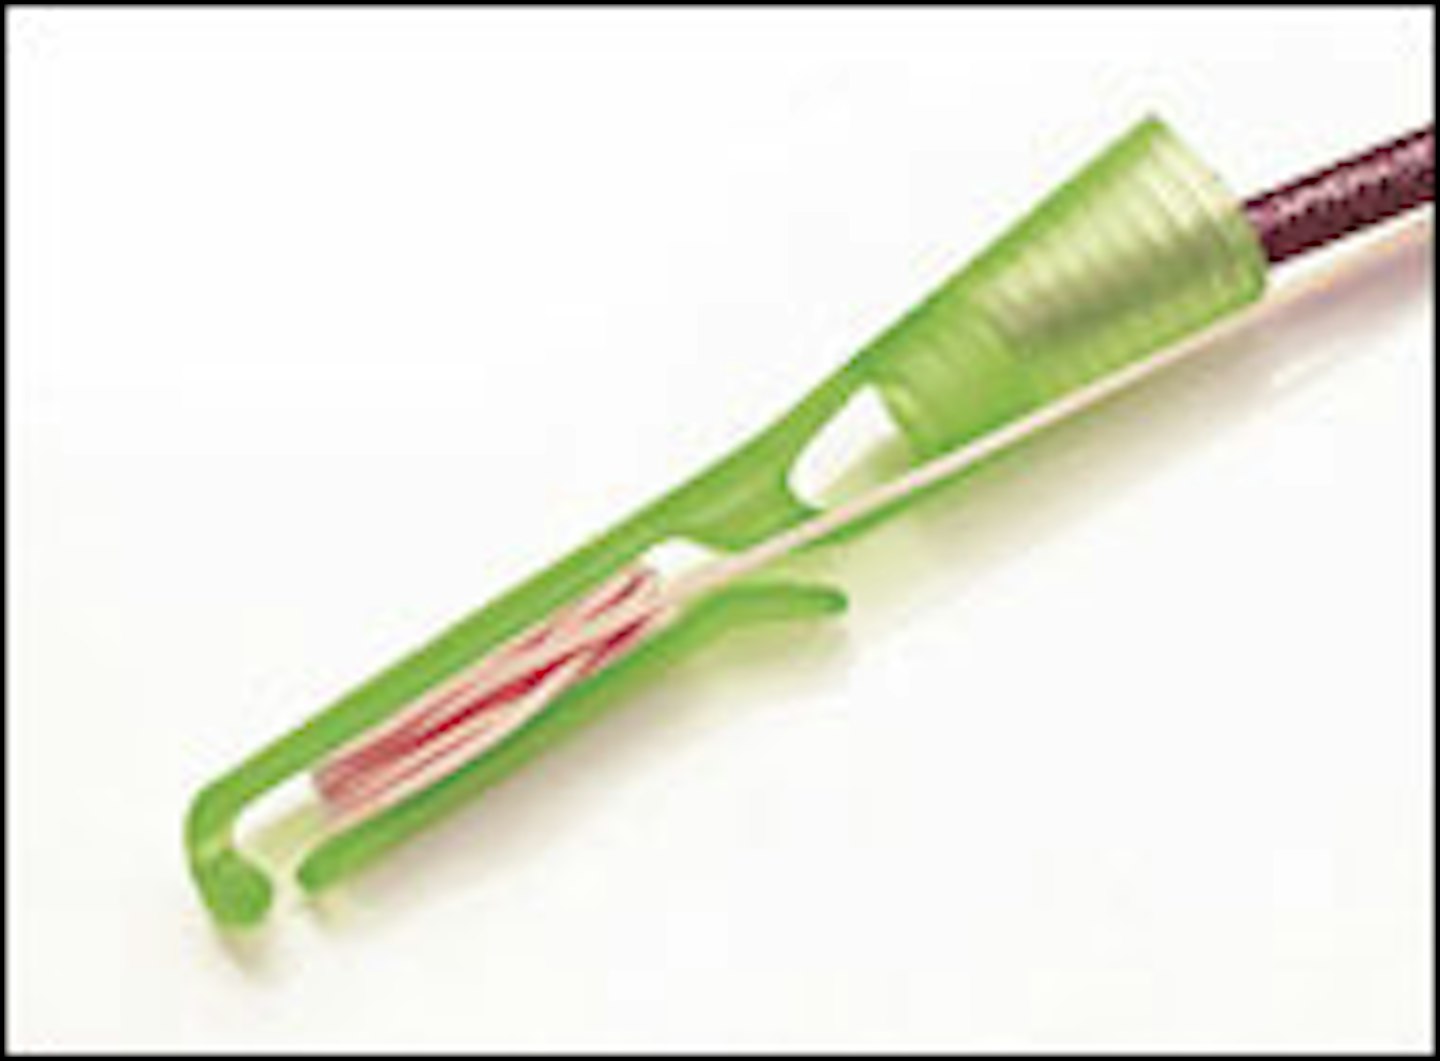
- This Maver Rappa Bung allows you to wind on extra elastic so you can adjust the tension
- This pole also comes with a cupping kit, you’ll need to make it up. First, fit the screw thread
- Cut the end of the No.1 cupping kit section so that the screw thread fits tightly over it
p13.jpg
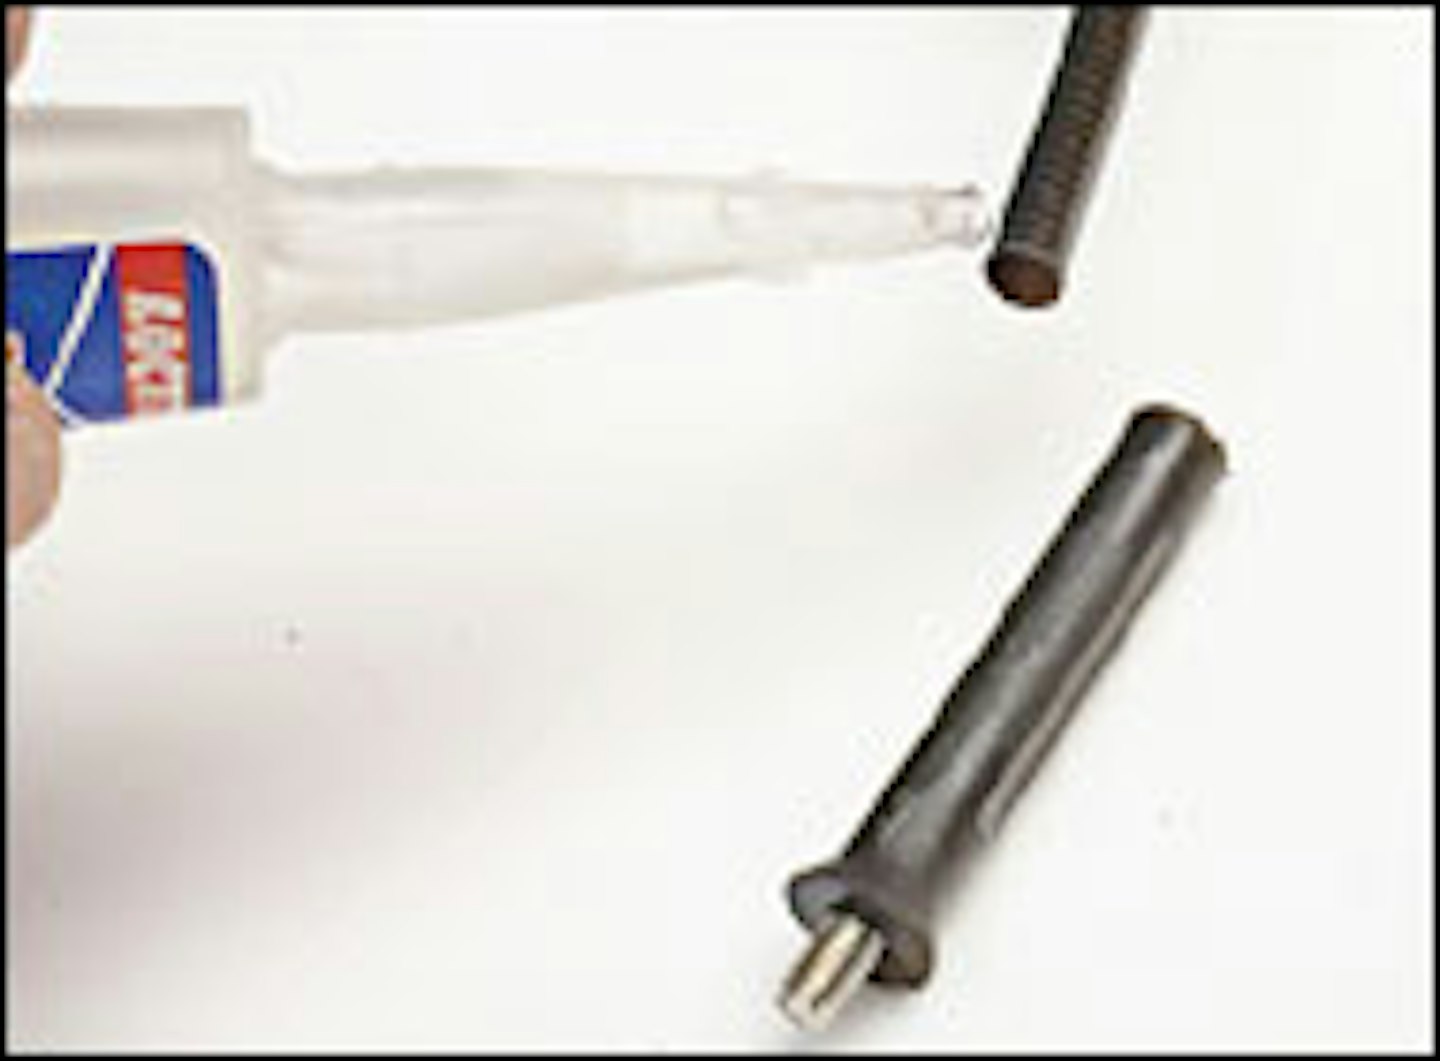
- Add a dab of superglue on to the end of the cupping kit ‘s No1 section
- Push the screw thread adaptor on to the end of the section and hold firmly until the glue sets
- You are then able to screw on the two cups that come with the Maver 121 pole
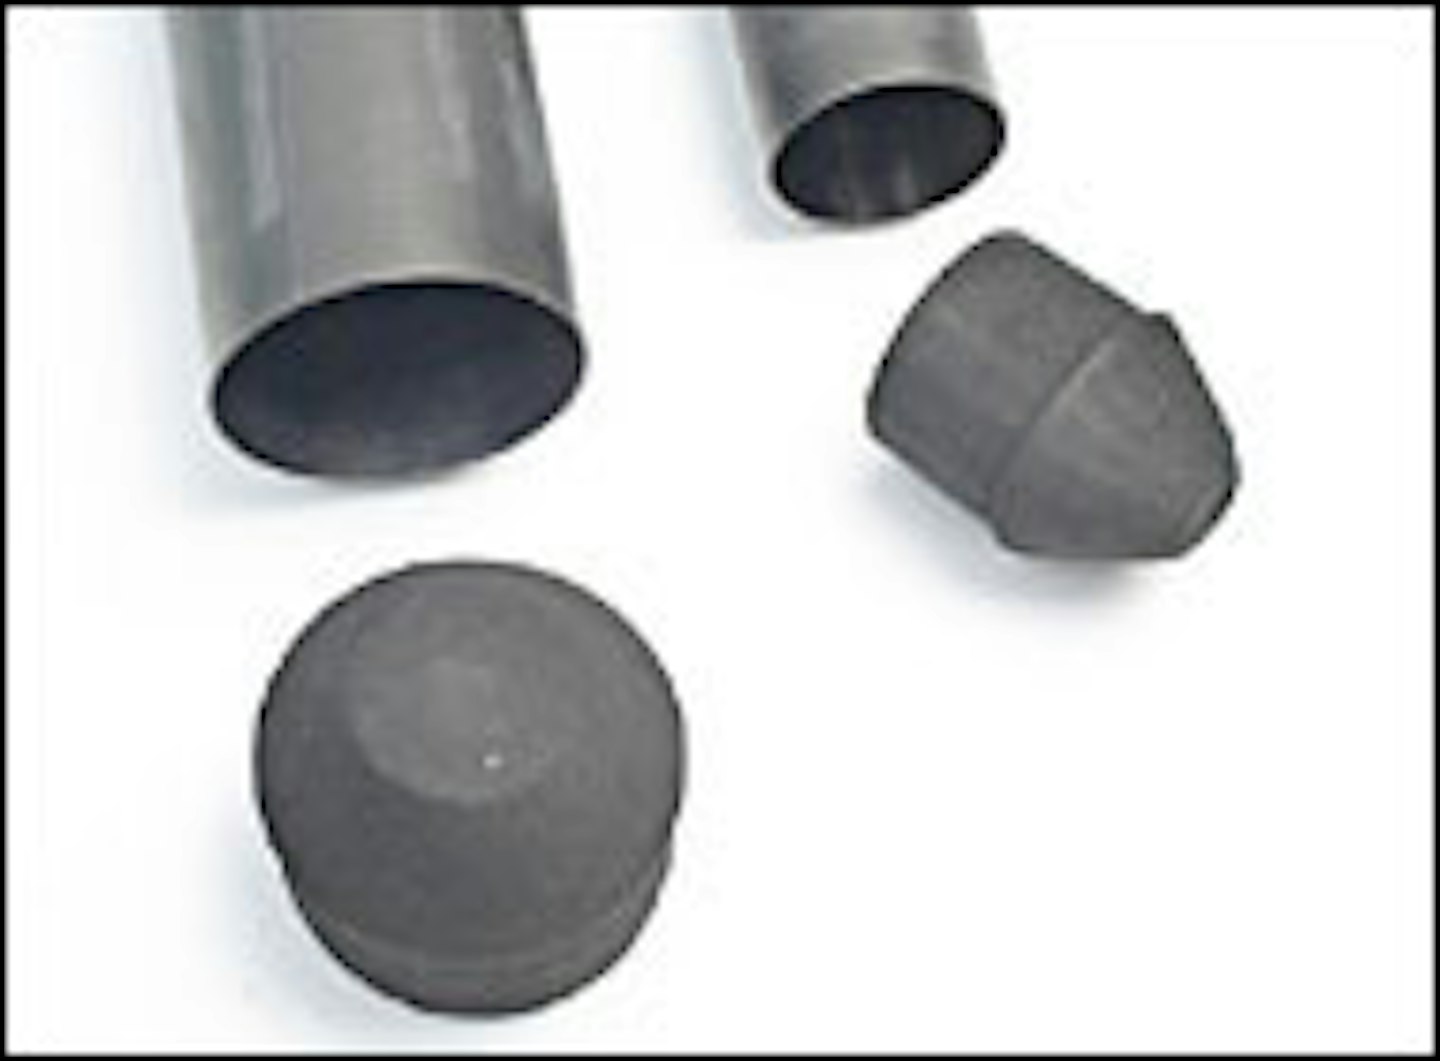
- Clean Caps which help clean the female joint when unshipping
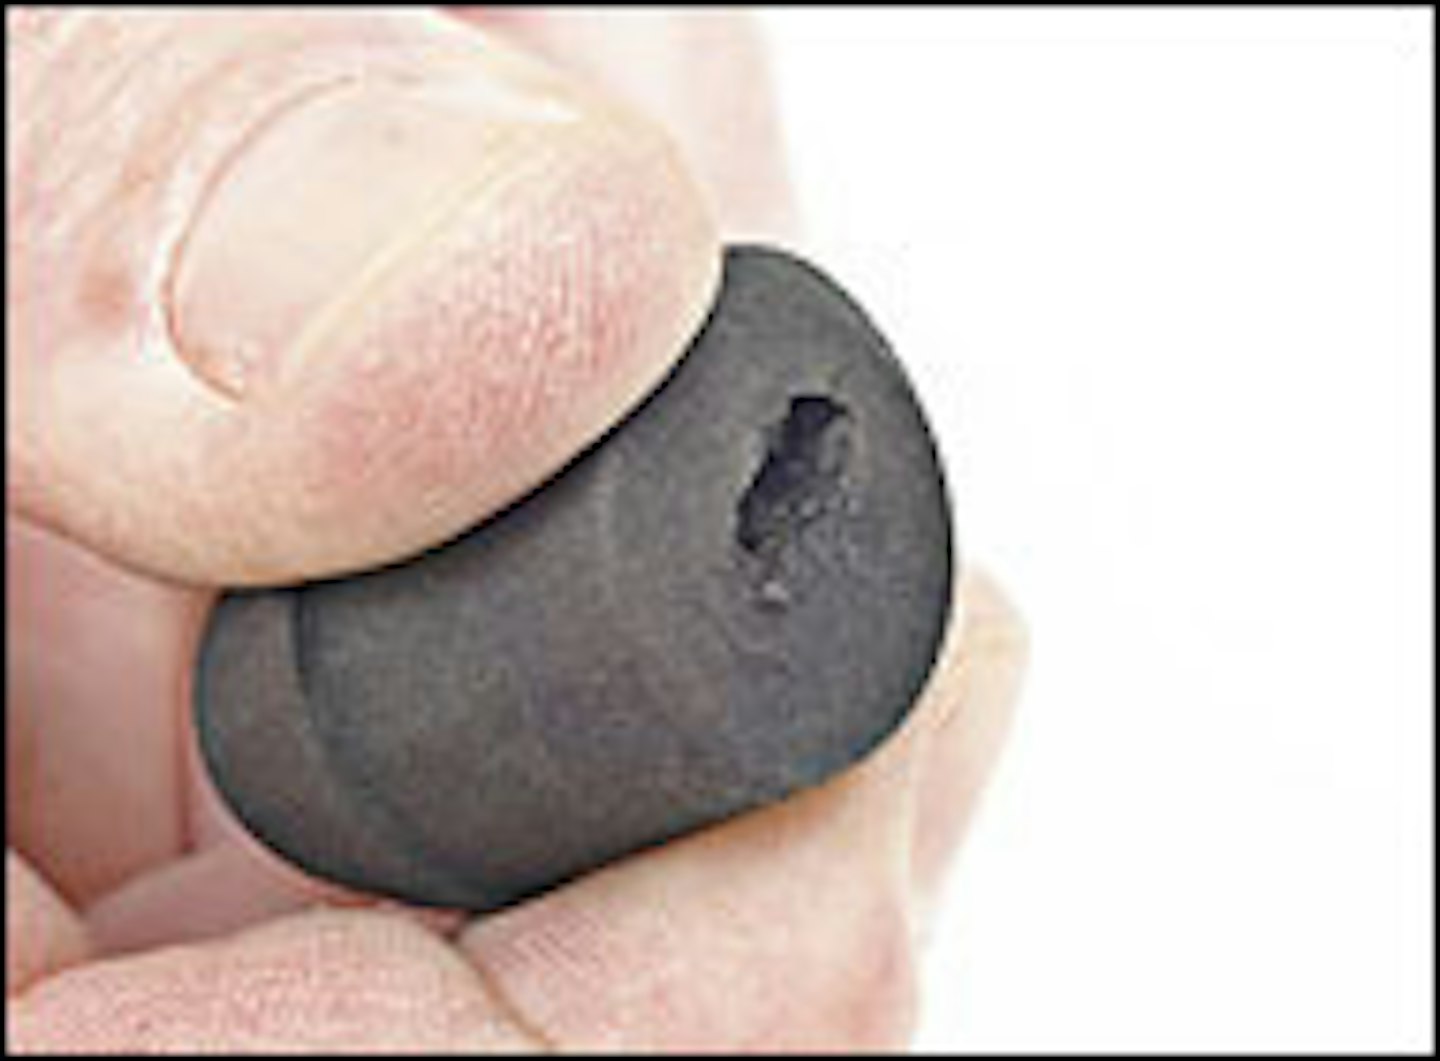
- They’re a tight fit so you need to work them in your fingers to soften them
- These go on the sections you remove most – No3 and No4
.jpg?auto=format&w=1440&q=80)