Guru’s match ace lifts the lid on the little tricks that give him the edge when fishing the feeder whether you are a beginner or and experienced pro these tips are well worth a try on UK stillwaters.
ALWAYS USE FISHMEAL
Using the right groundbait is essential when open-end feeder fishing on stillwaters. In my eyes, no matter what time of year it is, you need a fishmeal-based groundbait mix. In winter, however, I use a toned-down sweet fishmeal- style mix.
Mainline Match Super Fine Pole Mix has a fishmeal base with the sweet addition of Cell – an additive that bream and skimmers adore. The groundbait is very fine and has an attractive texture, with the key fishmeal and sweet ingredients that attract and hold fish.
CAST FURTHER IN THE COLD
When the temperature drops, fish on big open-water lakes naturally move further out. It’s not always the easiest and most comfortable way of fishing, but making the effort to fish further out will pay off when the temperature drops.
Fish move into deeper water, and often huddle in the deepest areas of large lakes in the winter.
At Furzton Lake, Milton Keynes, where we’re fishing today, you can often catch fish easily at 30m-40m. However, after the cold spell I’ve had to venture out to 50m to start getting bites.
Be prepared to step-up your tackle and go that extra distance to find the fish.
START WITH SMALL BAITS
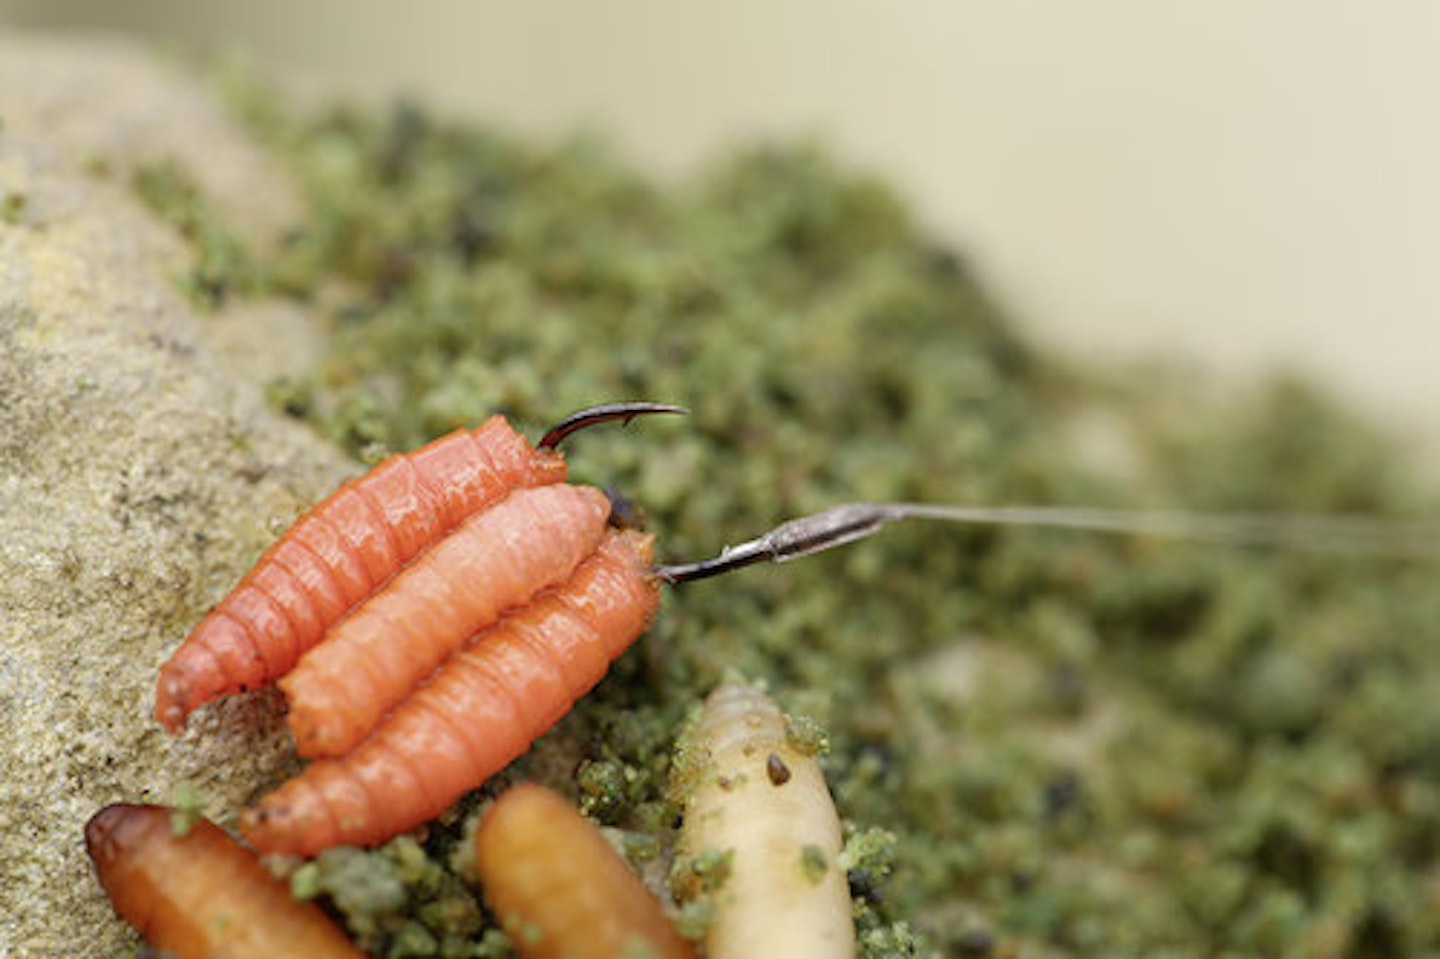
For me, this time of the year is all about getting bites. If you can start catching smaller fish and getting bites early in a session, you can work towards building your swim and target bigger fish later when they move in to see what’s going on. This often means starting on lighter terminal tackle with smaller baits.
A nice starting point for skimmers and bream on stillwaters is a size 14 LWGF hook, which is ideal for small pieces of worm or double maggot – baits that get you easy bites. Roach and small skimmers are usually the first fish into the swim and can provide early action.
As the session progresses, however, you’ll see the stamp of fish improve and more quality fish will make an appearance. Once this happens, single these out quickly and effectively by switching to bigger baits such as hair-rigged corn or a dumbell wafter mounted on a stronger size 14 or 16 MGWB hook. Rather than waiting for bites with these big baits early in a session, start smaller and work your way up to using these bigger more selective baits when the fish are feeding.
FLUOROCARBON IN CLEAR WATER
Using a fluorocarbon hooklength is a big advantage when fishing the feeder. This material is almost invisible in water, a big advantage when the water becomes clearer and fish become wary in winter.
This material is also stiff, making it less prone to tangling than mono, and ideal when casting a long way on the feeder.
Another key advantage to this material is that it’s heavy, helping to pin down your hooklength. When you’re waiting for bites from big, quality fish, having a static bait pinned to the bottom is the ultimate presentation.
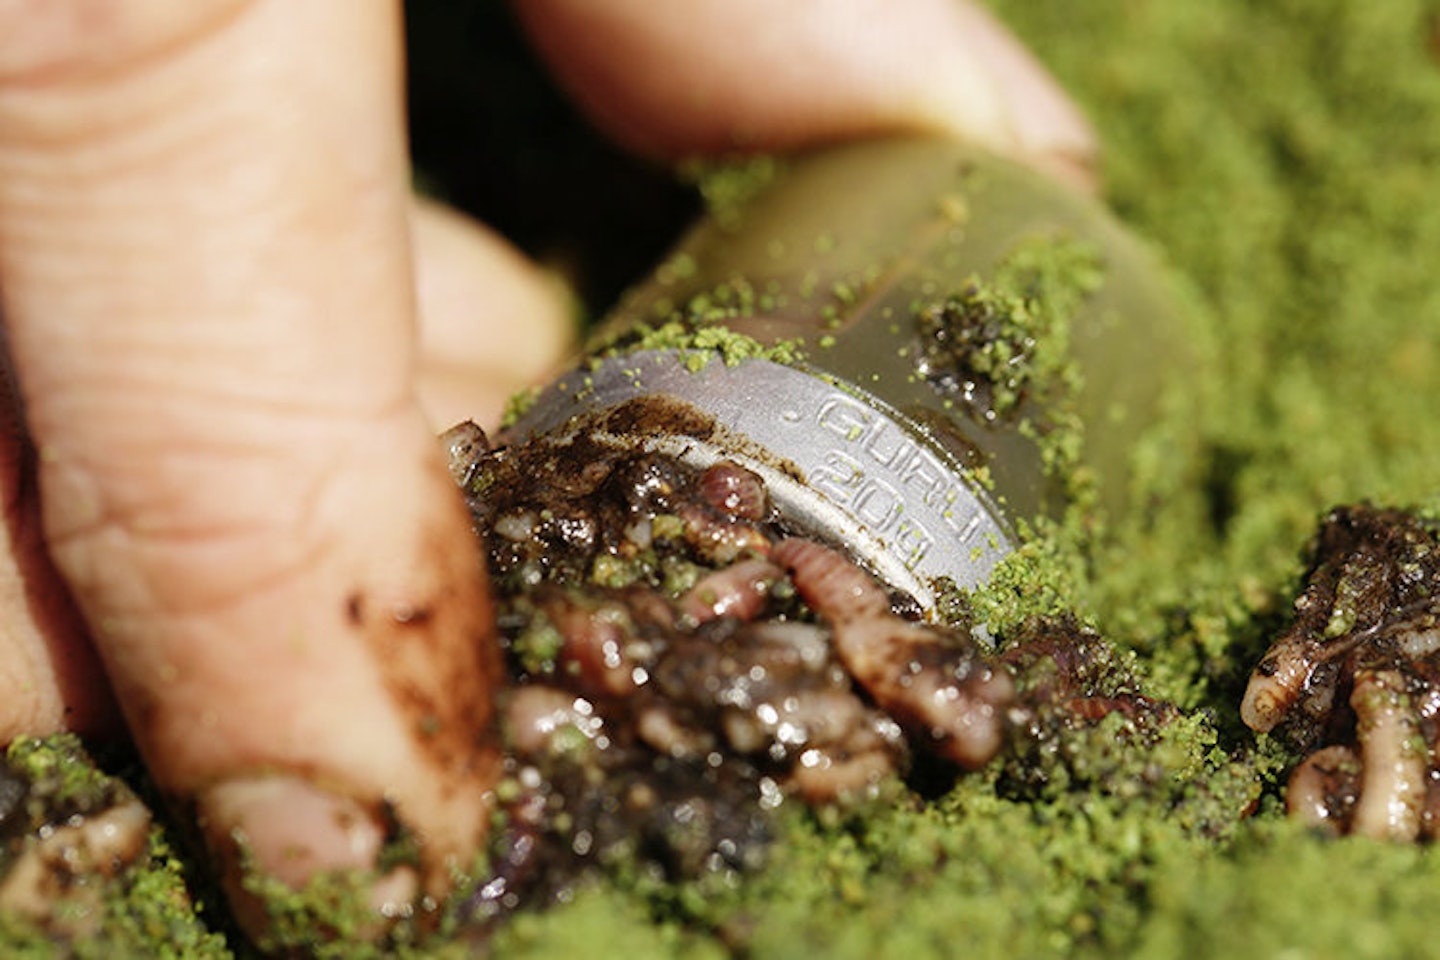
ALWAYS TAKE PELLETS
One bait I wouldn’t go feeder fishing without is pellets. The reason? Simply, fish all over the country see them so often. They are a cheap and easy-to-use bait that fish love to eat. And they make a welcome feed addition to help you bulk out expensive baits such as worms and casters.
I never go skimmer and bream fishing without 2mm Mainline Match Cell Pellets.
CAST ACCURATELY
When fishing the feeder, it’s easy to become a touch dismissive about accuracy. But accuracy is more important than ever in winter. These days, tackle is so good it’s very easy to be accurate too. Most reels come with a line clip, which you can use to make sure you hit the same distance every time. It’s then simply a case of picking a far-bank marker and make sure that you’re aiming in the same direction every time.
Looking at this as you release the feeder will really help your accuracy. Once I’ve established the place that I want to fish, I measure how far out this is by using a pair of distance sticks. This gives you the option to set a bed of feed and build a swim at a certain distance, but if you want to try fishing further past the feed area or in front of it, you can.
However, you can always clip up at the same distance by using the sticks. Often, you can steal extra fish later in a session by doing this.
USE BRAID TO SPOT MORE BITES
Where allowed, using braid is a big advantage for bream and skimmer fishing. First, it’s great for bite magnification, meaning you see more bites and smaller bites are exaggerated. In cool water, fish don’t move as much and take baits with less aggression.
Another great advantage of braid is that it will show up line bites very clearly, enabling you to see when there are fish in the swim. If you’re getting indications but not catching, you’re urged to try different baits or little tricks to tempt a fish into feeding.
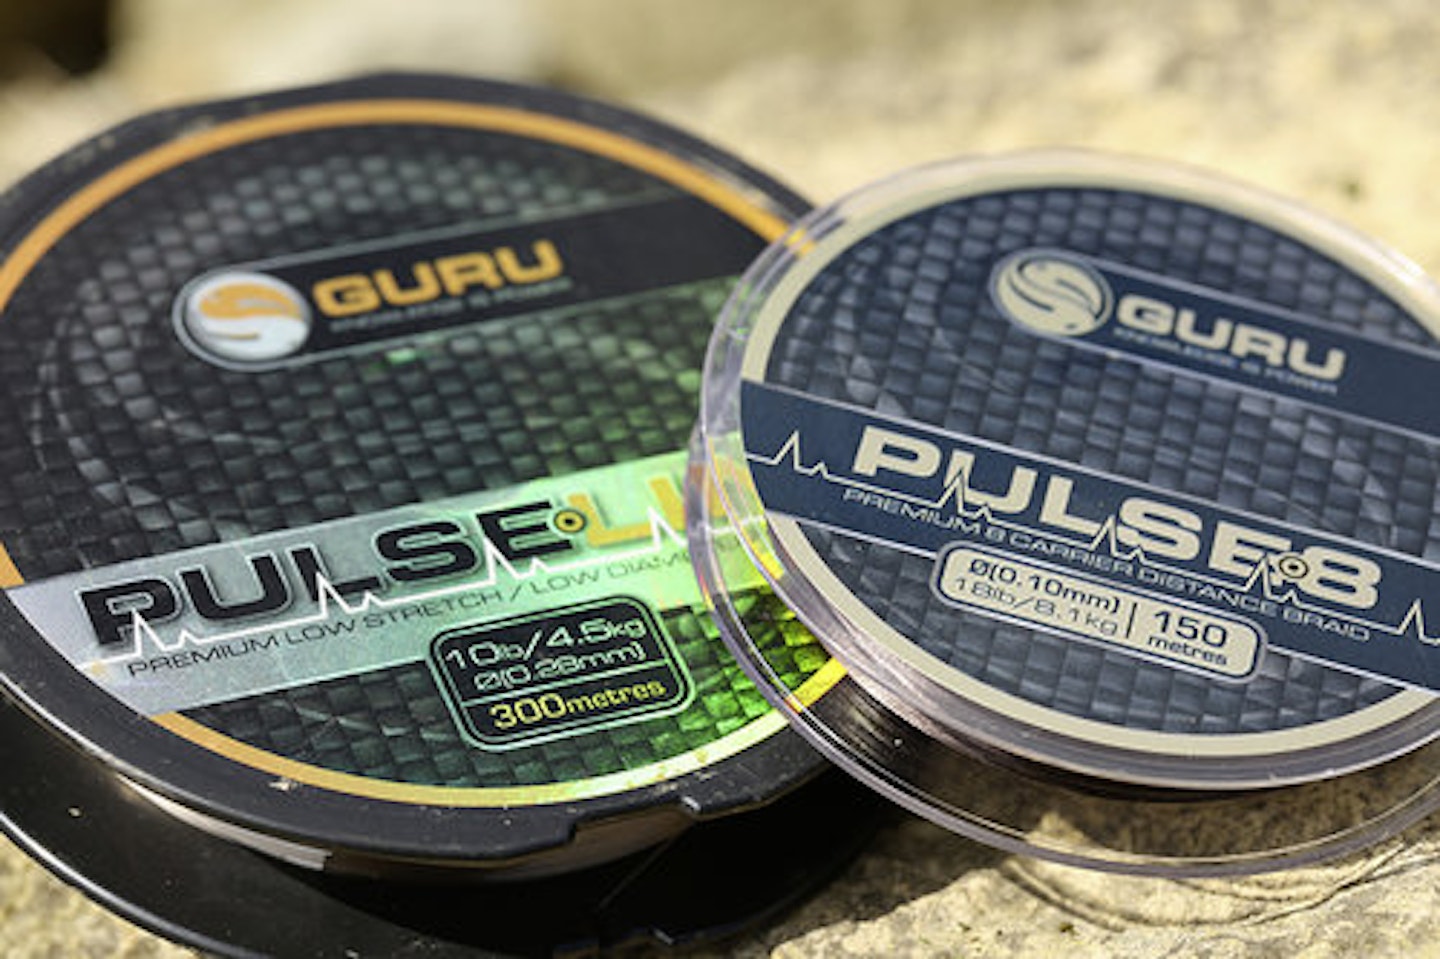
Often people say that they’ve had liners but aren’t catching. This shows that the fish are in the swim but you haven’t cracked the right combo of hookbait or feed in the feeder. For me 0.10mm Pulse 8 Braid is the ultimate tool for spotting bites right now. Combined with a shock leader of 8lb Pulse line, you have the perfect stillwater feeder combo.
THE BEST FEEDERS TO USE WHEN FISHING

1) BAIT-UP FEEDER
Having a feeder to get some bait into the swim is imperative, something bigger than average that will enable you to create a feed area on the bottom. If you were fishing the pole you’d set a bed at the start, so why not do the same on the feeder?
What you put in to start depends on the venue and situation. If you’re expecting big fish, feed particles such as pellets, casters and corn. If the fishing is going to be tricky, take things steady with groundbait containing a few dead maggots, then up the feed content once the fish arrive. Bigger feeders don’t only come into play at the start of a session. A few casts with one during a session can draw fish into the swim, making noise and a cloud if you lightly press in the groundbait.
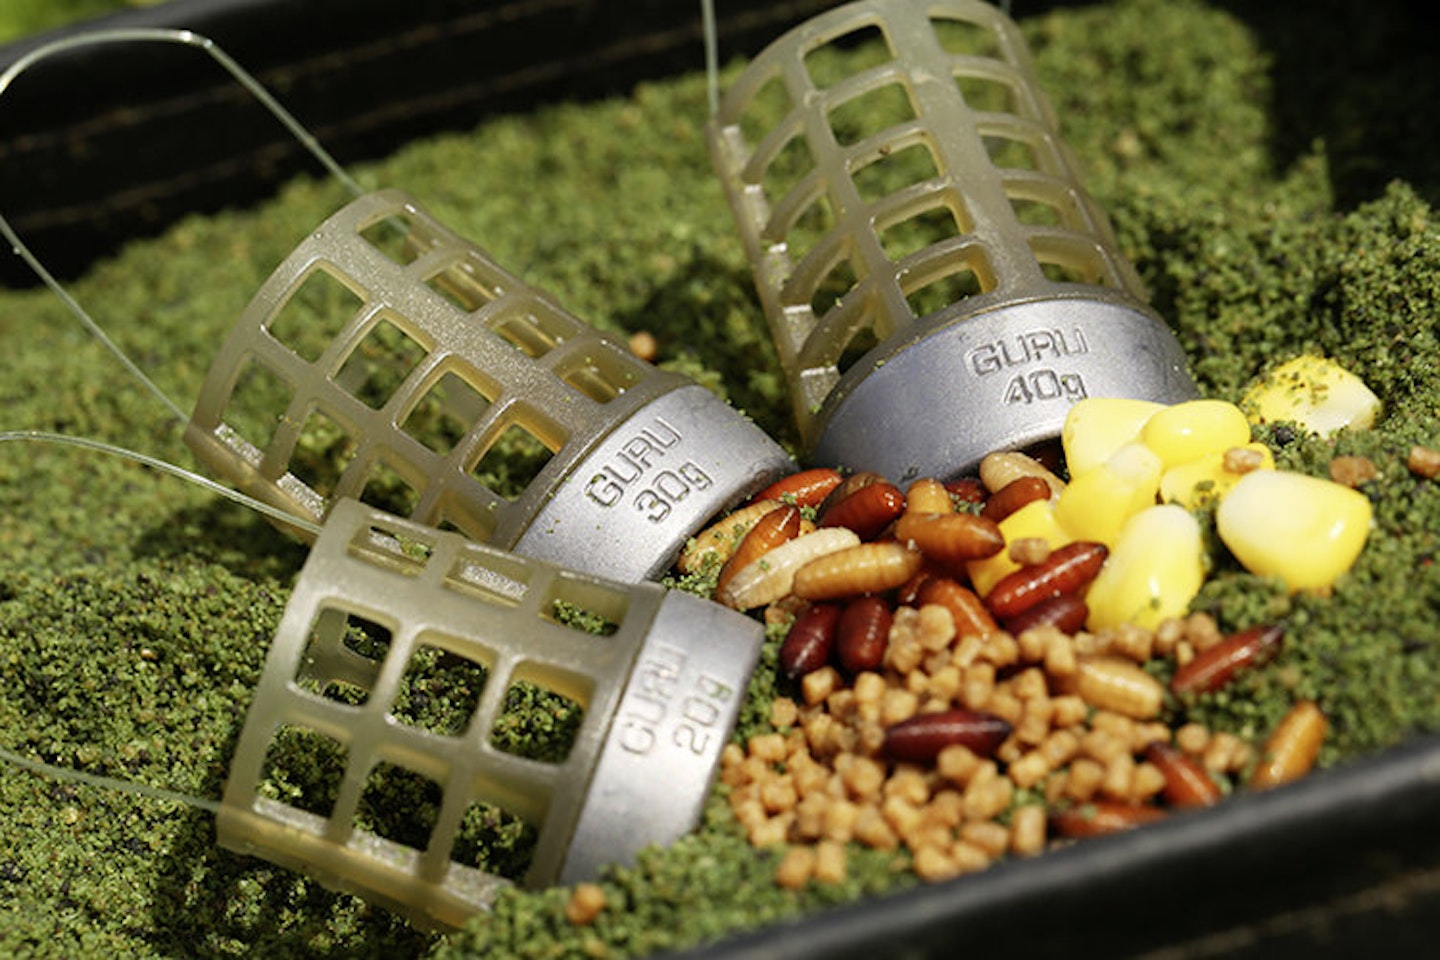
2) CAGE FEEDER
These beauties are among my favourite feeders. You can do so much with them. They’re super effective in very shallow water when you need the bait to leave the feeder quickly.
By the same token, you can do some great little tricks with them to attract fish – for a start you can alter how hard the bait is packed into them. Lightly packing in feed will see it leave the feeder on impact with the water, making a surface cloud and a column of falling bait.
Packing it in a little harder will leave a trail as the feeder goes down. Squeezing it harder still will see it reach the bottom before releasing the bait.
All these different effects work at different times – ring the changes and try them to see what works on a given day.
3) OPEN-END FEEDERS
These have yet another use, protecting and holding the bait in the feeder for longer.
In deeper water, this can be a big advantage, taking the bait down to the bottom before releasing it in a tight, compact area. Even in shallow water, having a more confined feed area with less cloud can have a positive effect. With lots of small fish around, an open-end feeder may take your feed to the bottom with less commotion and trail of groundbait or particles.
Open-end feeders are great when feeding a lot of fine particles that would easily escape from a cage feeder on the way through the water. Finely chopped worms are lethal in an open-end feeder, kept tight and in the key area where you need them on the bottom.