In recent seasons I’ve had a complete re-think of my feeder rigs and I now swear by a running paternoster rig for all my natural water feeder fishing for roach, skimmers, and bream.
It’s a simple rig and, thanks to the home-made feeder link I tie, it’s completely tangle-free!
The anti-tangle properties mean it doesn’t snarl up on even the biggest casts.
This in itself gives me the confidence to leave my rig out in the water for longer periods – something which is crucial when it comes to feeder fishing at this time of year.
Paternoster rigs took a bit of a back seat in favour of short, bolt-style rigs for many years,
but they’re having a real resurgence right now as the passion for feeder fishing continues to grow and big matches return to our larger waters.
I’ve been using this rig for a couple of seasons now – including at the World Feeder Championships for England, and I’m yet to find any downside to it.
The rig casts well when used with the correct feeder, you can quickly and easily change feeders and hooklengths when you need to, and bite detection isn’t compromised either – so what’s not to like about it?
If you haven’t got on to my feeder link yet, here’s how to tie it… it’s not difficult.
To make the link you will need some 0.47mm Korda Mouth Trap – a stiff filament carp anglers use to make chod rigs – size 14 or 16 snaplink swivels, 0.6mm crimps and some wide-bore beads which you can find at most hobby stores these days.
.jpg?auto=format&w=1440&q=80)
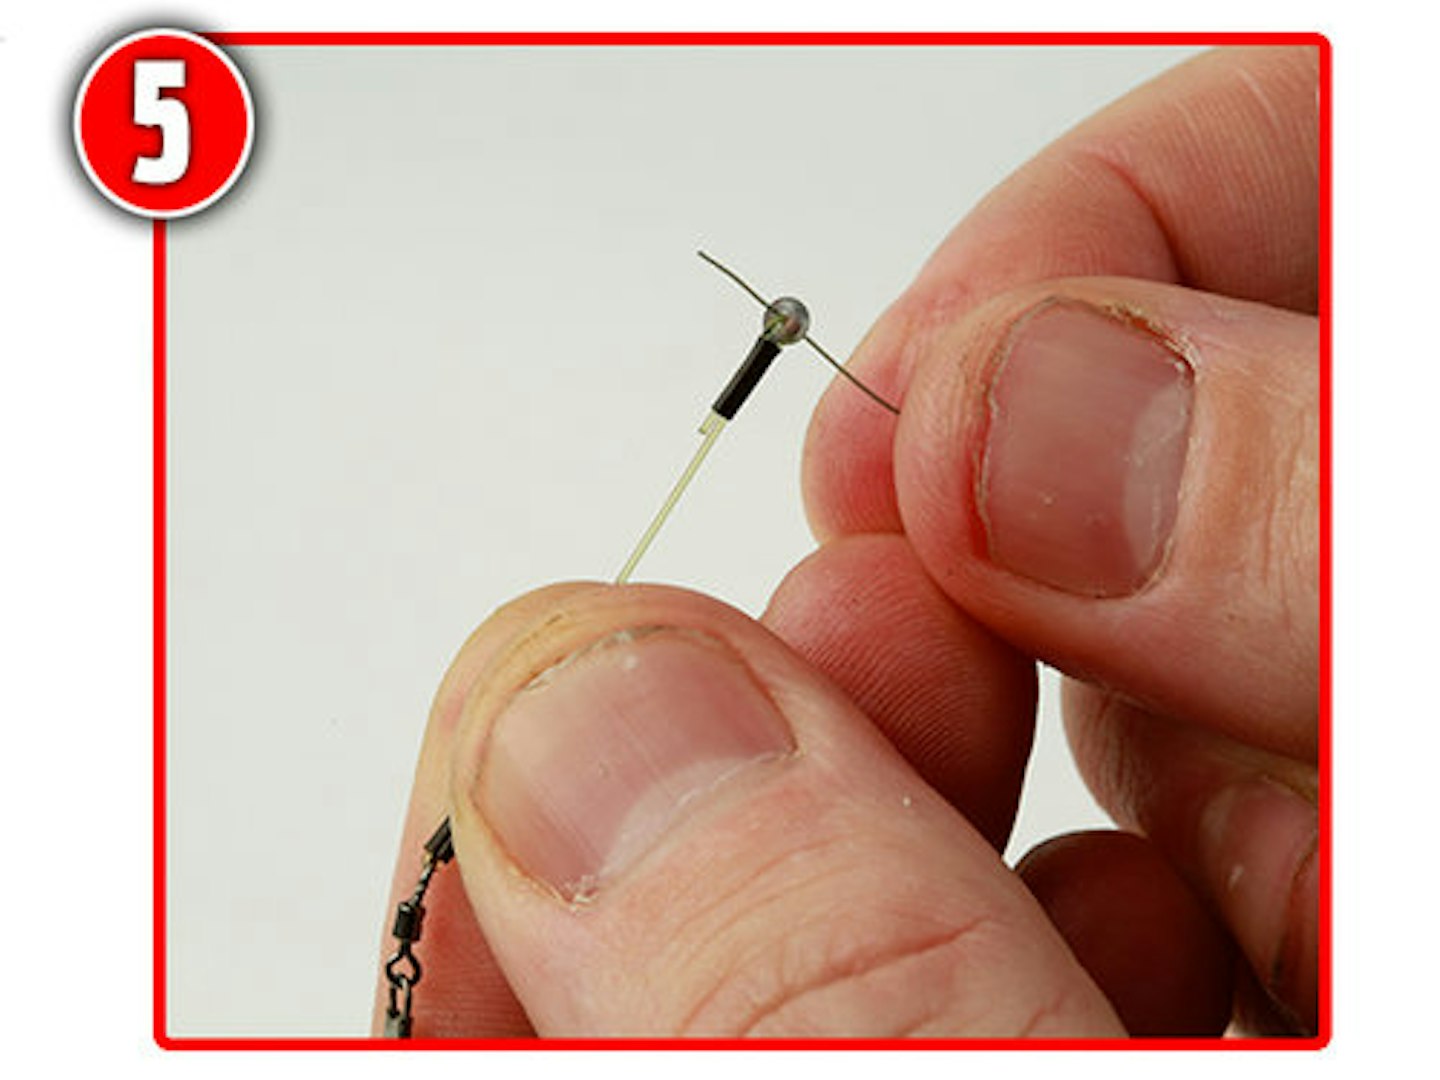
- Cut a 4ins length of the Mouth Trap material and thread on a crimp, followed by a wide-bore bead. The bead needs to be wide enough to not only get the Mouth Trap through, but have enough bore diameter for your mainline or shockleader to run through too.
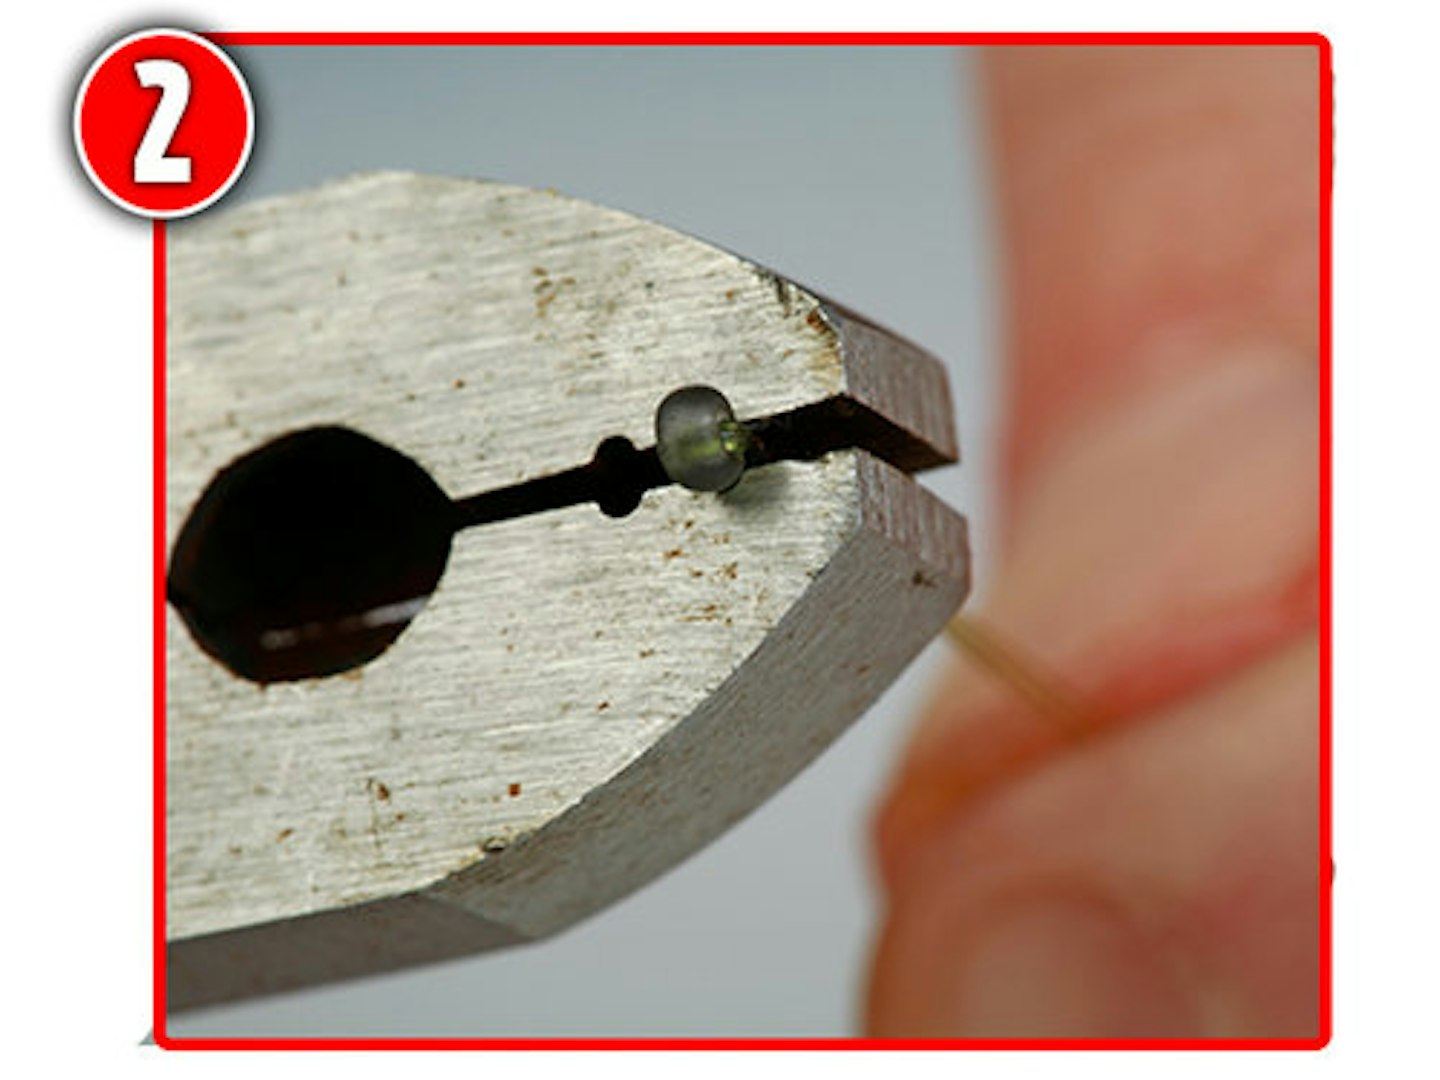
- Put the line back through the second hole in the crimp and pull everything tight. You will then have the bead sitting on top of the crimp. Ensure the bead is sitting straight and then use crimping pliers to fix the bead into place.
.jpg?auto=format&w=1440&q=80)
- It’s then a case of repeating the process at the other end of the link, only this time you’re fixing in a snaplink swivel instead of a bead. The snaplink allows you to clip your feeder on and off the rig.
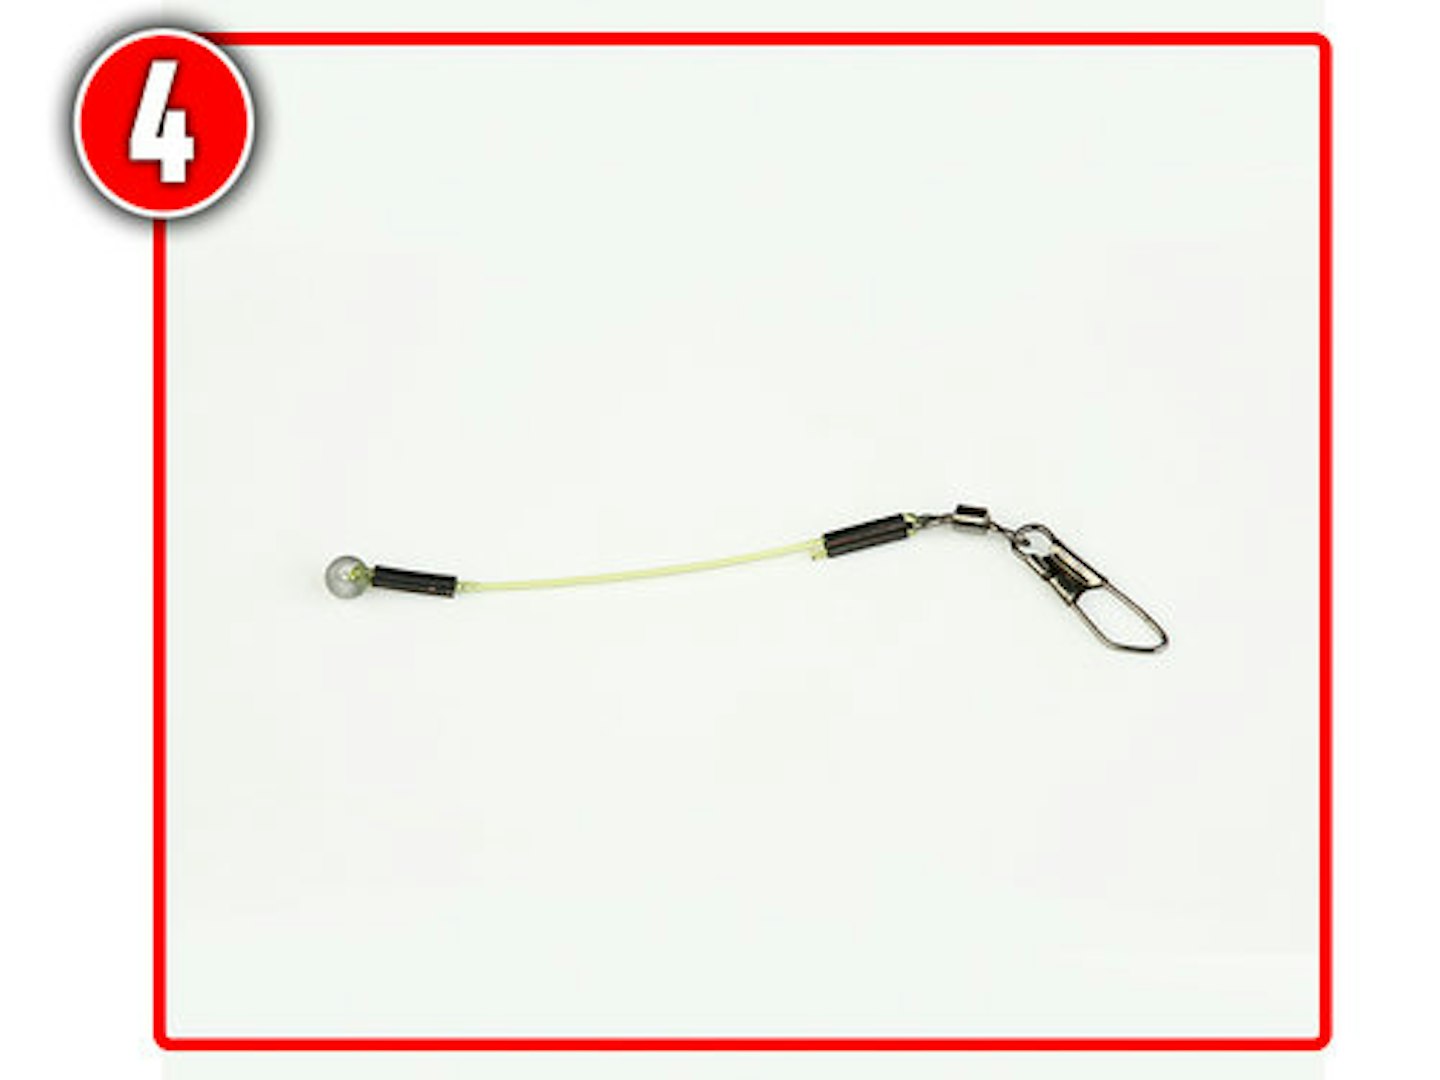
- The length of the finished link is down to personal choice, and I’ve used them from just over an inch to 4ins long. In my experience, though, 1.5ins is the perfect length.
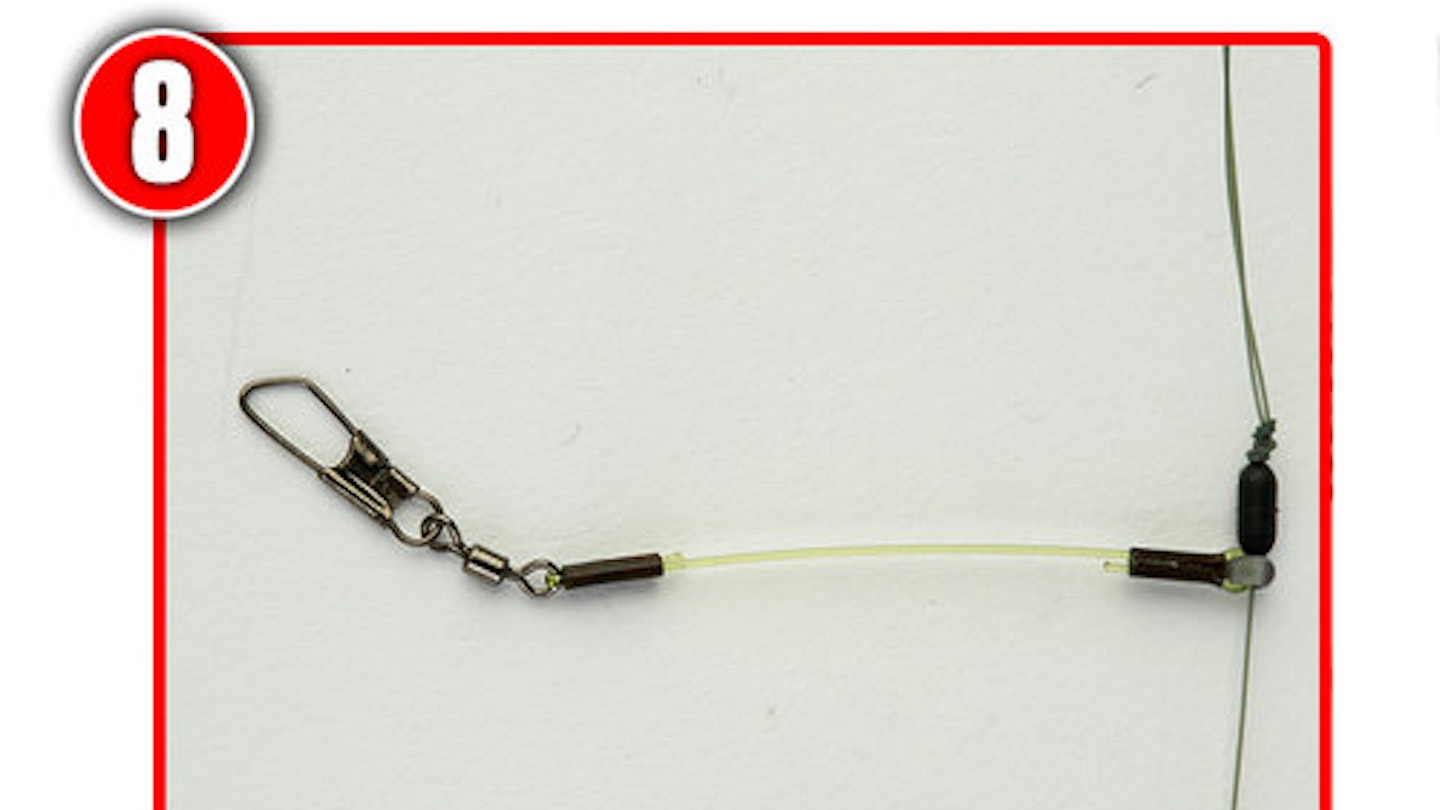
- With the link ready to go, I then thread it on to the mainline or shockleader and add a small line stop or feeder bead below.
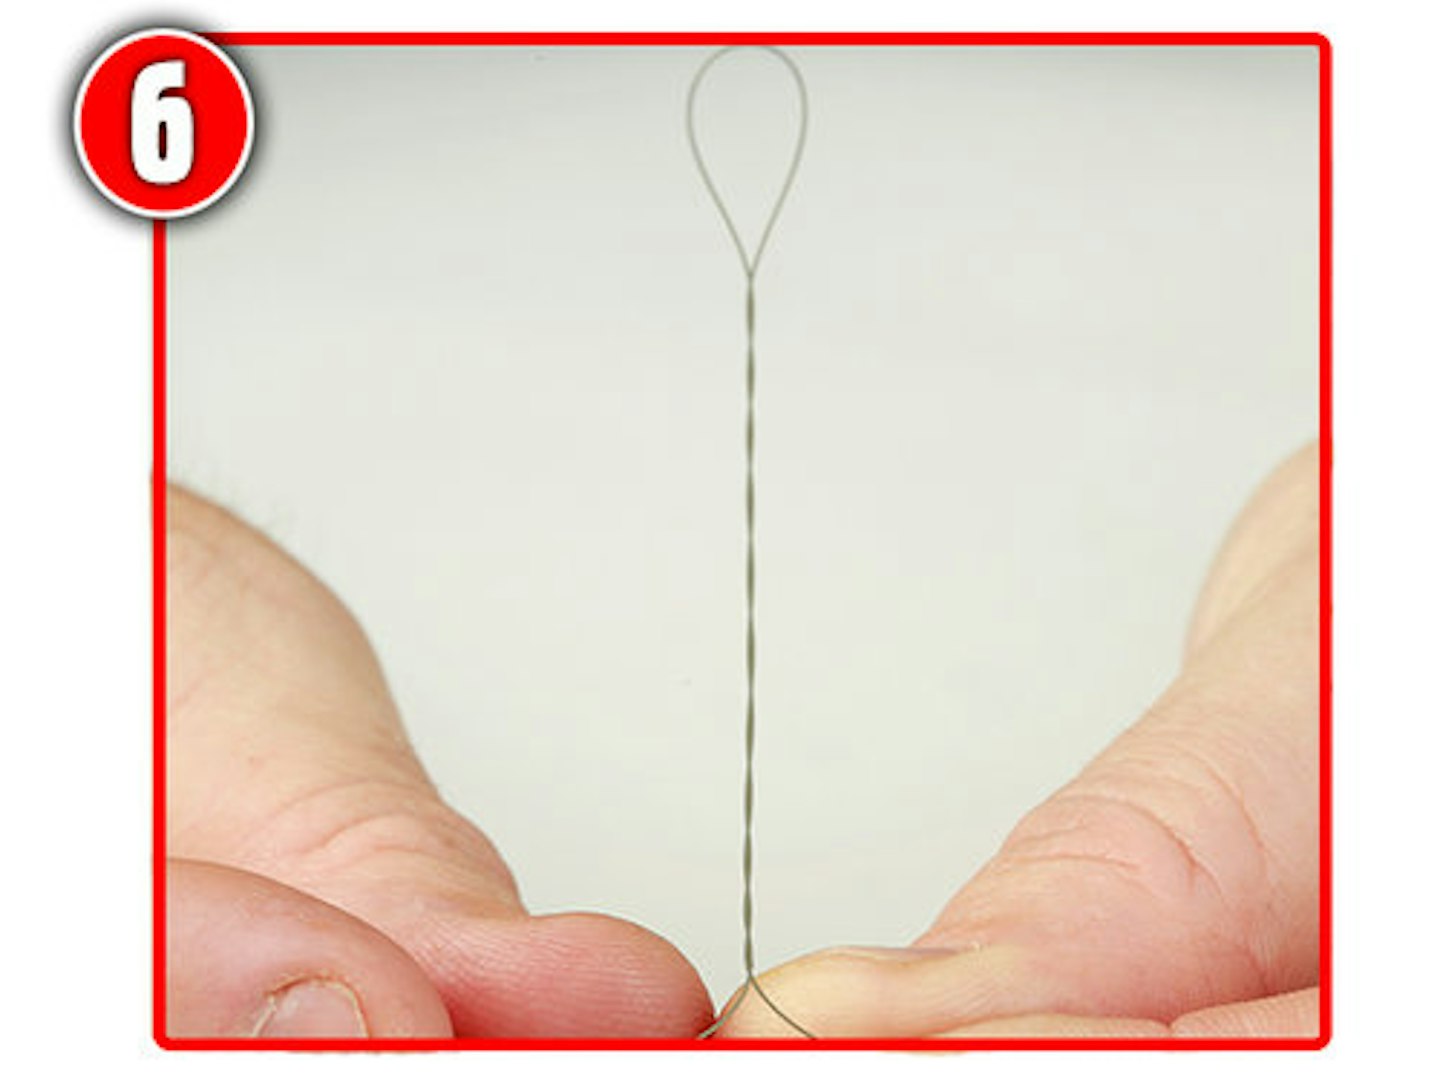
- To keep the hooklength away from the feeder I use an anti-tangle, twizzled loop at the end of my mainline. Simply take hold of the end of your line and roll it between your finger and thumb so it twists up.
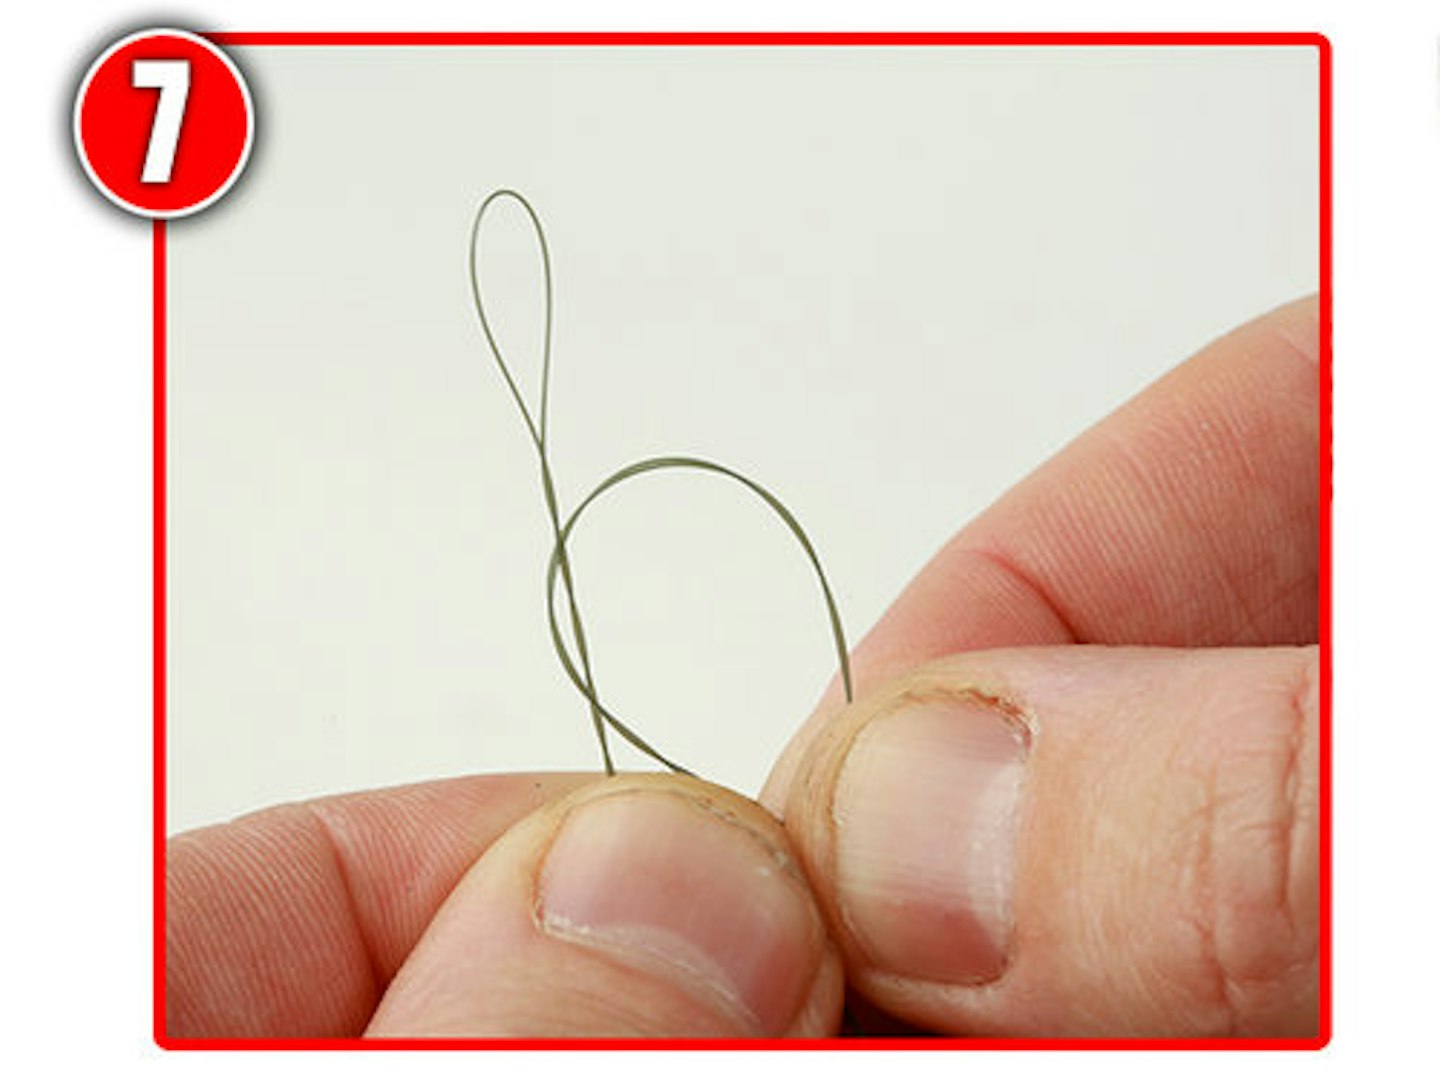
- Tie a double overhand loop at the tag end of the twizzled loop. I like the twizzled end to be around 4ins long to keep the hooklength away from the feeder.
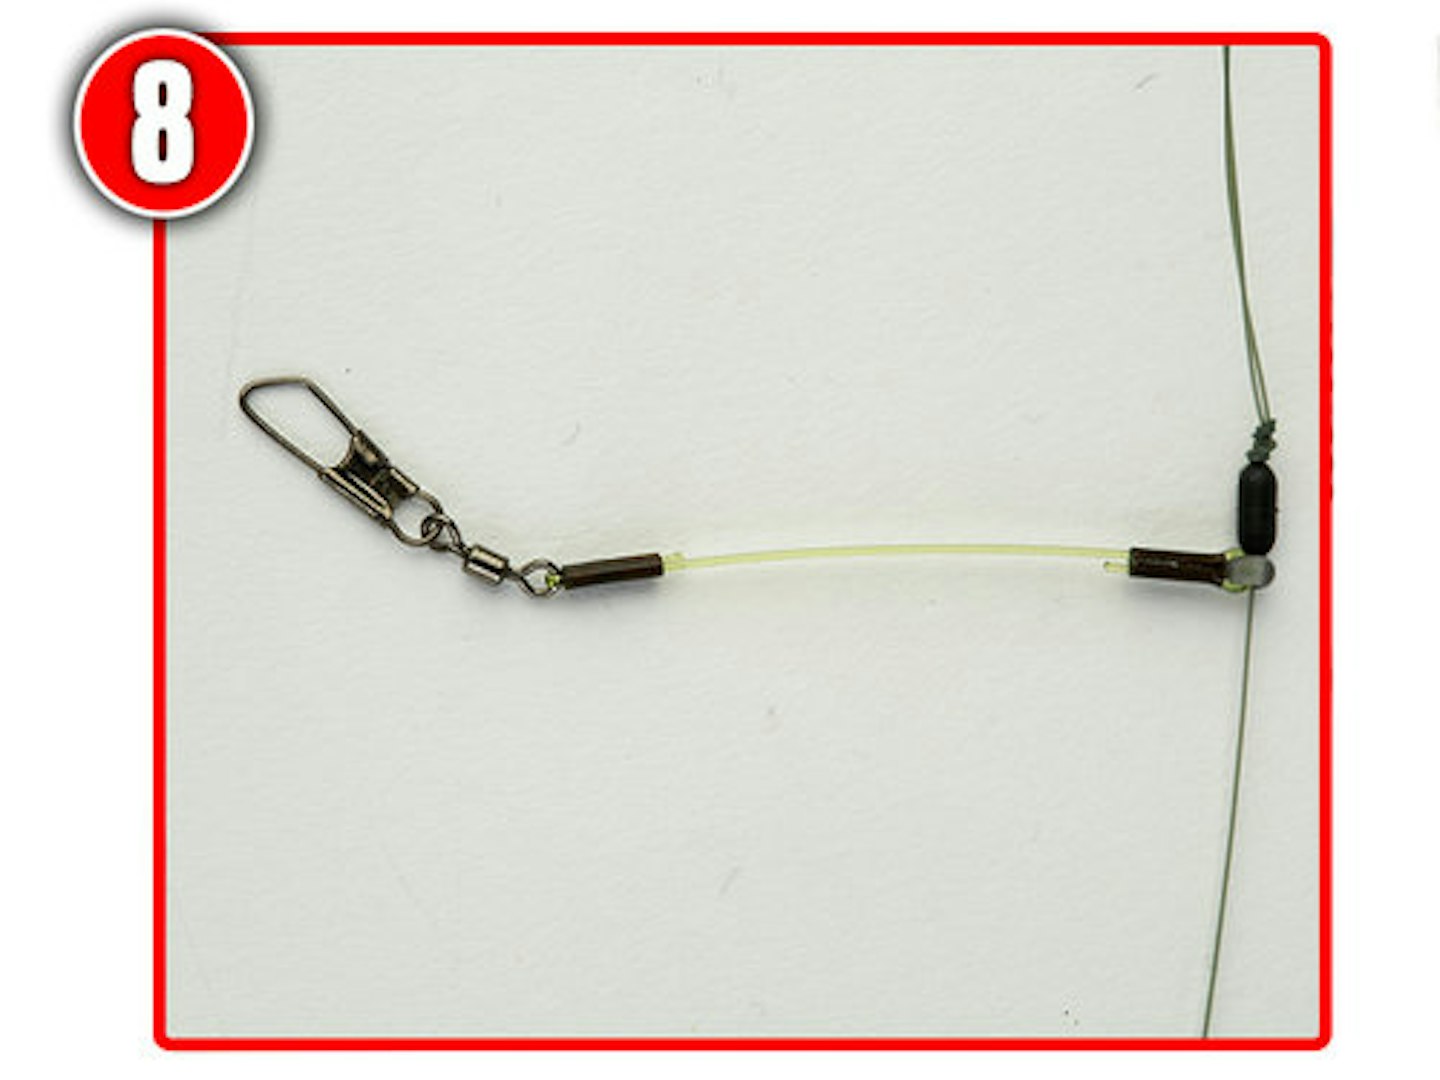
- The line stop and feeder link pull down to sit against the knot, and the hooklength attaches to the small loop at the end of the twizzled section. Job done!
Steve Ringer
Former Feeder World Champion