Steve Ringer explains the secret tactics behind his match successes
I’m often asked what the secret to success is when fishing big lakes such as Ferry Meadows. Most people think a magic bait or some kind of secret trick is involved.
The reality is very different. I believe a lot of my wins are down to accurate casting, and use of the right rig.
It makes perfect sense. After all, you can have the best bait in the world but if you can’t cast to the same spot twice then you are never going to be able to build a swim, and this is crucial when fishing for bream.
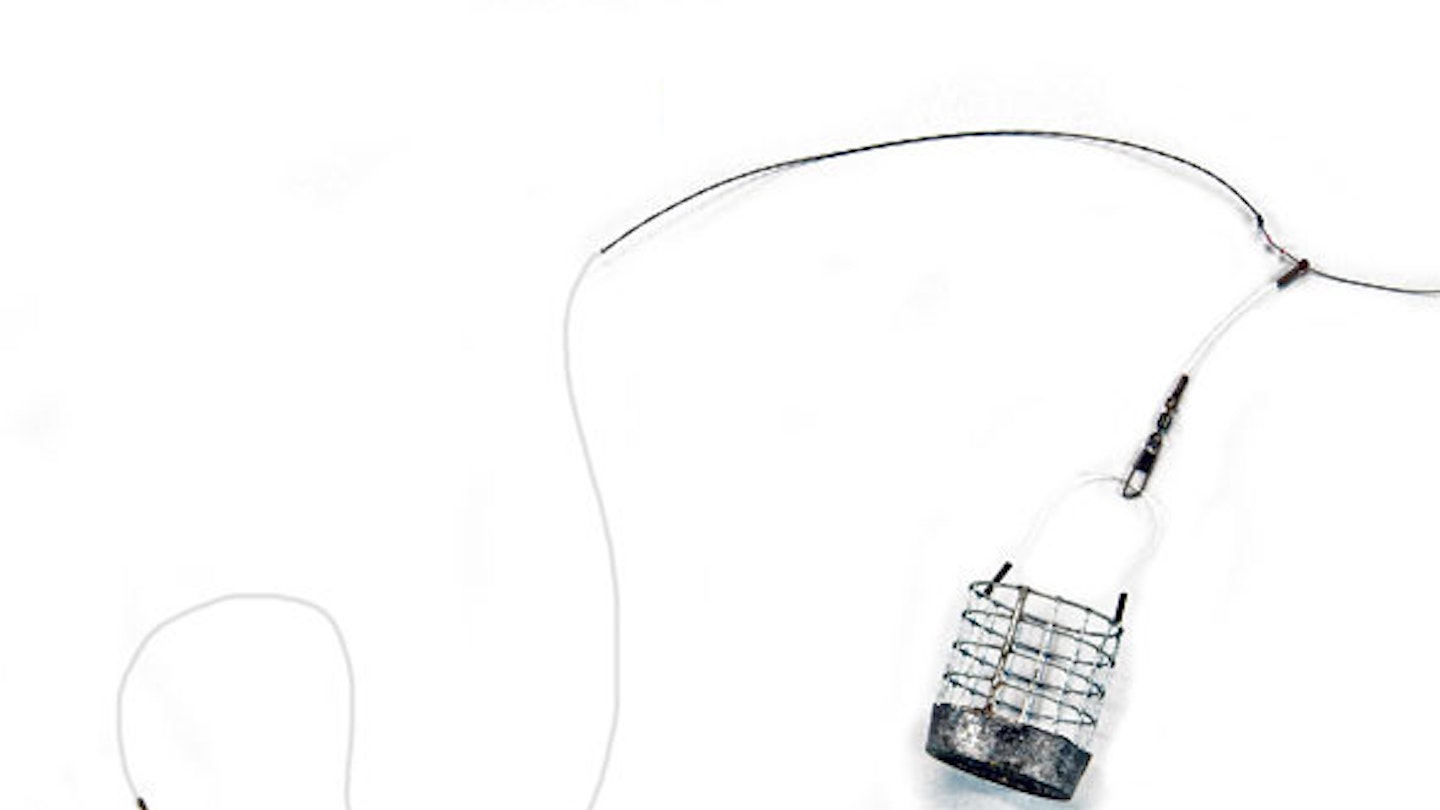
THE RIG
.jpg?auto=format&w=1440&q=80)
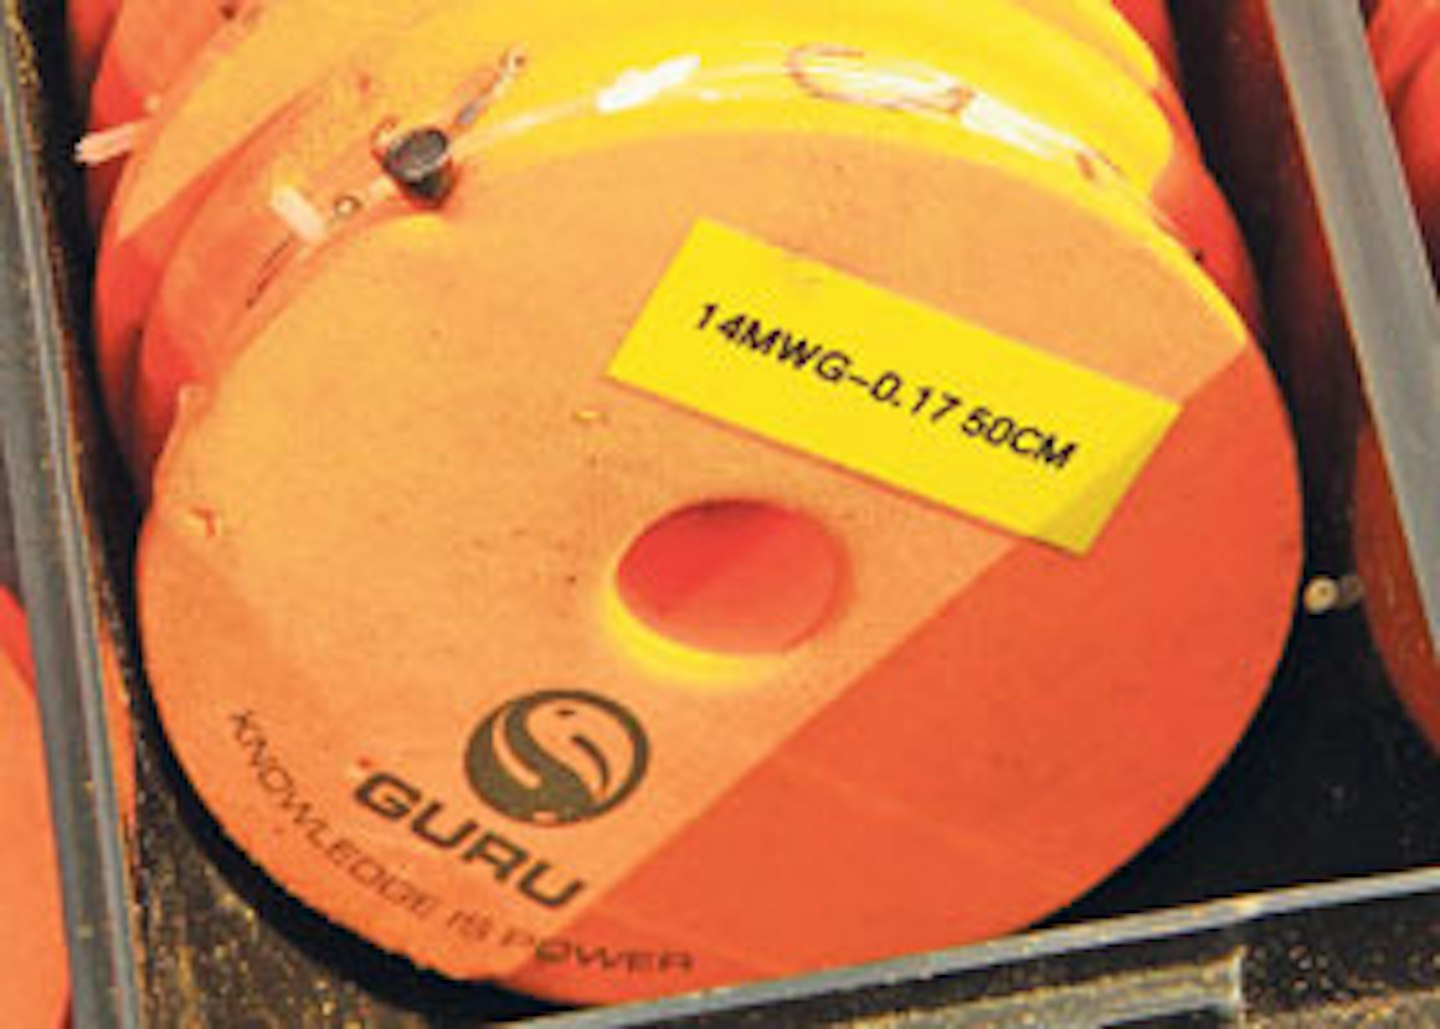
1. Hooklengths
My hooklength is attached to the tiny loop at the end of the twisted loop using the loop-to-loop method. At Ferry Meadows the bream run big, so normally I will kick off with 50cm of 0.17mm N-Gauge line to a size 14 MWG eyed, barbed hook. This is tied using a knotless knot but instead of a hair at the end I tie in a Speed Stop.
This way I can hair-rig pieces of worm and this prevents them wriggling over the point of the hook, something which can be a real problem when hooking the worm in a more conventional manner.
2. Mainline and shockleader
When fishing accurately at range for bream it’s essential that you use braid for your mainline.
There are two big advantages to using braid for distance work. First, its low diameter enables you to cast further, and second, it has no stretch, so both accuracy and bite detection are massively improved.
I’m currently testing a new braid for Guru called Pulse8 in 0.10mm diameter, and to say I’m impressed is an understatement.
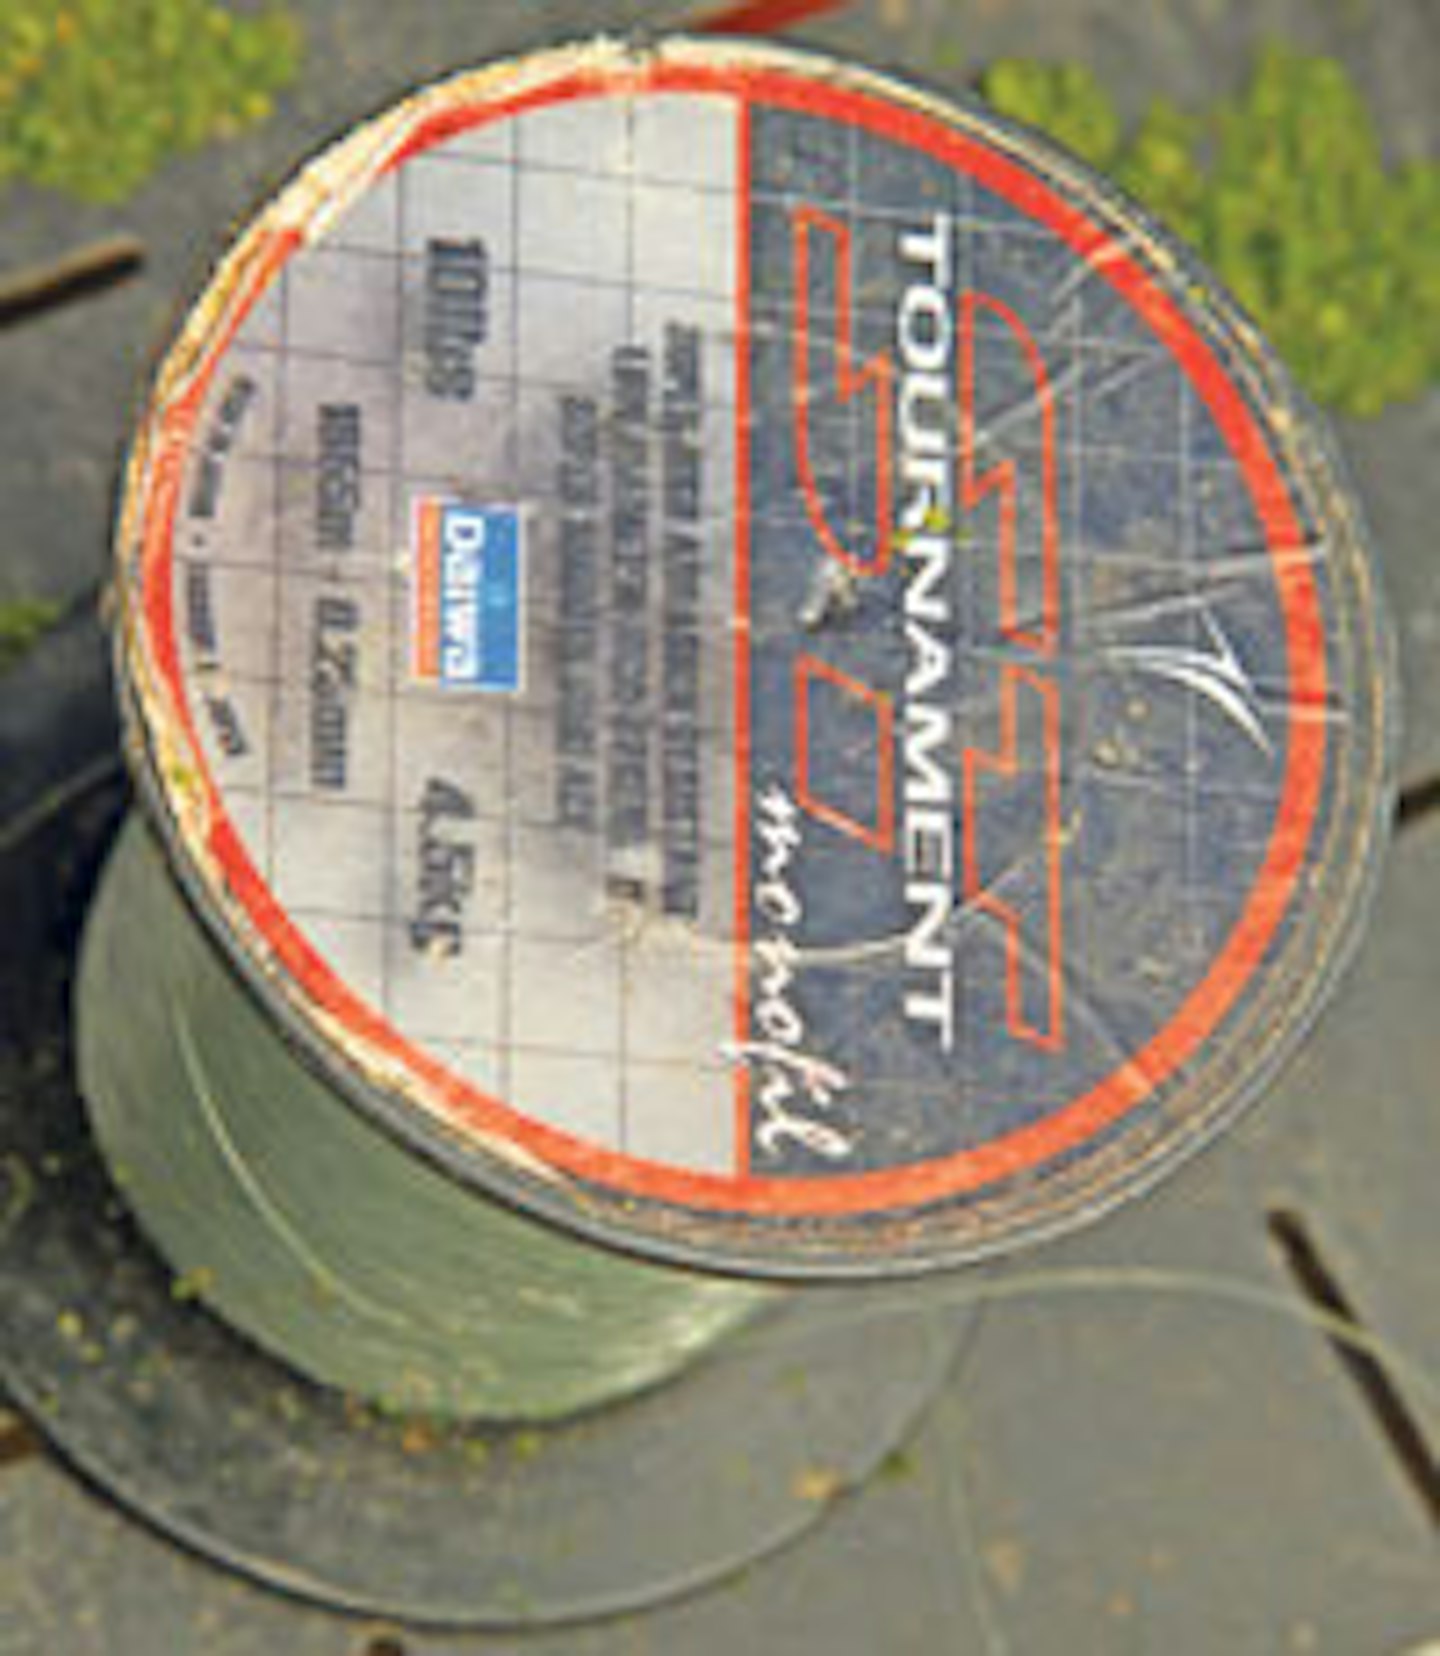
I then attach a shockleader of 10lb Tournament ST to the end of the braid.
Being so fine and with so little stretch, braid isn’t ideal for casting off and can cost you when playing fish under the rod top as it’s so unforgiving.
I like to have around four or five turns of the shockleader on the reel when the feeder is in the casting position.
3. Anti-tangle set-up
The most important quality of any feeder rig is that it doesn’t tangle, and this is particularly true when fishing for bream at range.
To avoid this I use a mixture of a stiff feeder link and a twisted loop. Firstly I make a 6cm feeder link with 20lb Korda IQ fluorocarbon line with a small snap link swivel at one end and a Hobbycraft ‘seed bead’ at the other Both of these are crimped in place.
My mainline shockleader is then threaded through the seed bead at the top so the link can run freely on the mainline, and a feeder is clipped on to the snap link below.
Once the link is on the line I thread two tiny beads on to the shock leader to act as a buffer and protect the knot from damage during the cast.
The next step is to twist up the last 15cm of the shockleader and tie it off with a double overhand loop knot. This twizzled loop makes the line below the feeder much stiffer, which again greatly reduces the likelihood of a tangle. Finally, the hooklength is tied to the twisted loop, loop-to-loop style.
4. The right feeders
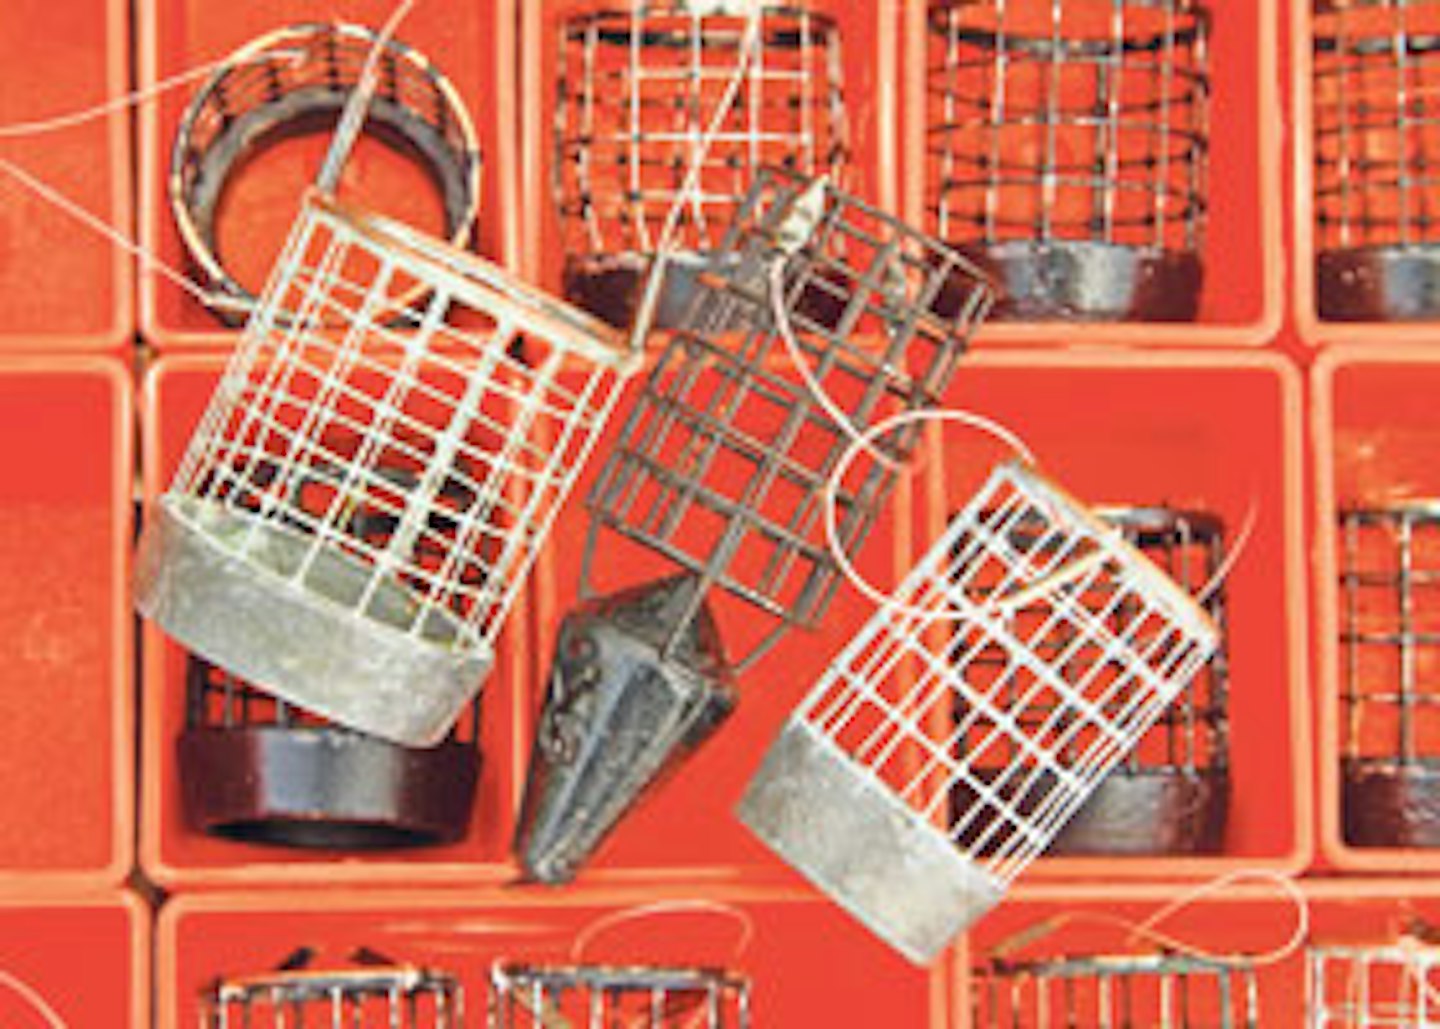
There are two types of feeders I use for distance work. The first are Kevin Leach feeders, which I find the perfect pattern for distances between 40m and 70m.
They are wire cage feeders with all the weight round the bottom, which ensures they fly straight on the cast. I use 30g and 40g sizes the most, and the further I’m casting, the heavier the feeder.
Anything over 70m and I’ll opt for the Matrix Horizon feeders which have a bullet at the base to help them cut through any cross or head wind. With these, distance can still be achieved in even the worst conditions.
In terms of weight, normally it’s anything from 40g to 60g, depending how far I’m looking to cast.
HOW TO CAST A FEEDER ACCURATELY
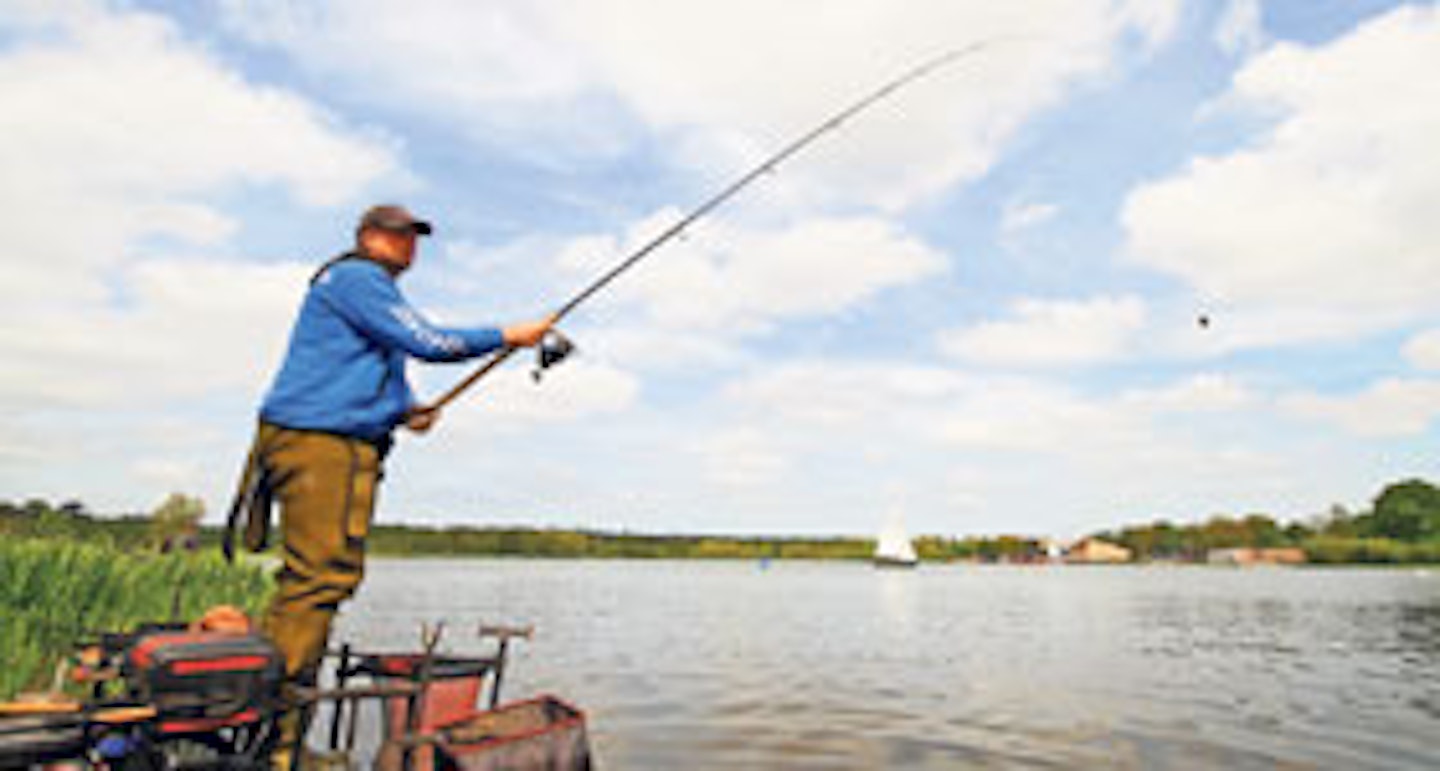
1. Longer drop
Often I see anglers try and cast with too short a line between feeder and rod-tip. I like to have the feeder just above the halfway point of the rod. This allows me to compress the blank so I’m working the whole rod, not just the tip.
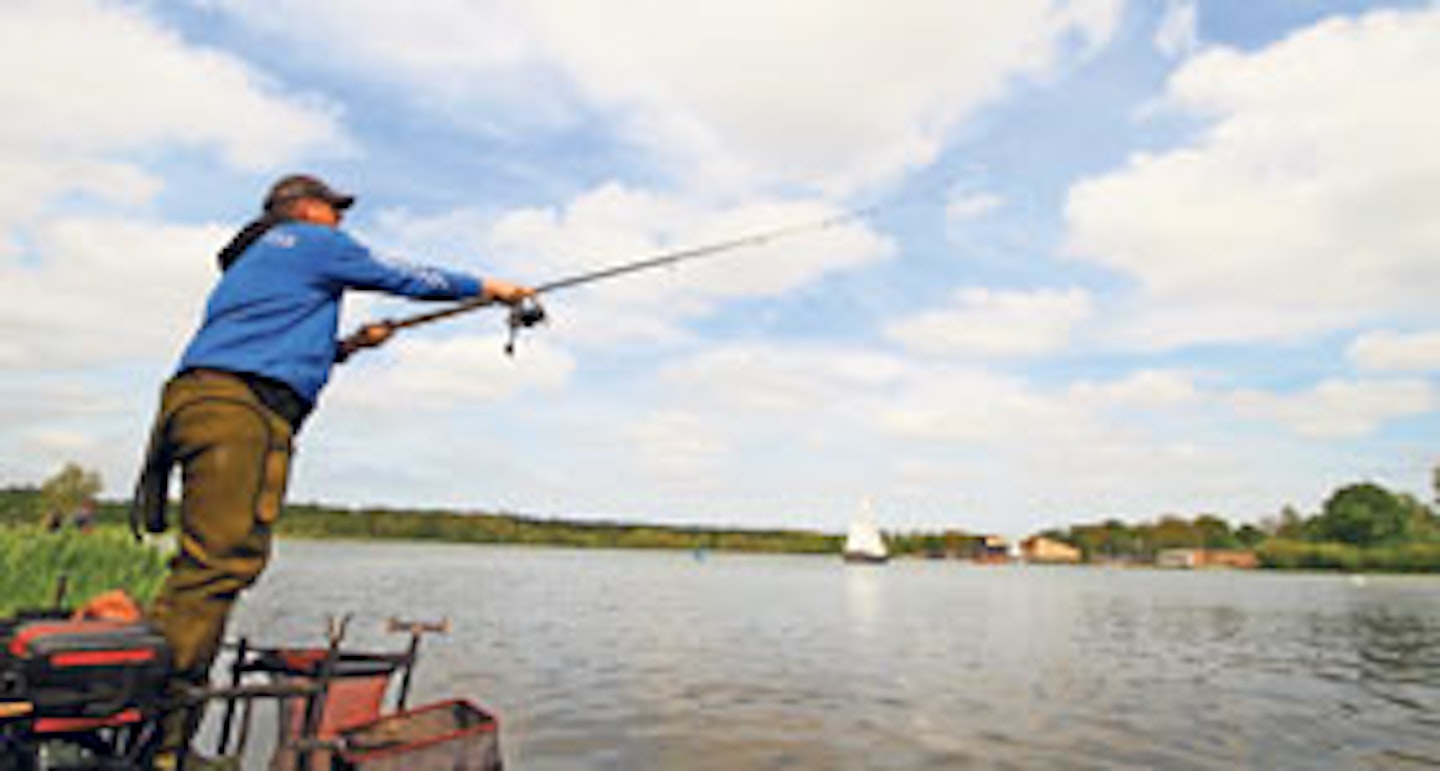
2. Pick a marker
Once you are about to cast it’s important that you have some sort of marker to aim at – this can be a tree or a building, basically anything that’s easy to spot and isn’t going to move. Boats are not reliable markers! Once you have your marker you need to ensure you’re aiming at it every cast.
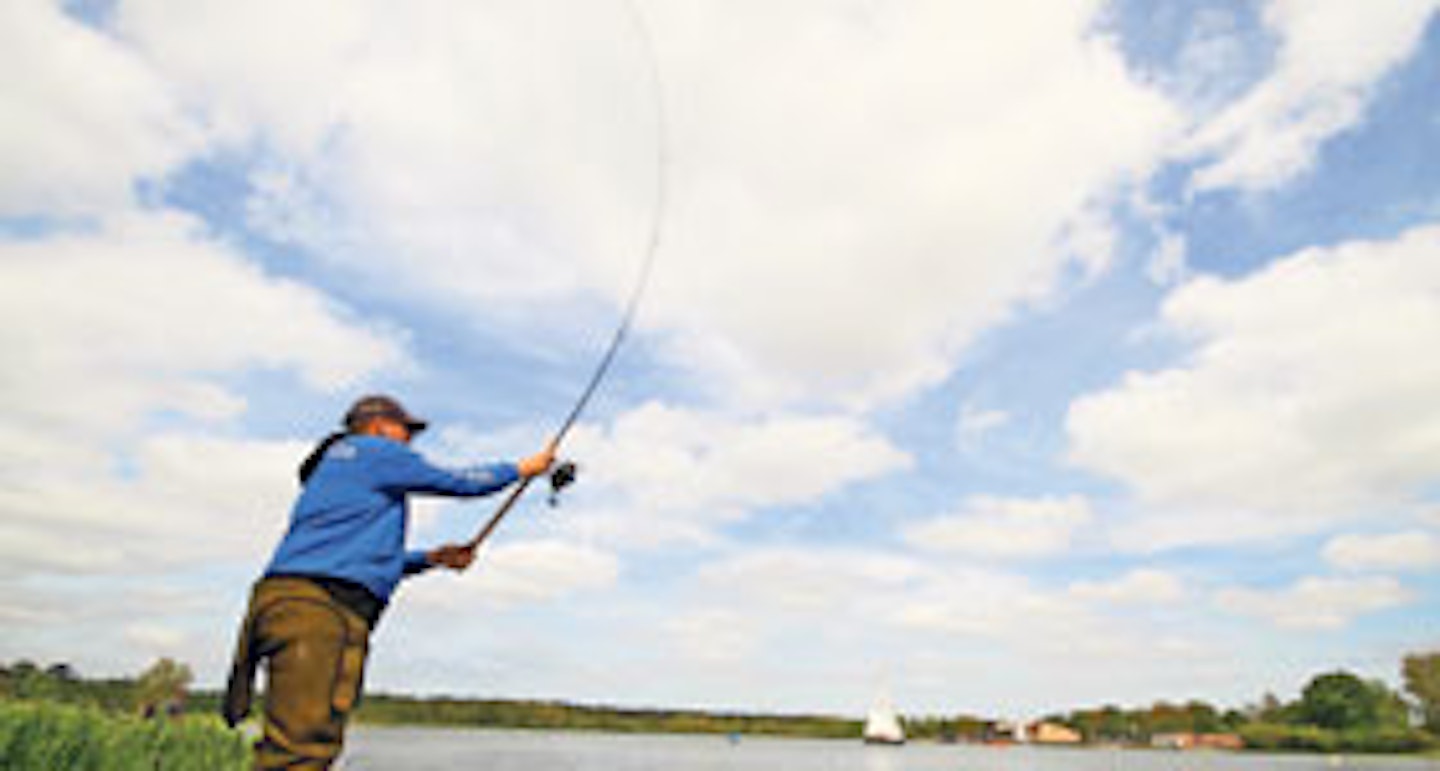
3. Give it some welly!
Don’t be afraid to compress the blank and give it some power. You have to make the rod work.
You need to point the rod at the marker all the way through the cast, and that way you’ll know the feeder will fly straight and true.
MEASURING THE DISTANCE
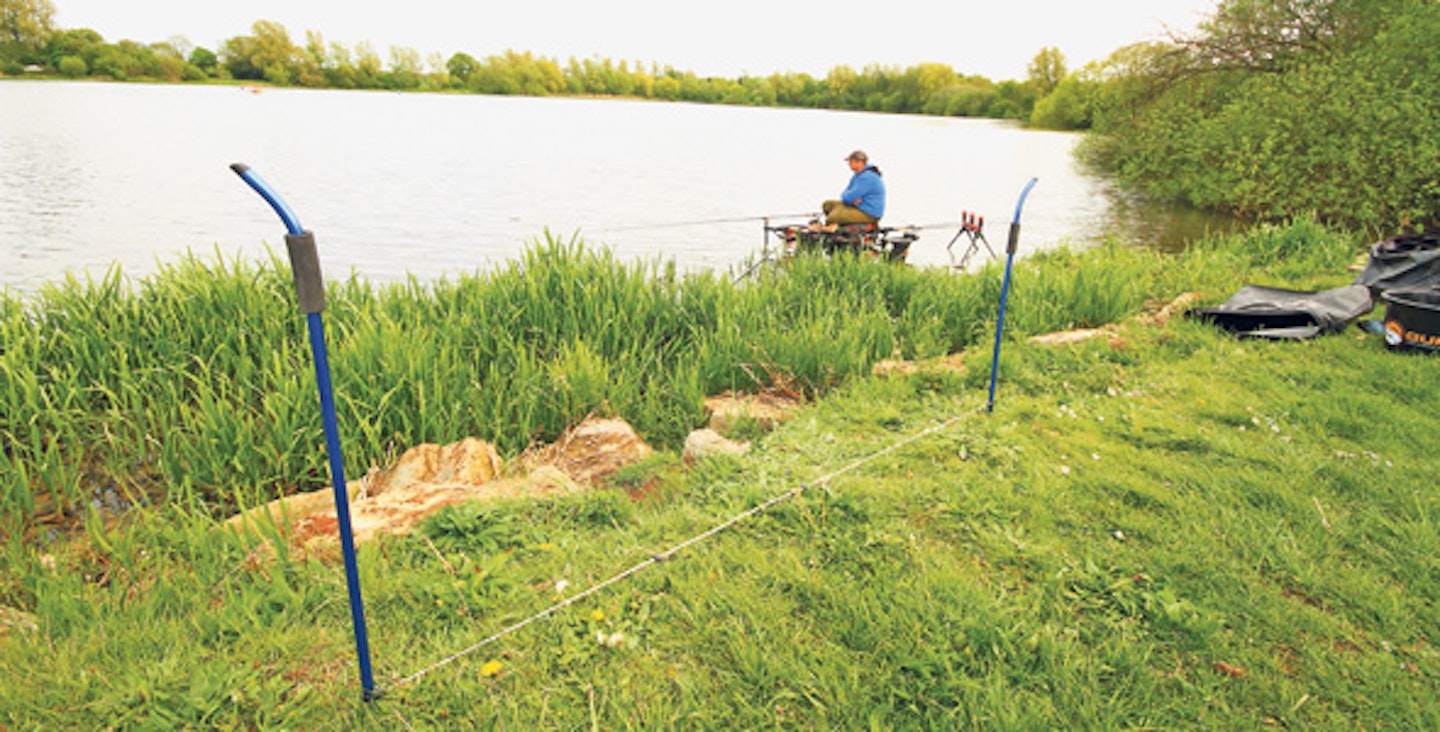
Measuring sticks are something I first started using around four years ago after seeing them at the World Feeder Champs in Italy.
Now I can honestly say I wouldn’t be without them.
Basically they are two bank sticks with a length of string between them. The idea is that you place them a set distance apart determined by the string and then use them to measure how far you are casting.
The way they work is that you drop your feeder by one stick and then wrap the line round the other and then back again until you reach your clip. So for instance, if my sticks are at 3m and I go round 20 times then I know I’m fishing at 60m.
To sum up, by using the sticks I know exactly how far out I’m fishing and I can easily clip up other rods to fish at the same distance.