Whenever you are fishing for pike or zander you simply must use a wire trace, and here we show you how to make your own wire traces for lure fishing and bait fishing in easy to follow steps...
Using a wire trace when either lure or bait fishing shows that you care about the fish you are trying to catch. If you simply tied your treble hooks or lure directly on to your monofilament mainline, you are taking a big risk as both pike and zander have such sharp teeth they will cut straight through it. And what will happen next?
The fish won’t be able to shed the hooks, the fish will suffer as a result and possibly even die as it may not be able to continue feeding due to the obstruction in its mouth or throat. So please, always use a wire trace when tackling those toothed predators.
You can buy ready-tied traces for lure fishing and snap tackle for bait fishing – and reliable they are too – but there’s nothing like catching a fish on a trace you have made yourself, plus DIY trace making is the cheaper option in the long term. Here’s how to make both, using a variety of methods, plus detailed info on common mistakes…
TYING A WIRE TRACE FOR LURE FISHING
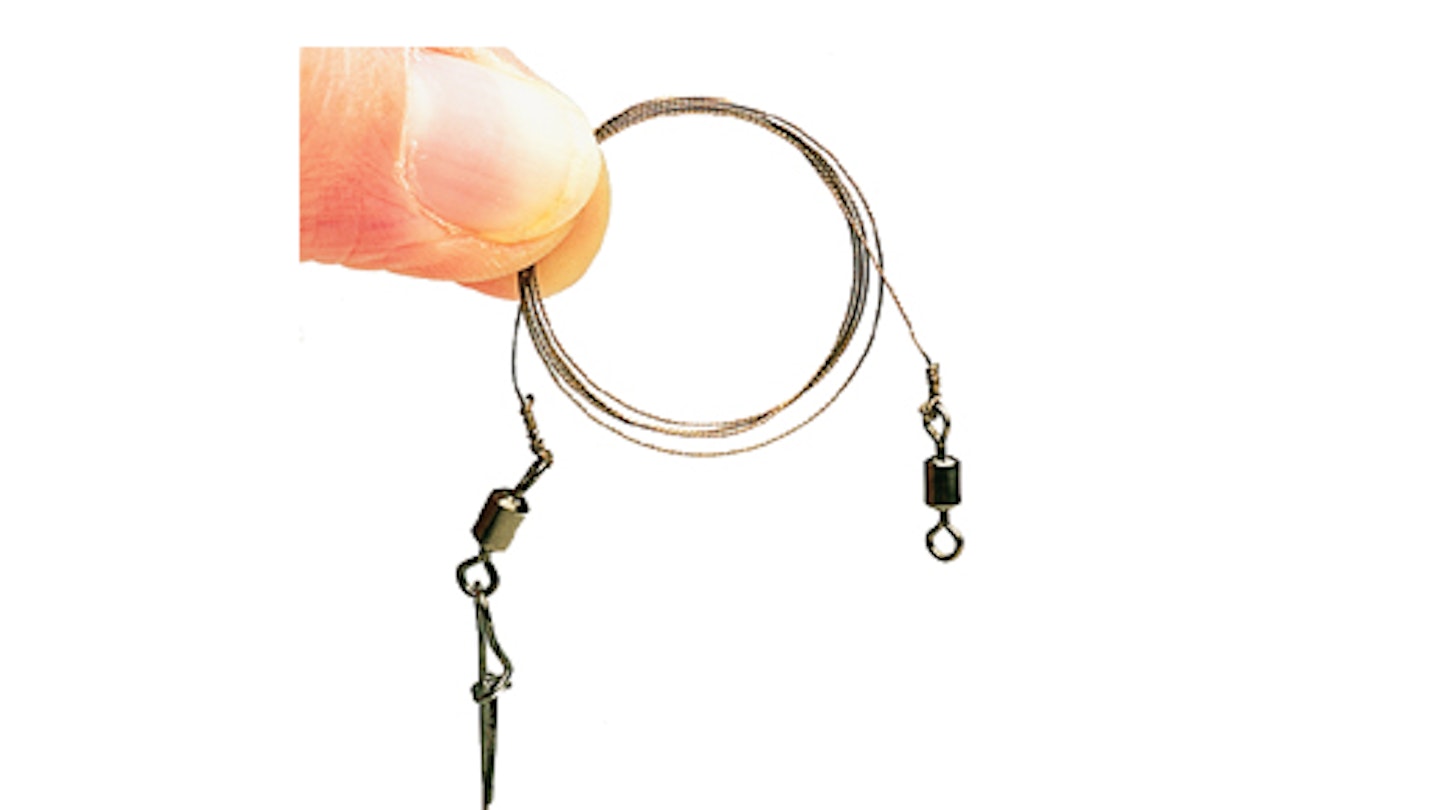
This method involves twisting the wire around itself to lock the swivels directly onto the trace wire.
.jpeg?auto=format&w=1440&q=80)
- You will need 18 inches of wire, a swivel, a snap link swivel, wire cutters and a pair of forceps.
.jpeg?auto=format&w=1440&q=80)
- Bend an inch of wire and pass the formed loop through the eye of your swivel.
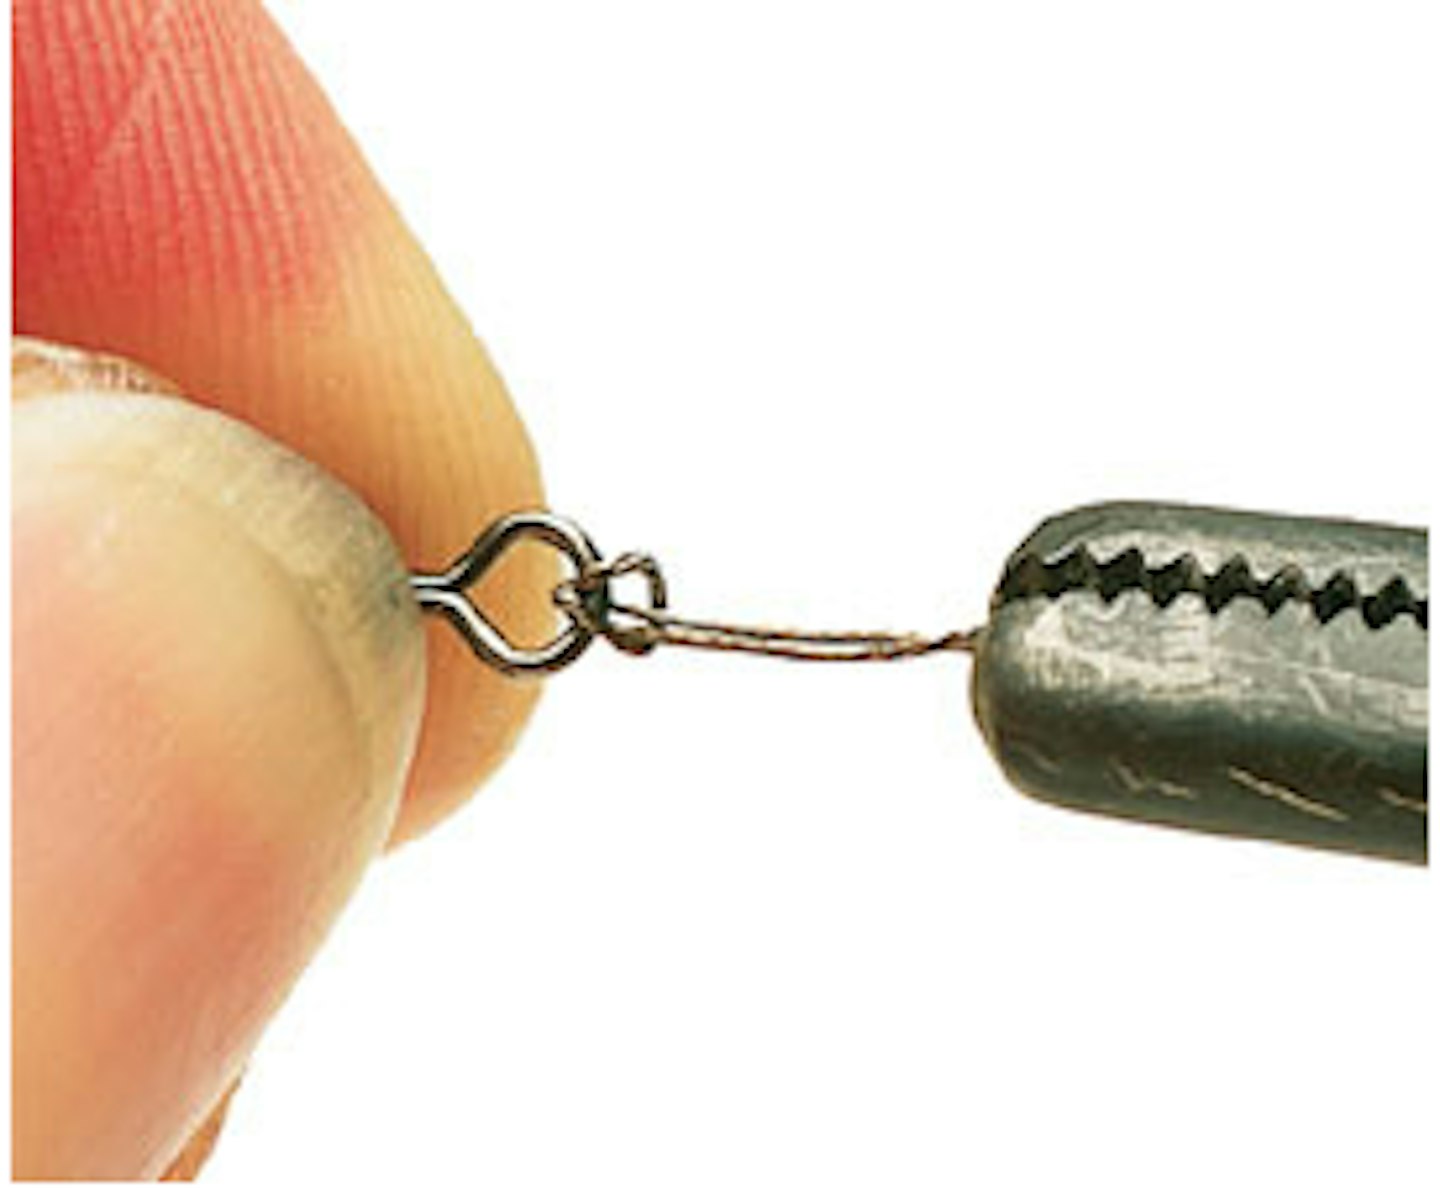
- Now pass the wire loop back over the swivel and pull it tight. Forceps will help you tighten the loop.
.jpeg?auto=format&w=1440&q=80)
- Clamp your forceps onto the tag end of wire and spin it around the main length of wire at least six times.
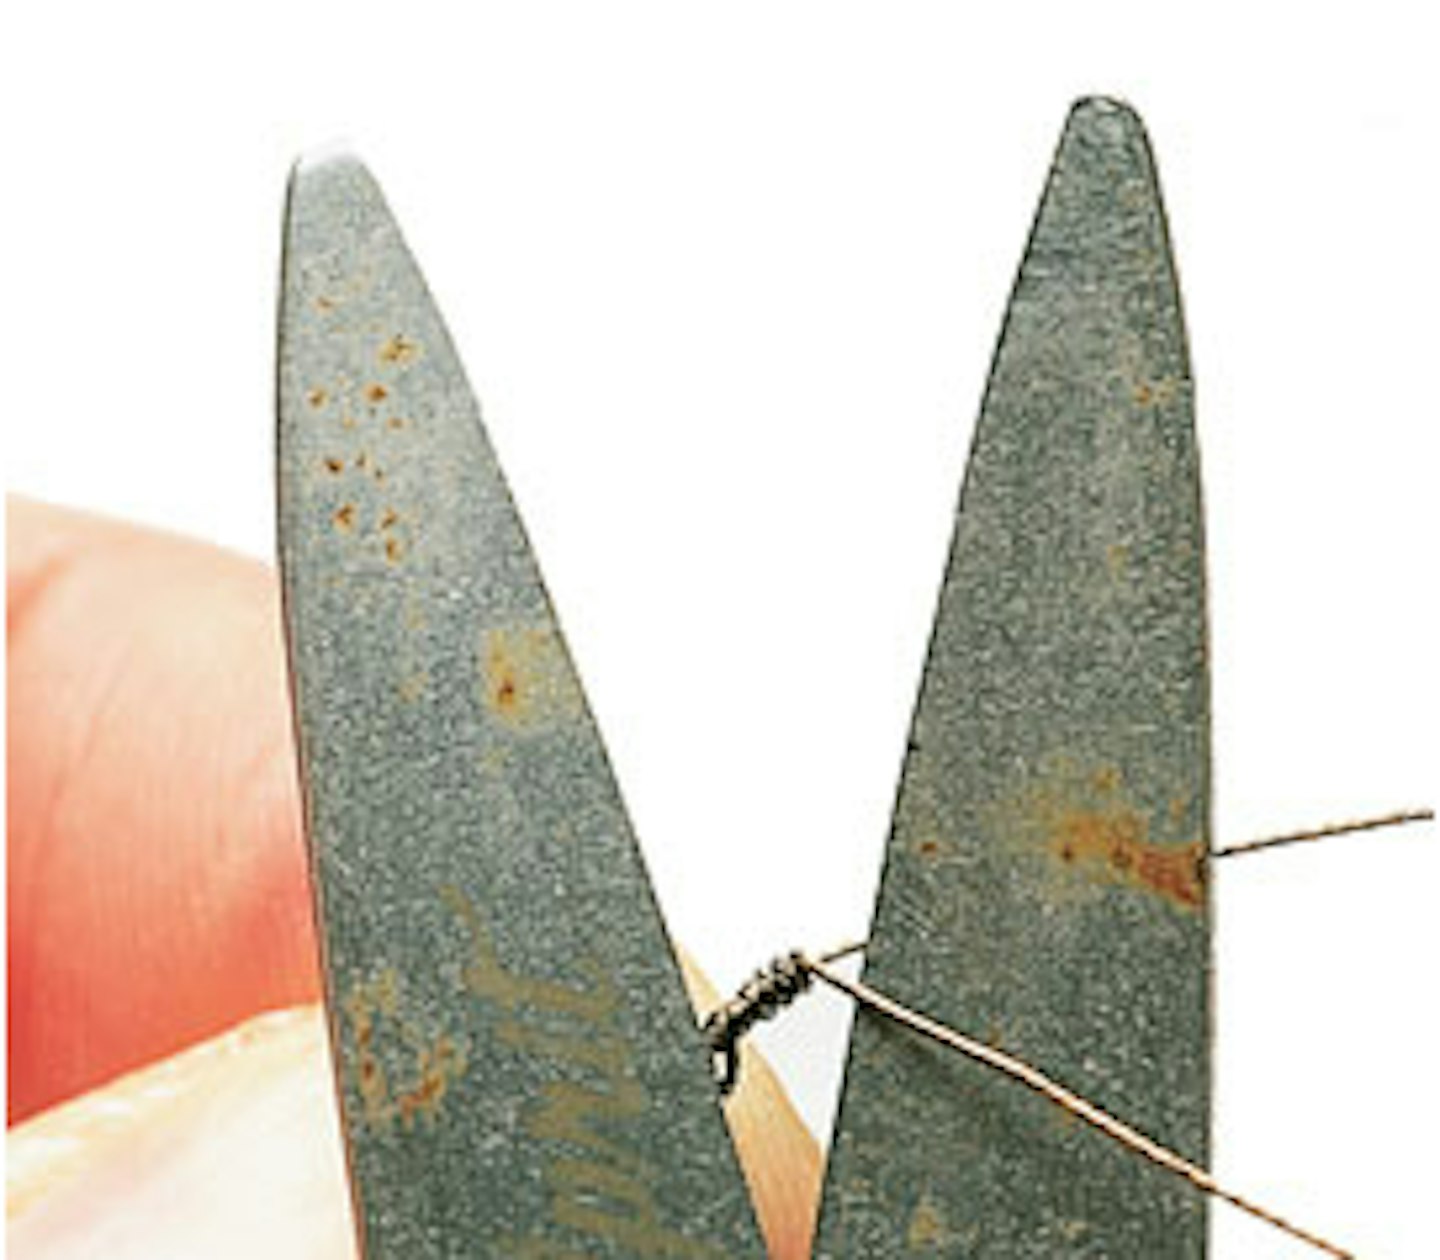
- Trim off the tag end as close as you can to the whippings using sharp, reliable wire cutters.
.jpeg?auto=format&w=1440&q=80)
- Now lock a snap link swivel to the other end of wire using steps 2 to 5 to complete the trace.
TYING A WIRE TRACE FOR LIVE AND DEAD BAIT FISHING
You don't have to use crimps to create a wire trace for your dead or live baits - you could use the twisted wire technique shown above to lock your swivel and bottom-most treble onto your wire.
.jpeg?auto=format&w=1440&q=80)
- You will need some wire, two treble hooks, a swivel, some crimps, crimping pliers and sharp wire cutters.
.jpeg?auto=format&w=1440&q=80)
- Cut off 18 inches of wire, thread on a crimp, pass the wire through a treble hook and thread it back, well inside the crimp.
.jpeg?auto=format&w=1440&q=80)
- Position the crimp around 5mm from the hook and squeeze it tightly using the crimping pliers.
.jpeg?auto=format&w=1440&q=80)
- The crimp should be squeezed three times, making sure each of the depressions line up like this.
.jpeg?auto=format&w=1440&q=80)
- Thread on your second hook and position it 2 to 3 inches from the first. This gap depends upon the size of bait to be used.
.jpeg?auto=format&w=1440&q=80)
- Hold the second treble in place and carefully wrap the wire around the base of the hook like this.
.jpeg?auto=format&w=1440&q=80)
- Now tightly wrap the wire around the hook’s shank three times and then thread it back through the eye.
.jpeg?auto=format&w=1440&q=80)
- Complete the snap tackle by crimping a strong swivel on to the other end of the wire.
TOP TIPS FOR TRACE MAKING
Cut the wire cleanly
It’s worth investing in sharp wire cutters as the end of the wire you are working with must be cut cleanly. A frayed section of wire can damage your main line and also prove extremely difficult to tie or crimp.
When to replace your trace
If the wire of your trace becomes twisted or kinked cut it off and discard it at home - not on the bank. Tie on another fresh one. If you do make your own traces and snap tackle remember to cut off the swivels and hooks. If they are still in good condition you will be able to use them again.
Incorrect crimping
The crimped trace pictured is a disaster waiting to happen! Firstly the crimp is too close to the hook therefore the hook has no freedom of movement. The wire tag end protrudes from the crimp and this could cause tangles or it may cut your main line. The crimp has been squeezed only twice – it should be crimped three times. And finally the crimp has been squeezed too close to the
edge and too hard (the wire can be seen through it). If any of these faults occur when you crimp your traces throw it away and do it again or you’re asking for trouble!
How far apart should the hooks be?
The distance between the treble hooks depends upon the bait you are fishing. The larger the bait the further apart the hooks need to be. Take a half mackerel for example. This bait may be 6in or 7in long and ideally the second treble should be positioned midway along the bait, therefore the trebles should be positioned about three inches apart. When fishing small baits like sprats or eel sections, the trebles can be 2in apart.